Install Floor-Ceiling Flex Indoor Units: Getting StartedUpdated 2 months ago
Introduction
This article provides an overview of the installation process for floor-ceiling flex indoor units.
Each section in this article represents a step in the installation process. Click the link in each section to learn about that specific step.
This article is for the following system:
Quantum Ultra Floor-Ceiling Flex (UYT-24)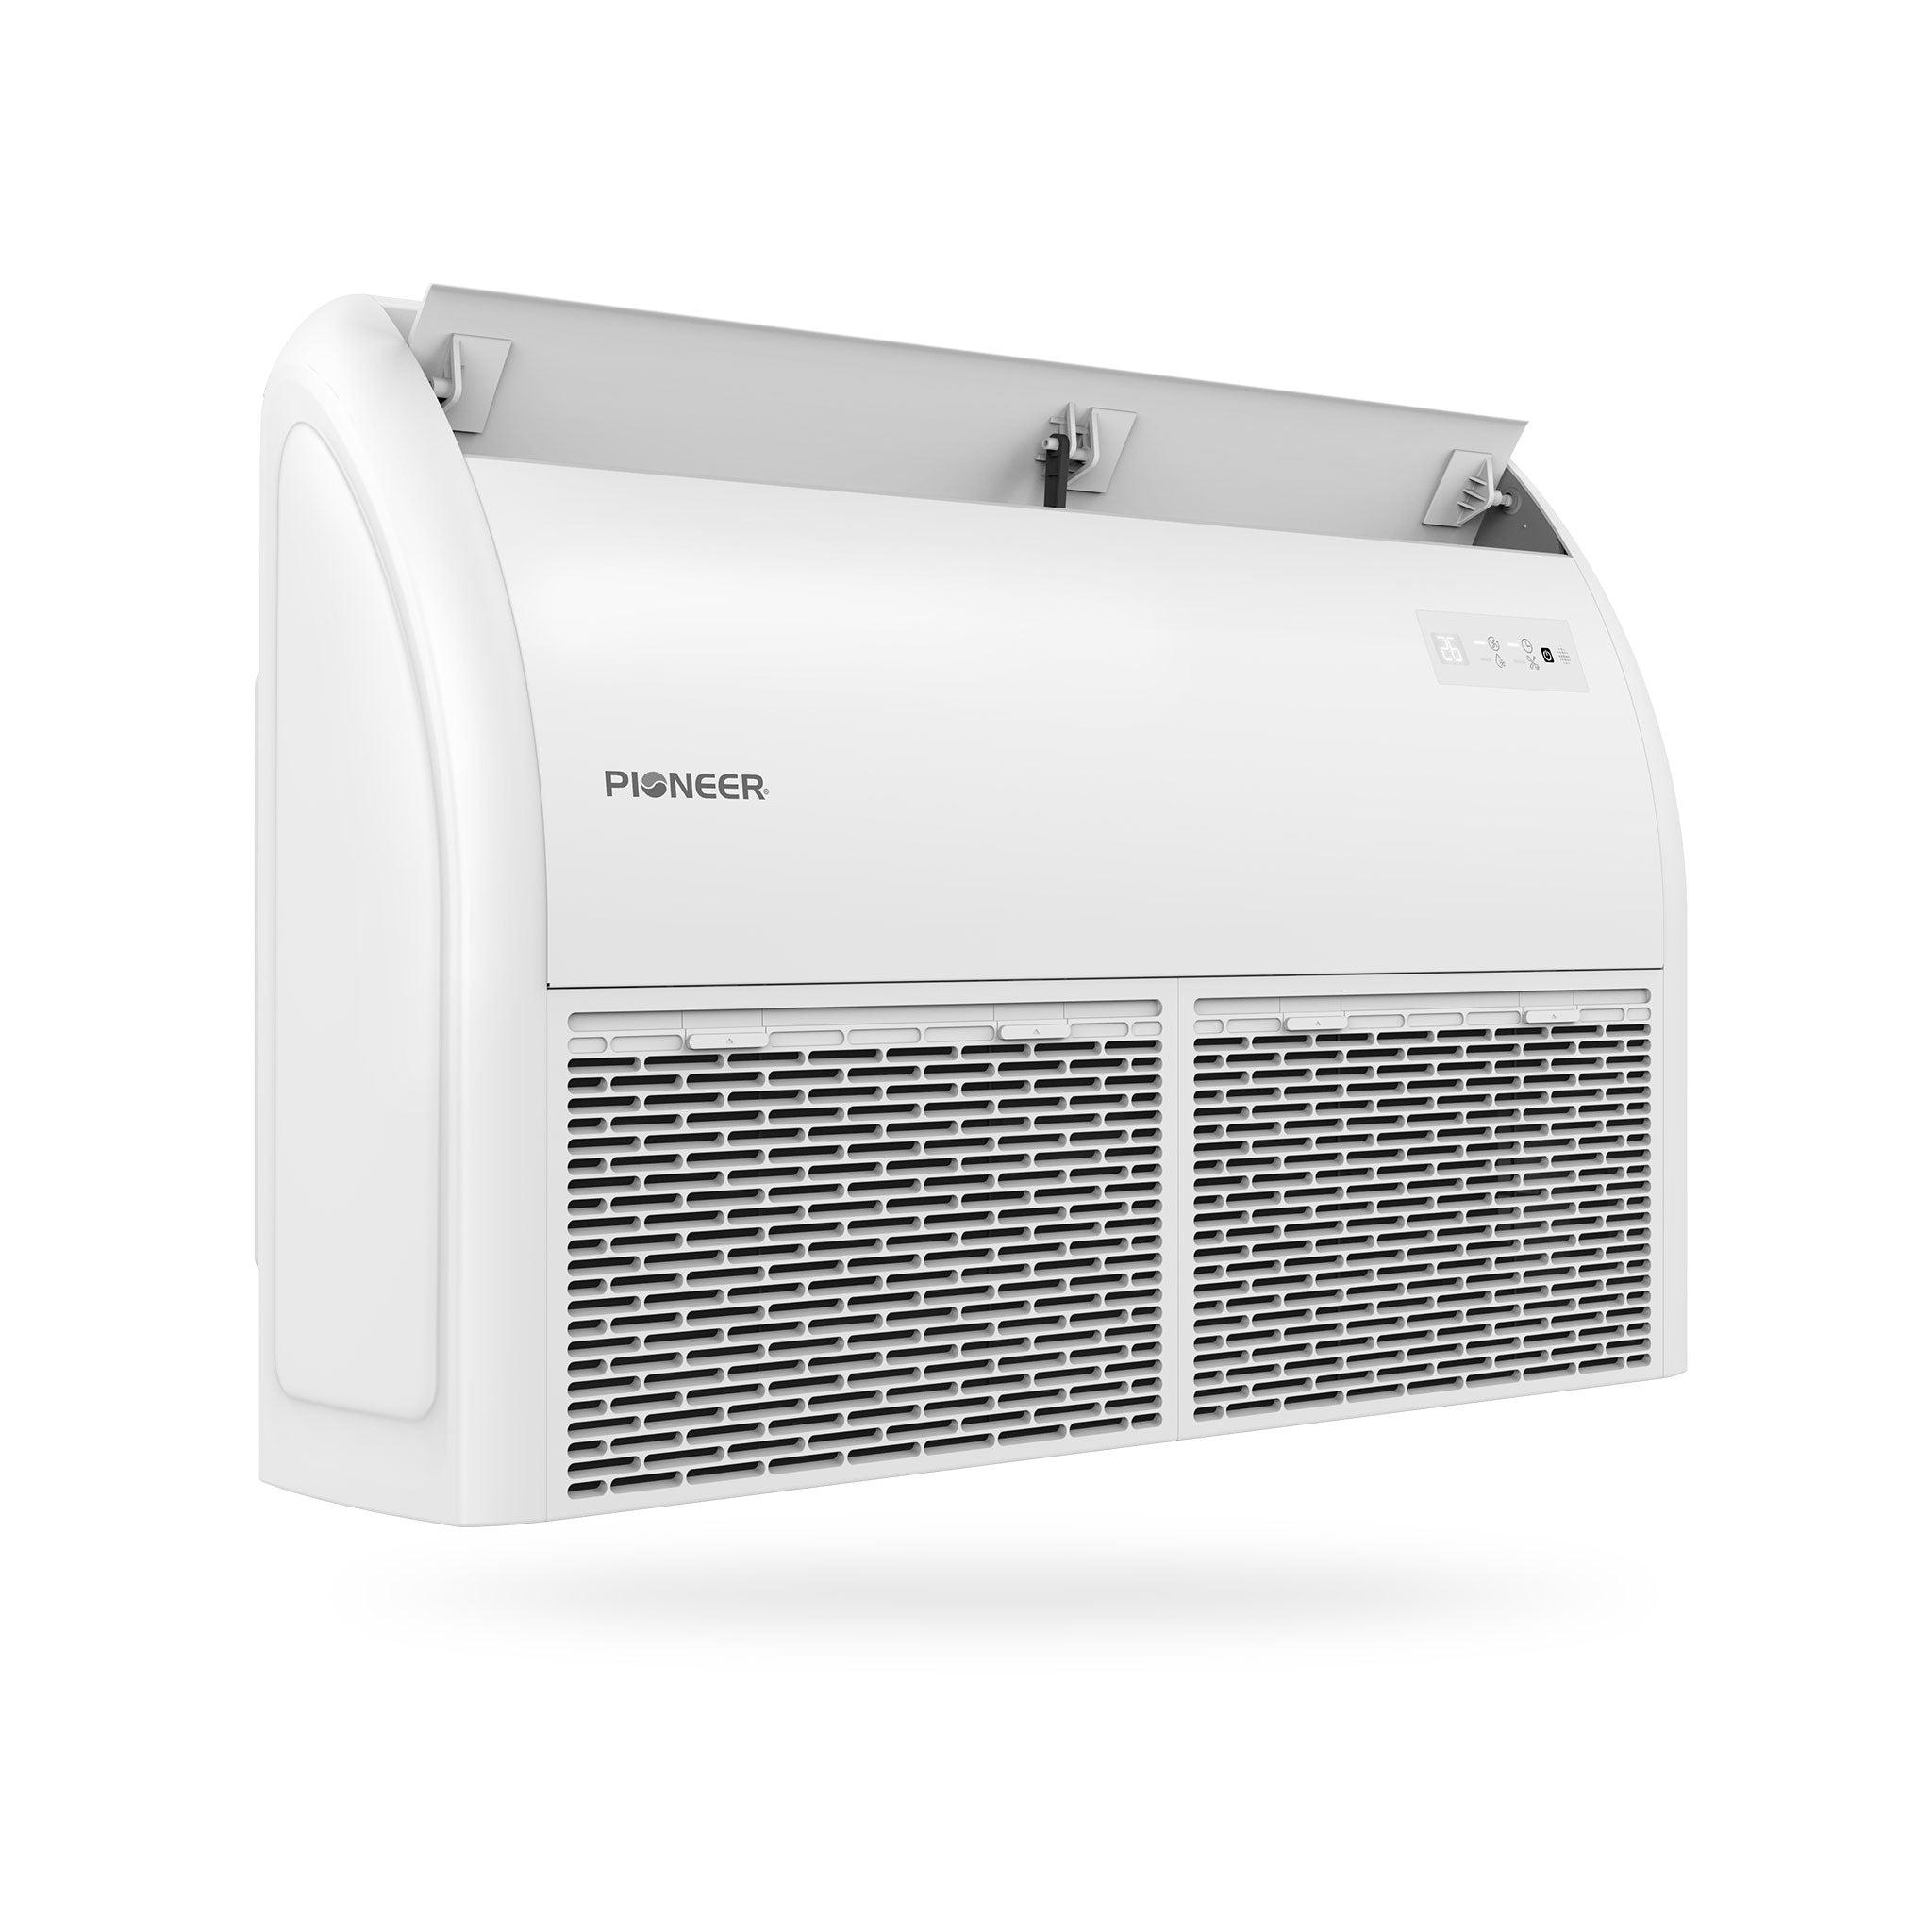
Select an Ideal Location for Installation
Before beginning, we recommend understanding how to select an ideal location for installing the indoor unit.
Click this link for information.
1. Mount the Indoor Unit to Floor or Ceiling
The indoor unit can be mounted to the floor or ceiling, depending on the preference of the user. The step involves installing the hanging bolt first, then mounting the indoor unit onto the bolt.
For information on mounting the indoor unit to the floor, see this article.
For information on mounting the indoor unit to the ceiling, click this link.
2. Set Up the Condensation Piping Connections
After mounting the indoor unit to the floor or ceiling, set up the condensation piping connections. This step includes installing the drain hose and insulating the connections.
Unlike wall-mounted systems, floor-ceiling flex systems and other light commercial air conditioners cannot use the flexible drain hoses. In order for the flexible drain hose to be utilized correctly, we recommend routing the included hose through PVC.
Read this article for more information.
3. Prepare the Refrigerant Piping
Prepare the refrigerant piping for the indoor unit. The piping "pigtails" that are pre-attached to the indoor unit can be run in two different ways.
Get more information on this step by clicking this link.
4. Drill the Piping Wall Hole
Next, drill the wall hole for the piping of the system. The piping wall hole must adhere to specific to measurements.
For more information, see this article.
5. Wire the Indoor Unit to the Outdoor Unit
Wire the indoor unit to the outdoor unit. Consult the diagram affixed to the indoor and outdoor units respectively for specific wiring instructions.
Read this article to learn more about this step.
6. Connect the Refrigerant Piping
After preparing the refrigerant piping, connect the piping to the indoor unit.
Click this link to get more information.
7. Wrap the Lines & Seal the Air Gaps
Finish the installation process by wrapping the lines and sealing the air gaps. Even small gaps can result in air or water leakage.
Get more information on this step by reading this article.
After the Installation is Completed
We recommend performing a running inspection after the installation is completed. For information on performing the test run, click this link.