Installing Under-Bench RV Systems: Getting StartedUpdated 4 days ago
Introduction
This article provides an overview of the installation process for the Under-Bench RV Inverter Packaged Heat Pump Air Conditioner.
Each section in this article represents a step in the installation process. Click the link in each section to learn about that specific step. 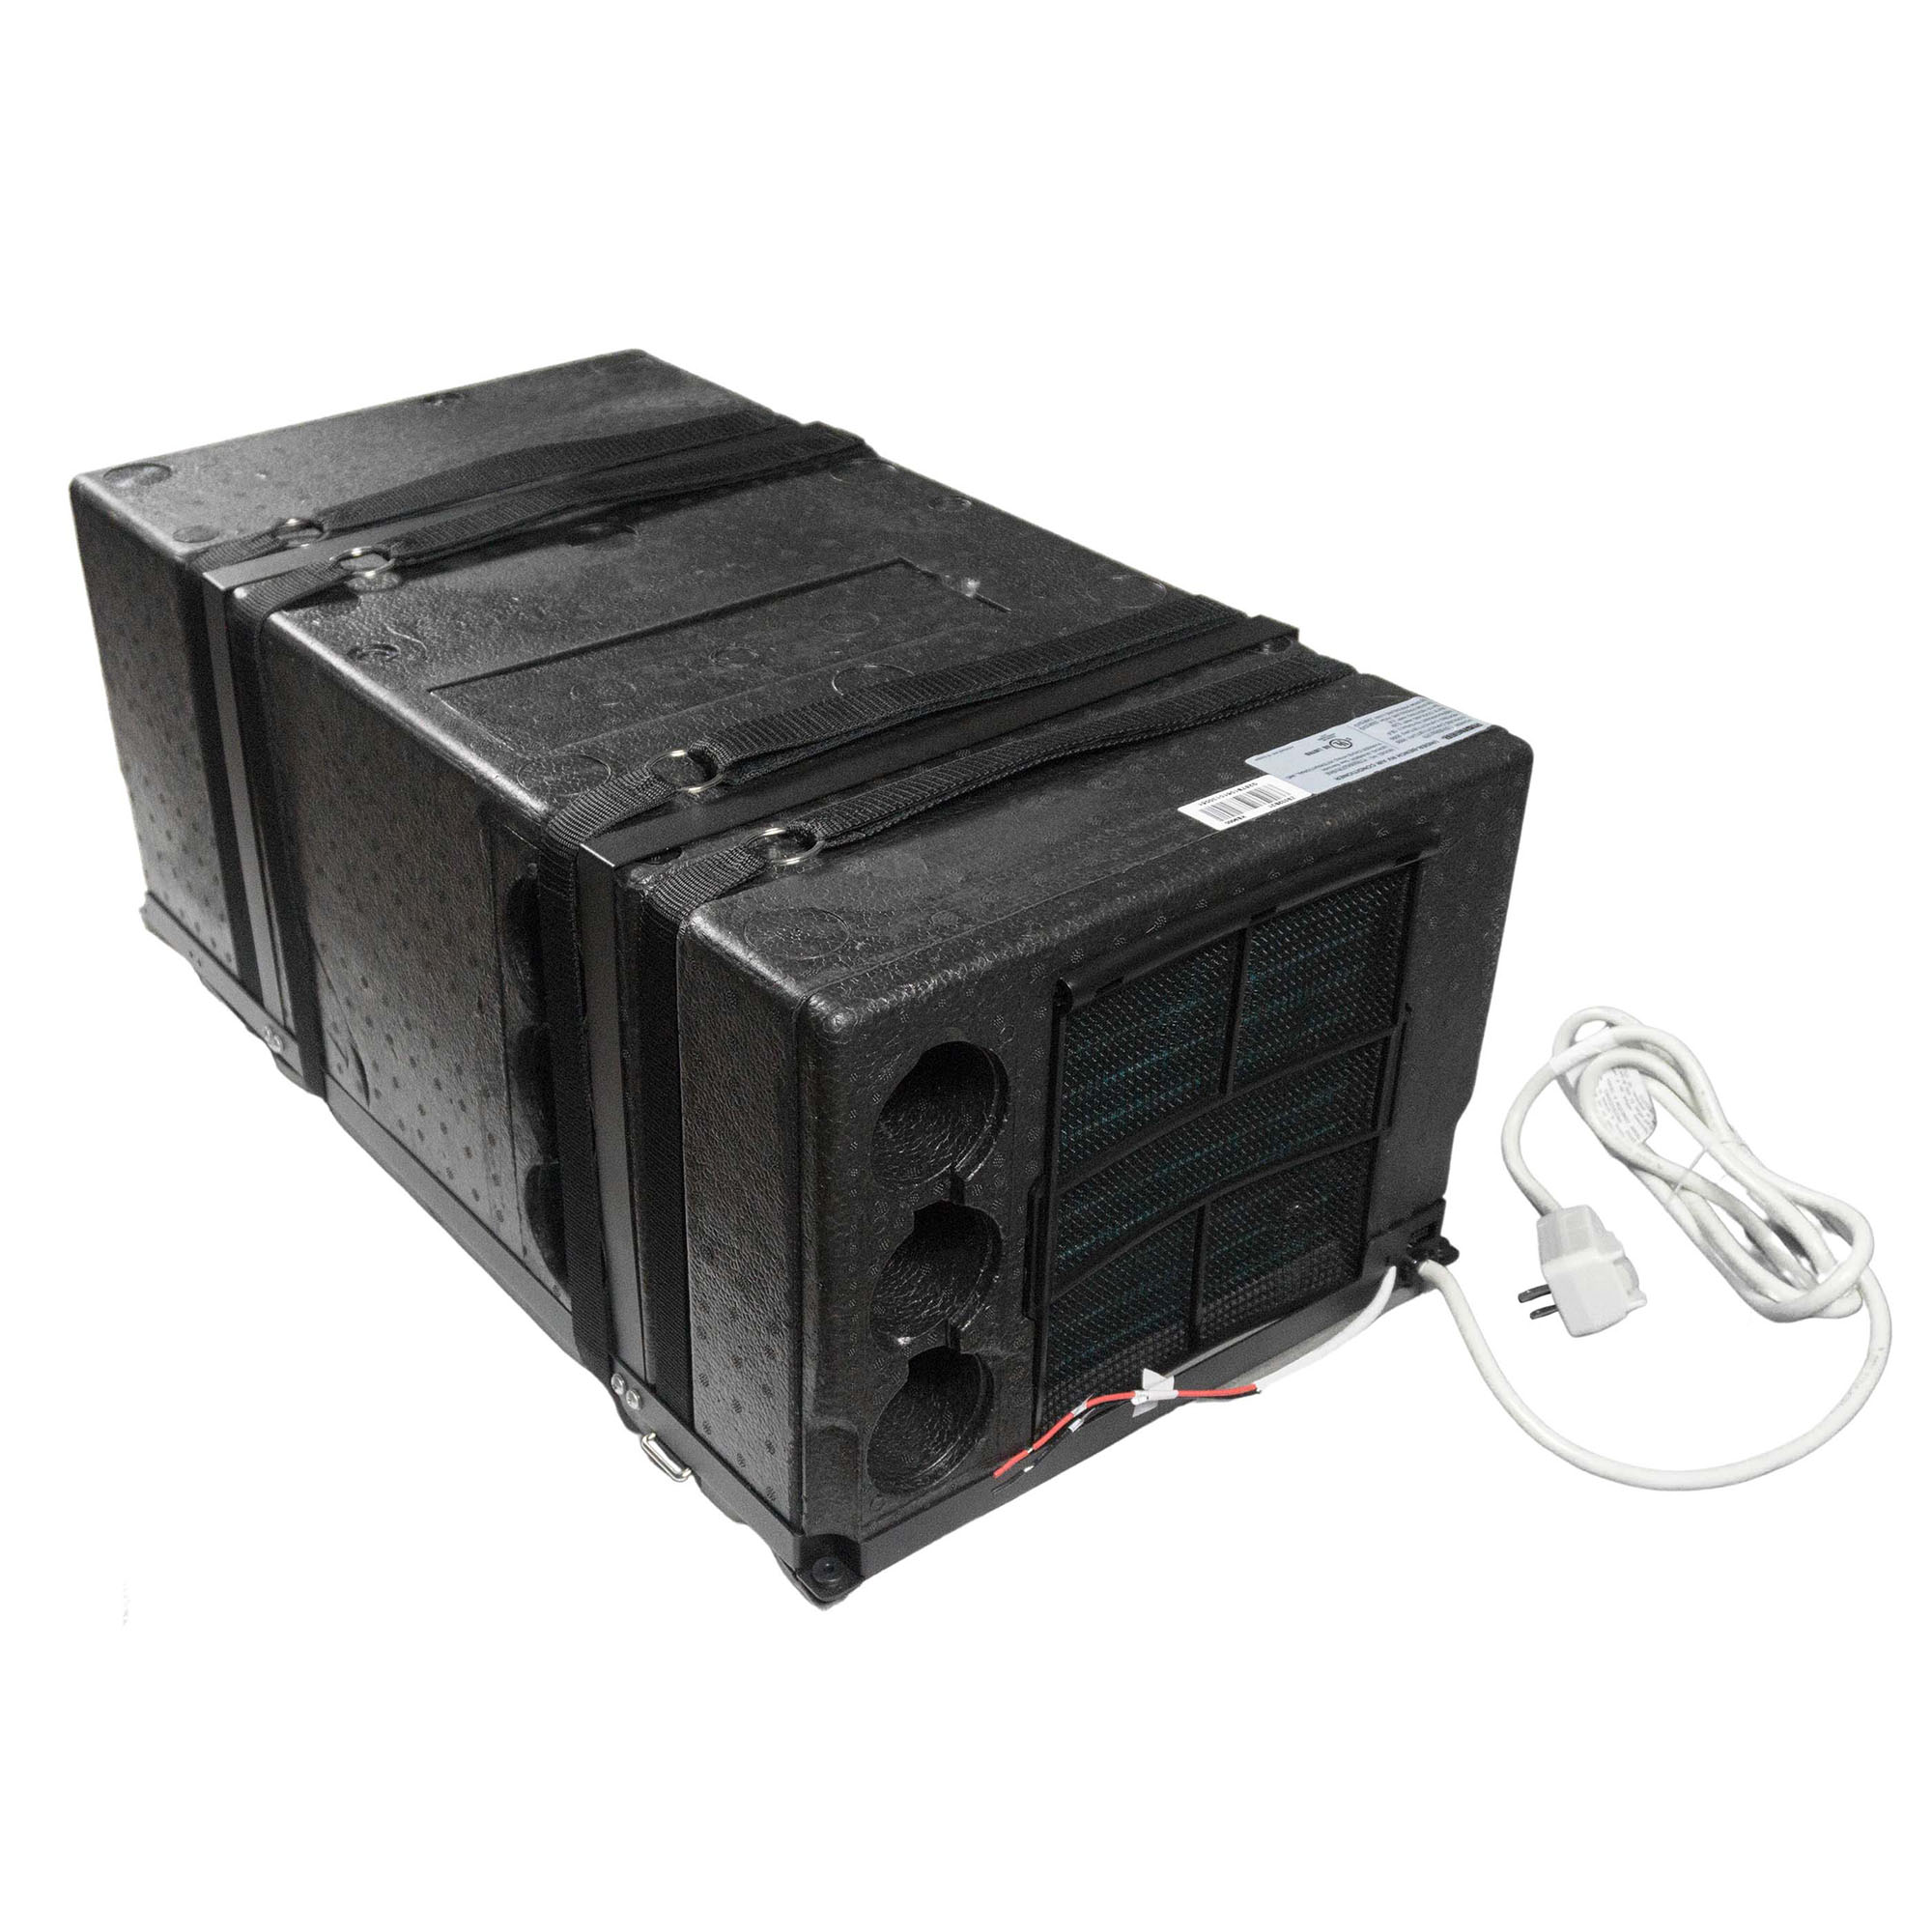
Understanding the Installation Requirements
Before beginning, we recommend reviewing the installation requirements and selecting the ideal position for the system.
Read this article to learn about the installation requirements.
1. Creating the Floor Opening
Start by creating the floor opening for the RV system. First, prepare the space, and then cut the opening according to the specific measurements.
View this article to get detailed information on this step.
2. Securing the System into Place
Secure the system in place using one of three available methods.
Read this article to learn about the fastening methods available.
3. Installing the Wall Thermostat
Next, install the wall thermostat for the system.
Follow these steps to properly install the wall thermostat.
4. Creating the Recirculation Air Opening
Drill an additional hole in the compartment to allow the internal air to recirculate.
Read this article to learn how.
5. Understanding the Ductwork Best Practices
Configure the ductwork properly to ensure balanced air distribution.
View this article for more information.
6. Connecting & Powering Up the System
Connecting and powering on the system are the final steps of the installation process.
Follow this procedure to properly connect and power up the system.
After Completing the Installation
We recommend performing a running inspection after completing the installation.