Add & Pair Light Commercial Devices to the Pioneer Airlink AppUpdated 3 months ago
Introduction
This article explains how to add and pair light commercial devices to the Pioneer Airlink app. This includes ceiling cassette, ducted, and floor-ceiling flex systems.
Users can add and pair systems, or devices, to the app to conveniently control them. More than one device can be added and paired to the app.
The procedure for adding and pairing wall-mounted devices is different from light commercial devices. These models require an explicit AP-mode selection inside the app, even after the unit itself is already in pairing mode. For information adding and pairing wall-mounted devices to the app, click this link.
This article is for these systems:
- Quantum Ultra Ceiling Cassette (CYT-24)
- Quantum Ultra Ducted Ceiling Concealed (RYT-24)
- Quantum Ultra Floor-Ceiling Flex (UYT-24)
Prerequisites
Follow these prerequisites to ensure the device pairs properly to the app:
- Ensure that the air conditioner is installed correctly.
- Ensure that the USB drive module is installed. The ceiling cassette, ducted, and floor-ceiling flex systems have the USB drive module already installed.
- Download and install the Pioneer Airlink app on your smartphone.
- Create a Pioneer Airlink app account. For more information, click this link.
- Confirm the smartphone is connected to a dedicated 2.4 GHz Wi-Fi network. 5 GHz networks are not supported.
- Confirm the smartphone has Bluetooth enabled.
- Disable any VPNs.
- Enable the location permissions for Pioneer Airlink app. The location permissions should be set to "Always".
Steps
1. Log into the Pioneer Airlink app.
2. Tap "Add Device" or the plus icon to add a device to the app. 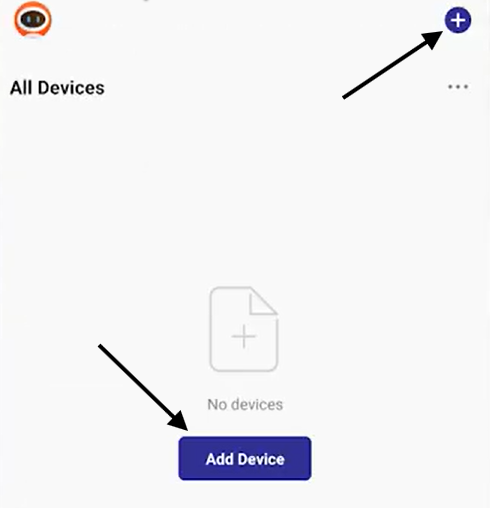
3. Tap "Air Conditioner (BLE+Wi-Fi)". 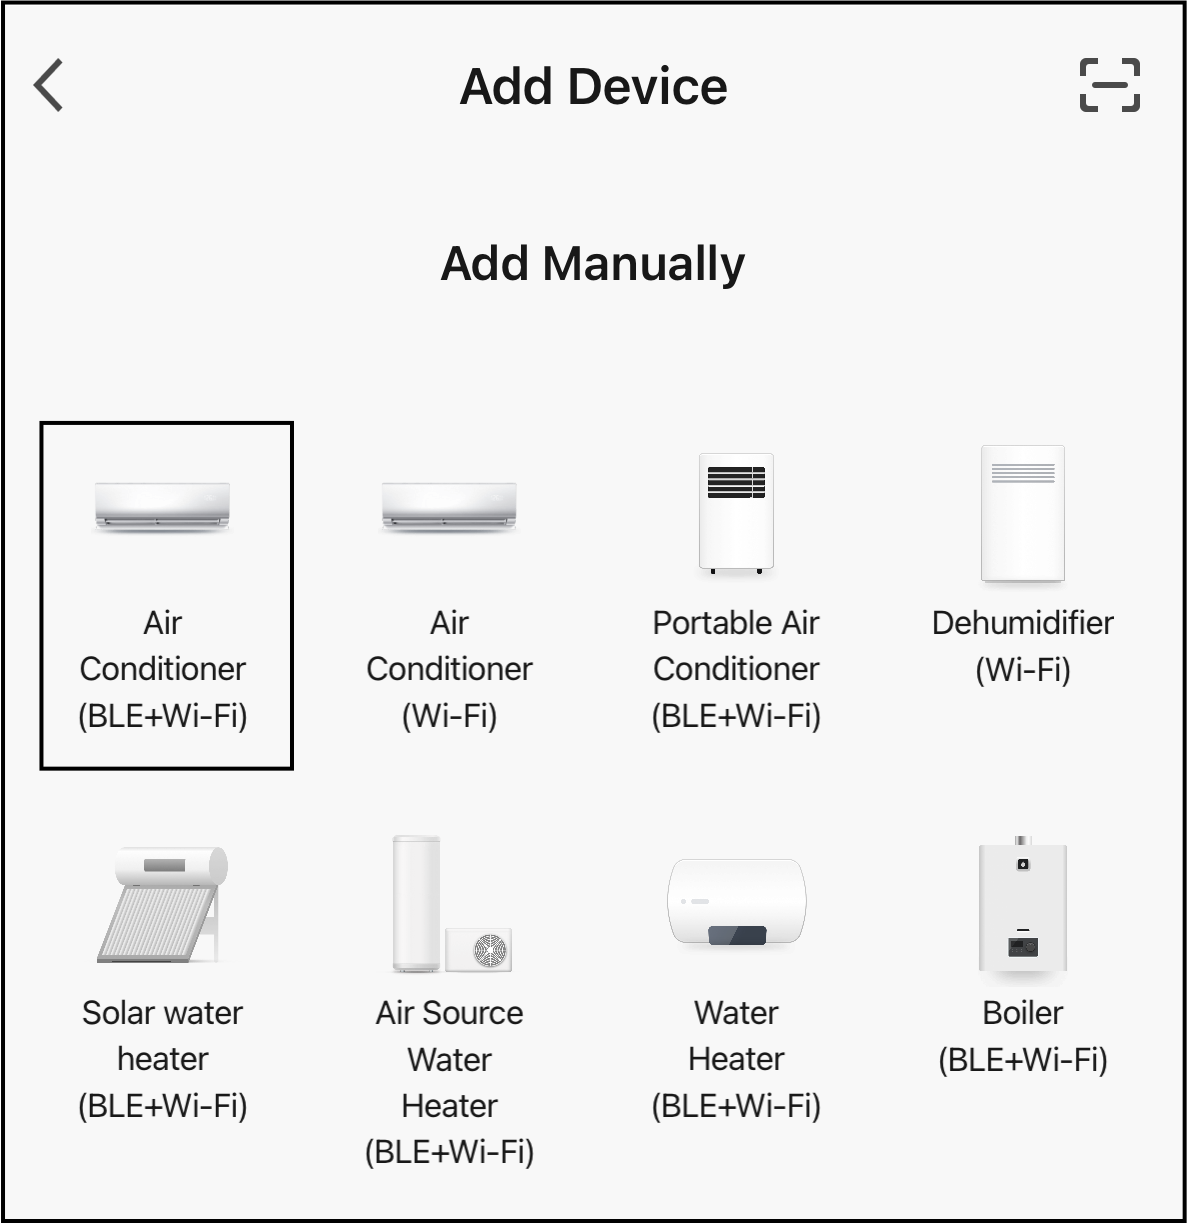
4. Power down the indoor unit at the breaker or disconnect switch. Allow the system to completely de-energize for at least one minute.
5. Select AP Mode. This ensures that the Wi-Fi module resets correctly and establishes communication between the app and unit. 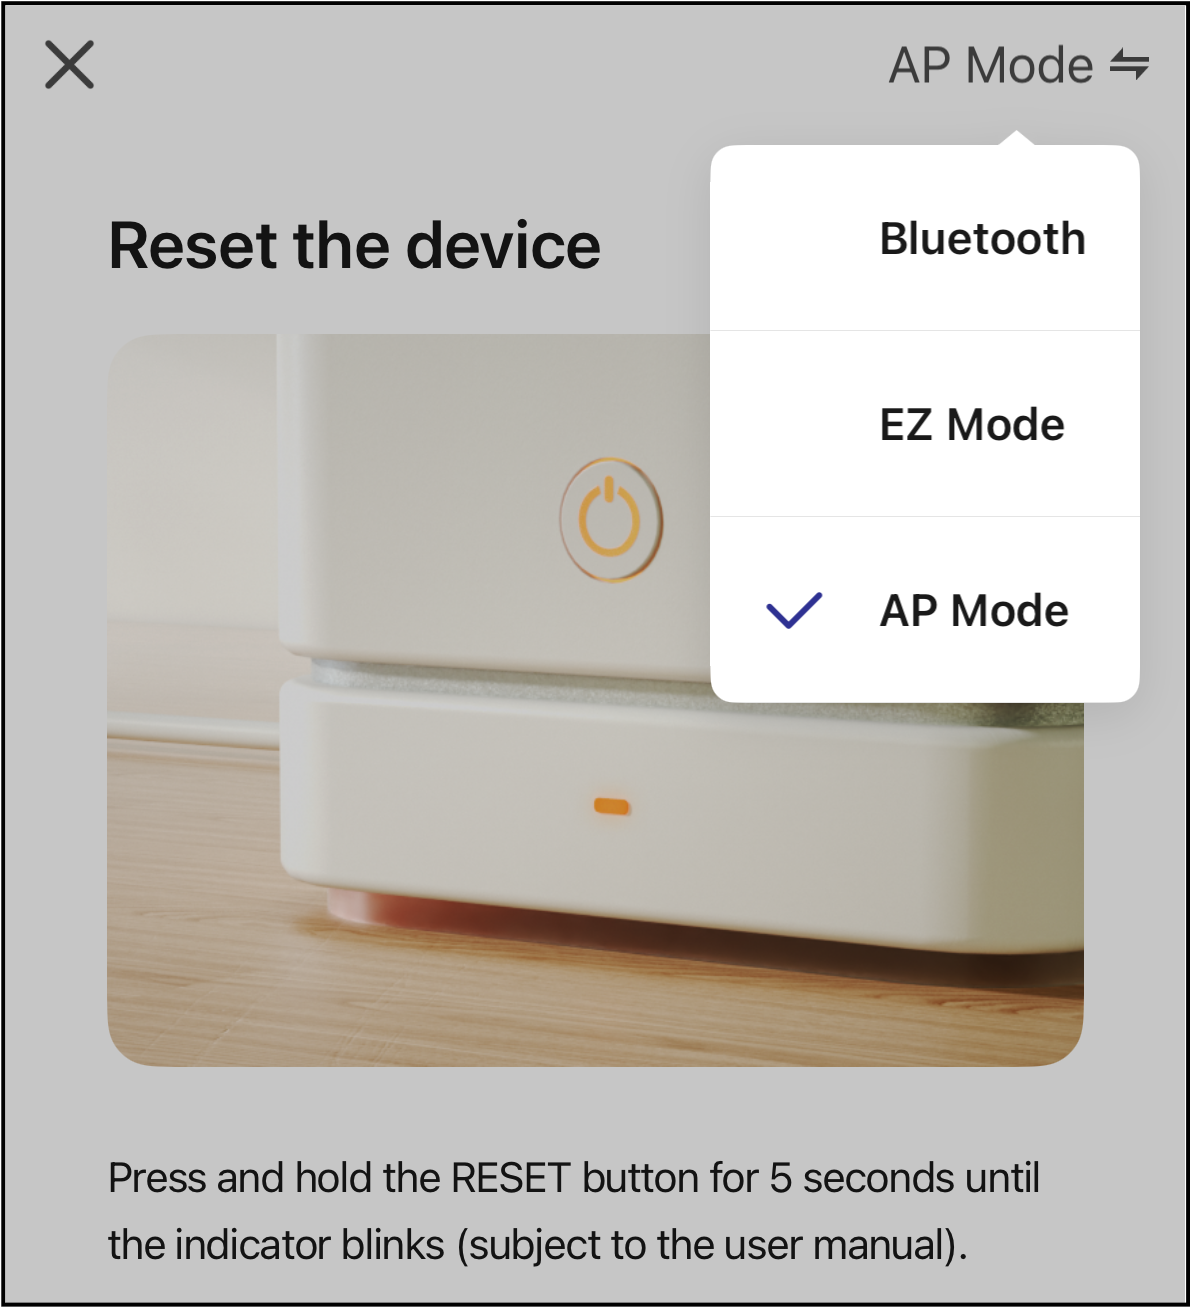
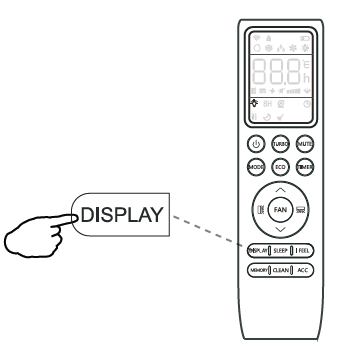
6. Reset the Wi-Fi module. The unit will emit a double-beep to confirm it's in pairing mode. There are two available methods for resetting the module:
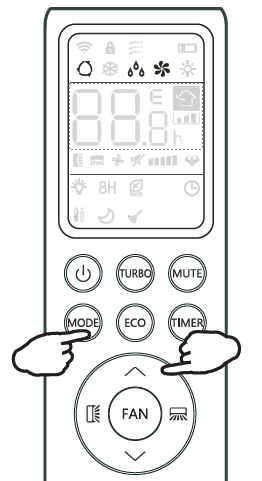
- Press the "Display" button on the remote controller six times consecutively.
- Press and hold the "Mode" and Up buttons for six seconds.
7. After resetting the Wi-Fi module, the unit should flash a "CF" or "AP" code to confirm it's now in pairing mode. 8. Toggle the "Confirm the indicator is blinking" check mark, then tap "Next".
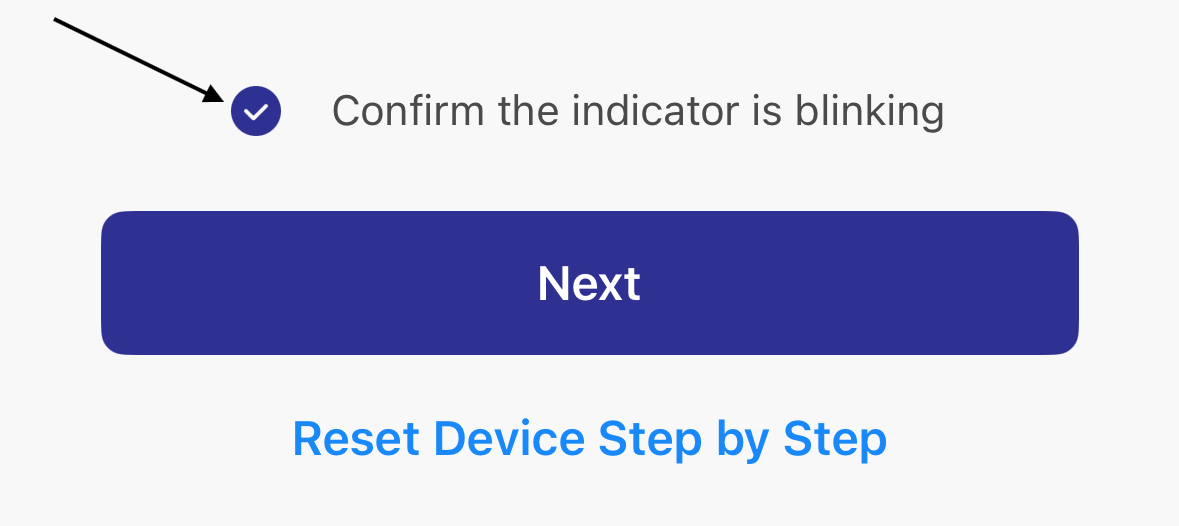
9. Select a 2.4 GHz Wi-Fi network and enter its password. Then, tap "Next". 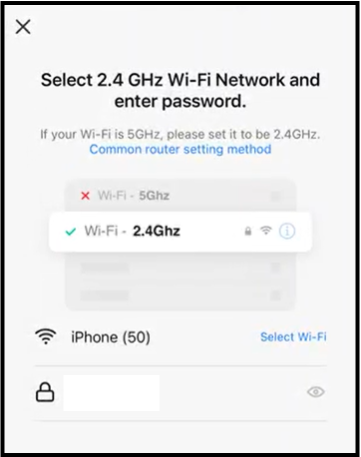
10. Connect the smartphone to the device's hotspot. The hotspot will be shown as "SmartLife-XXXX". The four X's will be represented by numbers. 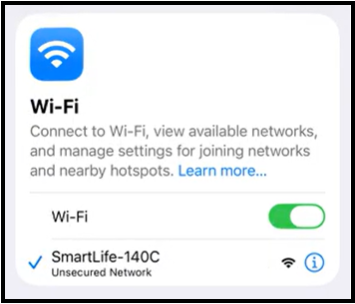
11. The app will display a 2-minute countdown. 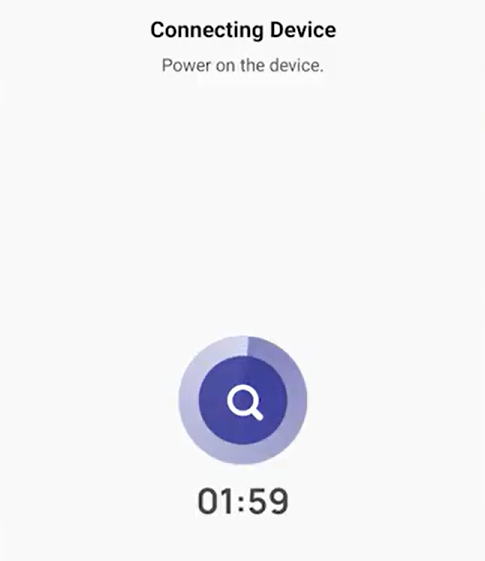
While the countdown is underway, the indoor unit display will flash the "PP" or "SA" codes to indicate that it has begun pairing with the phone.
12. The app will display an "Added successfully" message to confirm the connection with the system. 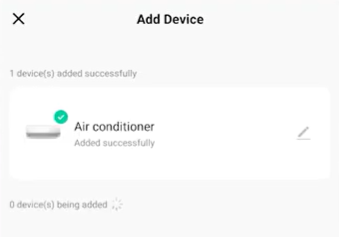
Optional: Tap the pencil icon to add a nickname for the device. Enter the nickname, then tap "Finish". 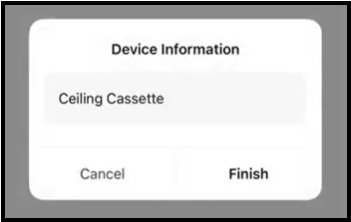
12. Tap "Done" to complete the pairing. 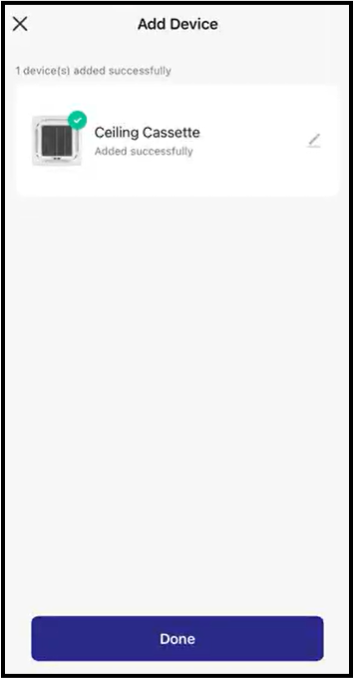
The user will now have access to the unit via the Pioneer Airlink app.
If Pairing Fails
Follow these recommendations, if pairing the device to the app fails:
Repeat the power-down reset and pairing sequence.
Confirm you are still on a 2.4 GHz Wi-Fi network.
Make sure the AP network (SmartLife-XXXX) appears in your Wi-Fi list.
Stay within 10–15 feet of the indoor unit during setup.