Setting Up the Electrical Wiring for Rooftop RV SystemsUpdated 7 days ago
Introduction
Learn how to properly setup the electrical wiring for the Full Inverter Rooftop RV Air Conditioner Heat Pump.
Warning Notes
- Disconnect the main power supply before starting work. Failure to follow this instruction may cause electric shock, serious injury, or death.
- Ground the equipment properly to prevent electric shock hazards. Connect the equipment to a reliably grounded 115V/60Hz circuit. Ignoring these instructions can cause death, personal injury, or equipment damage.
- Qualified personnel must perform the electrical installation. All wiring must comply with national electrical codes and industry standards.
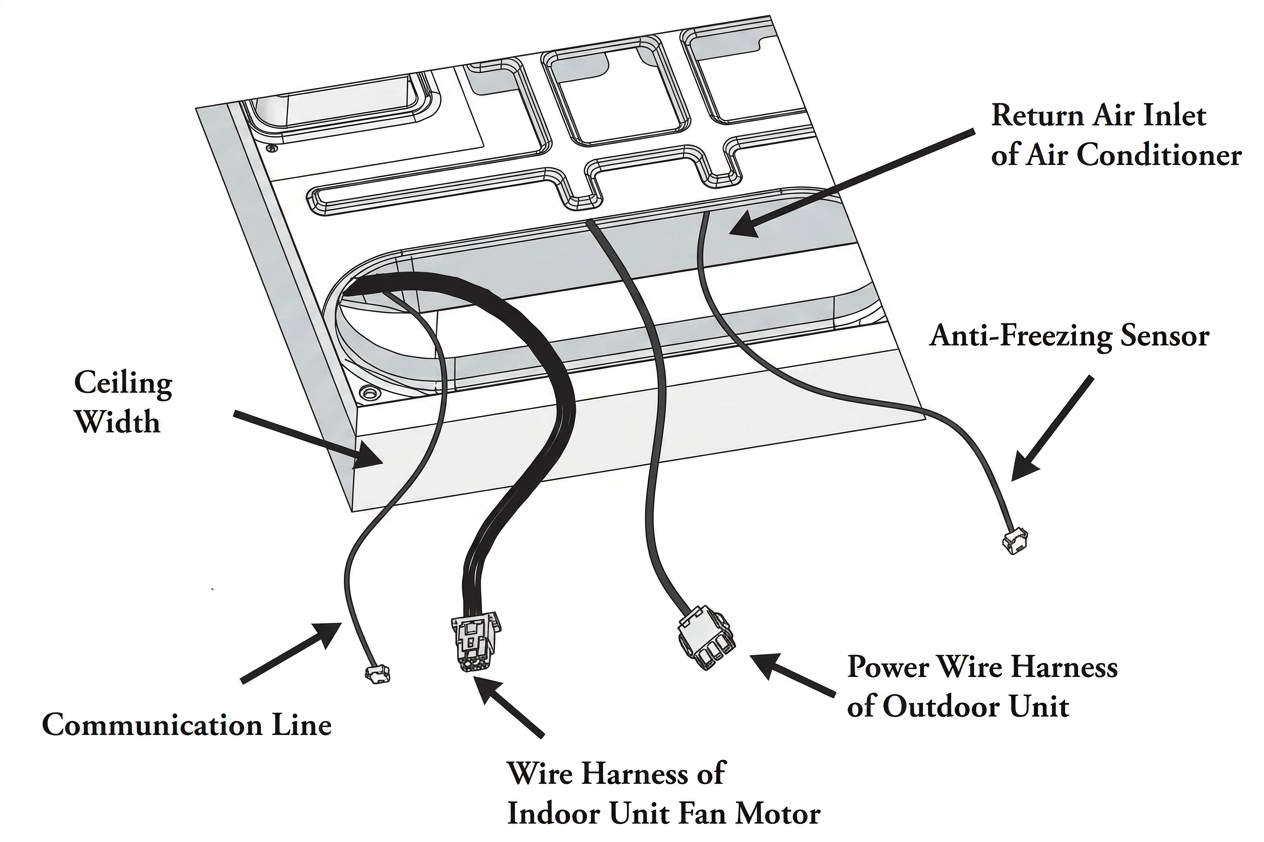
Steps
First, remove the maintenance plate from the control box port. Feed approximately 6 inches (152 mm) of the main power line into the box through the cable stub. Secure the cable stub to prevent tension on the line, which could cause loose connections.
Connect the wires as such:
- Connect the white wire in the control box to the white wire (neutral wire) of the main power line.
- Connect the black wire to the black wire (live wire) of the main power line.
- Connect the yellow-green wire to the yellow-green wire (ground wire) of the main power line.
Use specialized wiring connectors to secure the wires firmly.