Understand the air duct parameters for panel installationUpdated a day ago
Introduction
This article explains the air duct parameters for panel installation of the Quantum Ultra Ceiling Cassette (CYT-24) series.
Panel Installation
Notes:
- Complete panel installation after piping and wiring connection.
- Confirm the indoor unit and ceiling hole installation size is correct before installation.
- Seal the connection parts between the panel, ceiling and panel, and indoor unit. Even small gaps may cause wind/water leakage or condensing water.
Air Duct Parameters
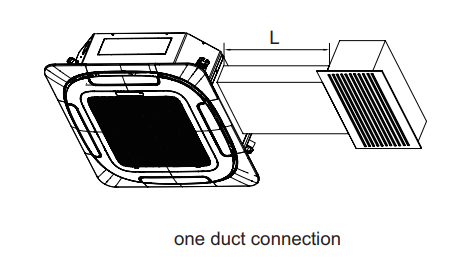
| Model | Indoor Air Volume | L (Max Length) One Duct Connection | L (Max Length) One Duct Connection |
|---|---|---|---|
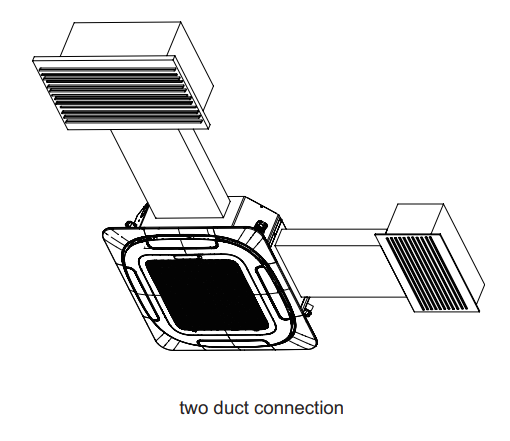
| 9K | 520m³/h | 2m (6.6 ft) | 1.5m (4.9 ft) |
| 12K | 550m³/h | 2m (6.6 ft) | 1.5m (4.9 ft) |
| 18K | 700m³/h | 2m (6.6 ft) | 1.5m (4.9 ft) |
| 24K | 1500m³/h | 2m (6.6 ft) | 1.5m (4.9 ft) |
| 36K | 1800m³/h | 2m (6.6 ft) | 1.5m (4.9 ft) |
| 48K | 2100m³/h | 2m (6.6 ft) | 1.5m (4.9 ft) |
| 55K | 2100m³/h | 2m (6.6 ft) | 1.5m (4.9 ft) |
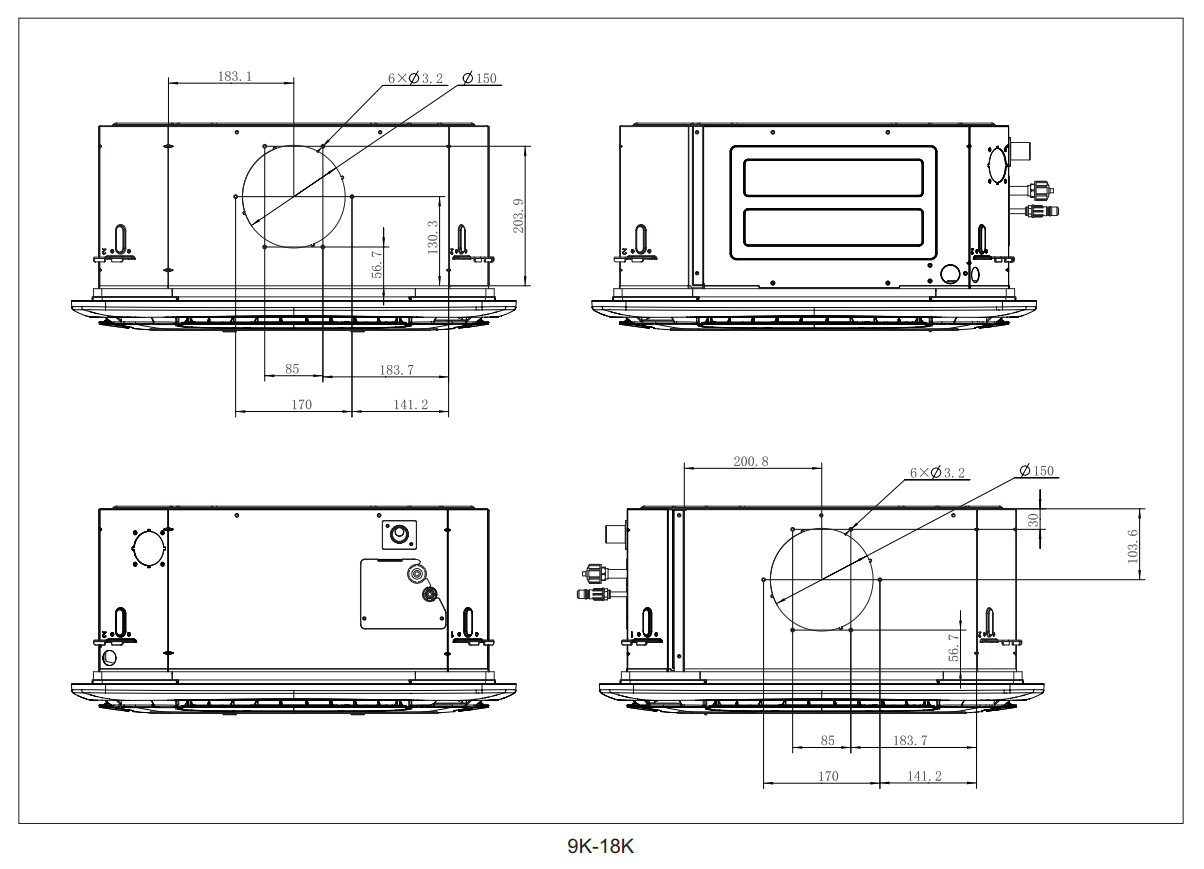
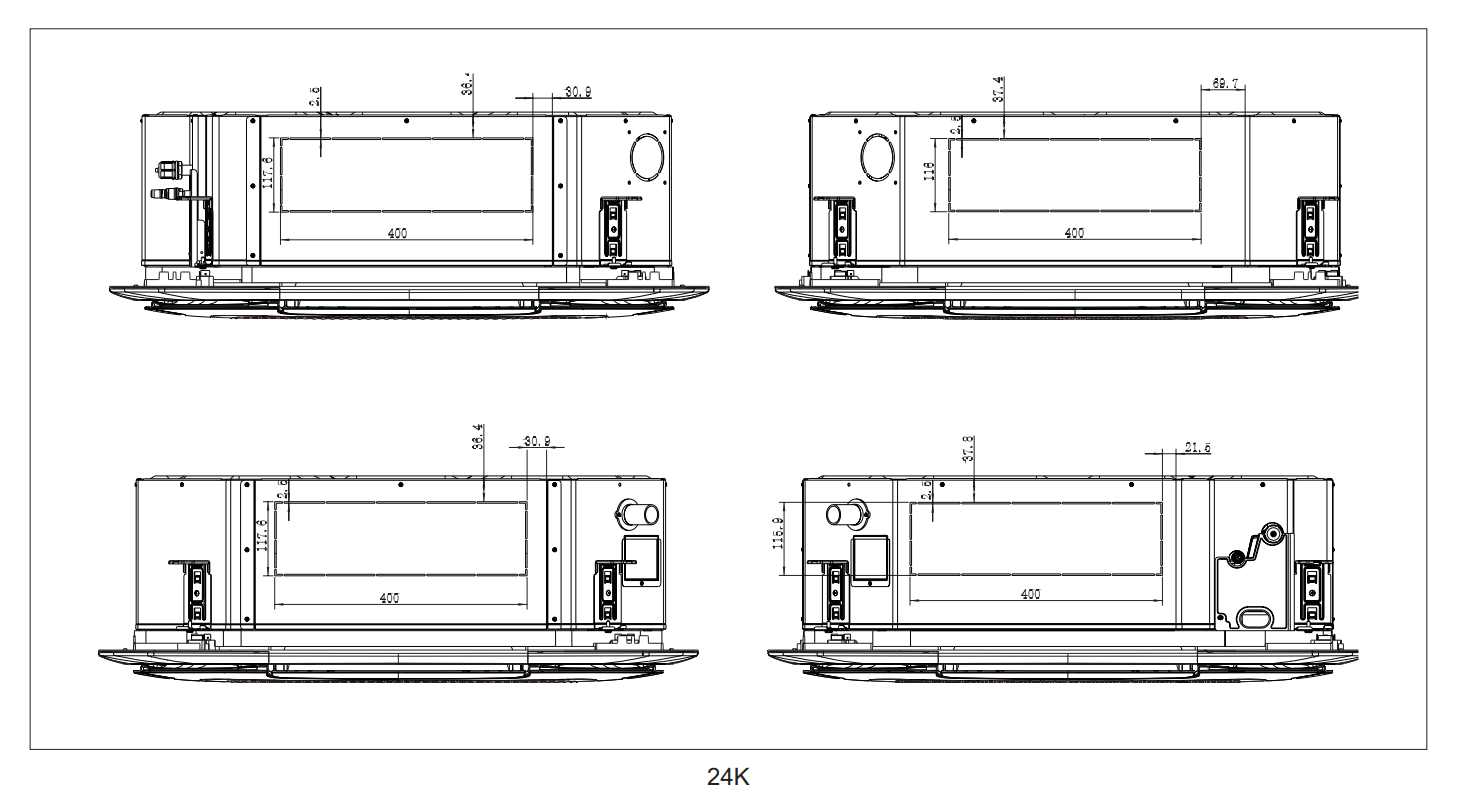
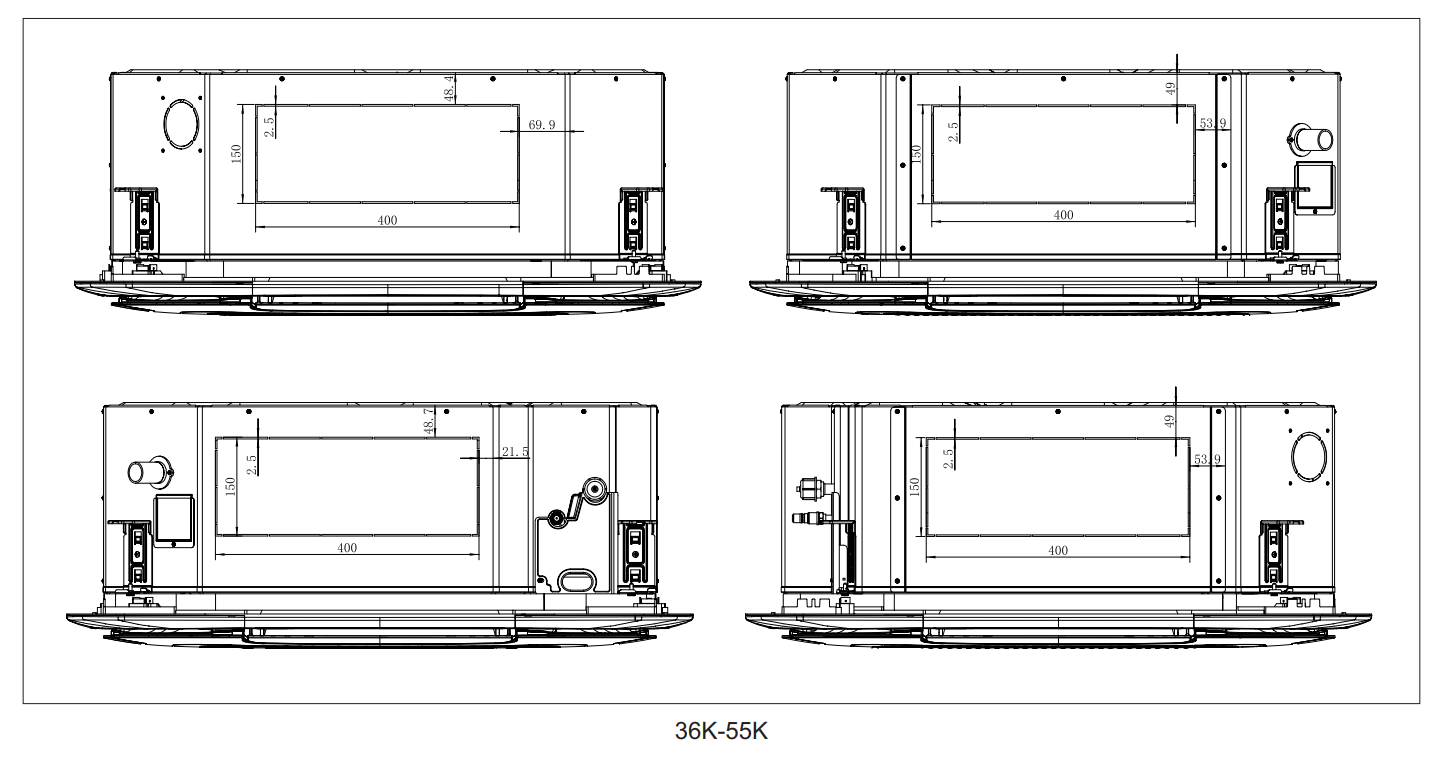
One Duct Connection
Two Duct Connection
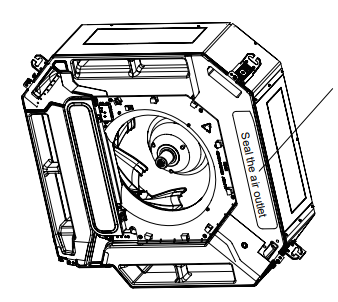
Close Original Outlet
If you want to close the original outlet after connecting the duct, stick the sealing tape on the air outlet corresponding to the air duct, as shown in the below figure, before installing the panel. It is recommended not to close the original air outlet after connecting the air duct. If the effect of the air duct is not good, the original air outlet can be close. However, pay attention to whether there is water dripping during operation after sealing.