Set Up the Personal Information for Your Pioneer Airlink App AccountUpdated 4 months ago
Introduction
This article explains how to set up the personal information for your Pioneer Airlink app account.
Users can set nicknames for their accounts, add profile photos, and set the time zone in the personal information section.
Profile Photo
Follow these steps to add a profile photo for your account:
1. Open the Pioneer Airlink app.
2. Open the "Me" tab. 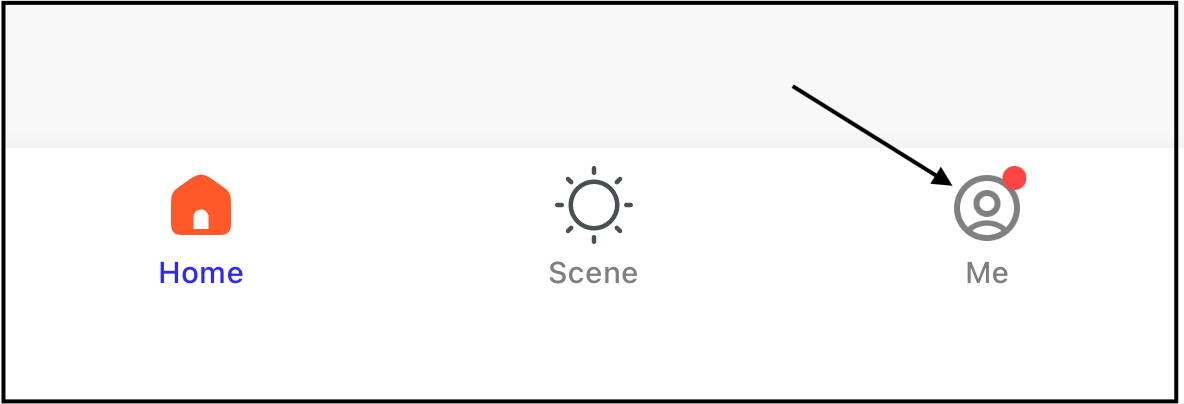
3. Tap the settings icon in the top-right corner of the screen. 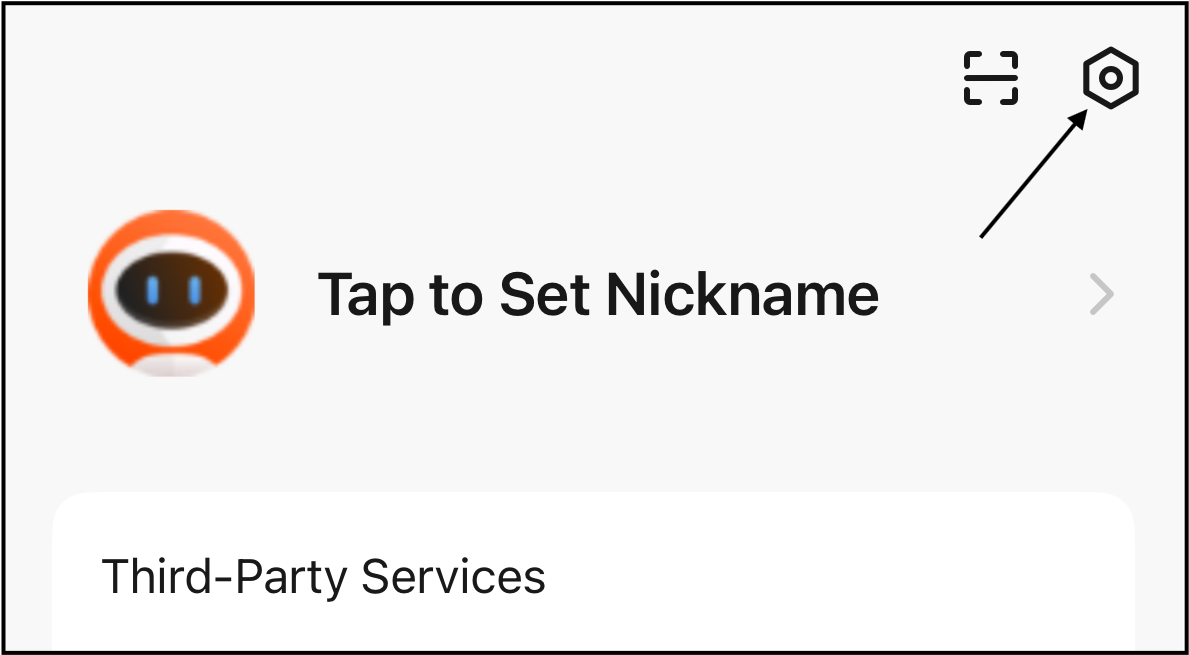
4. Tap "Personal Information". 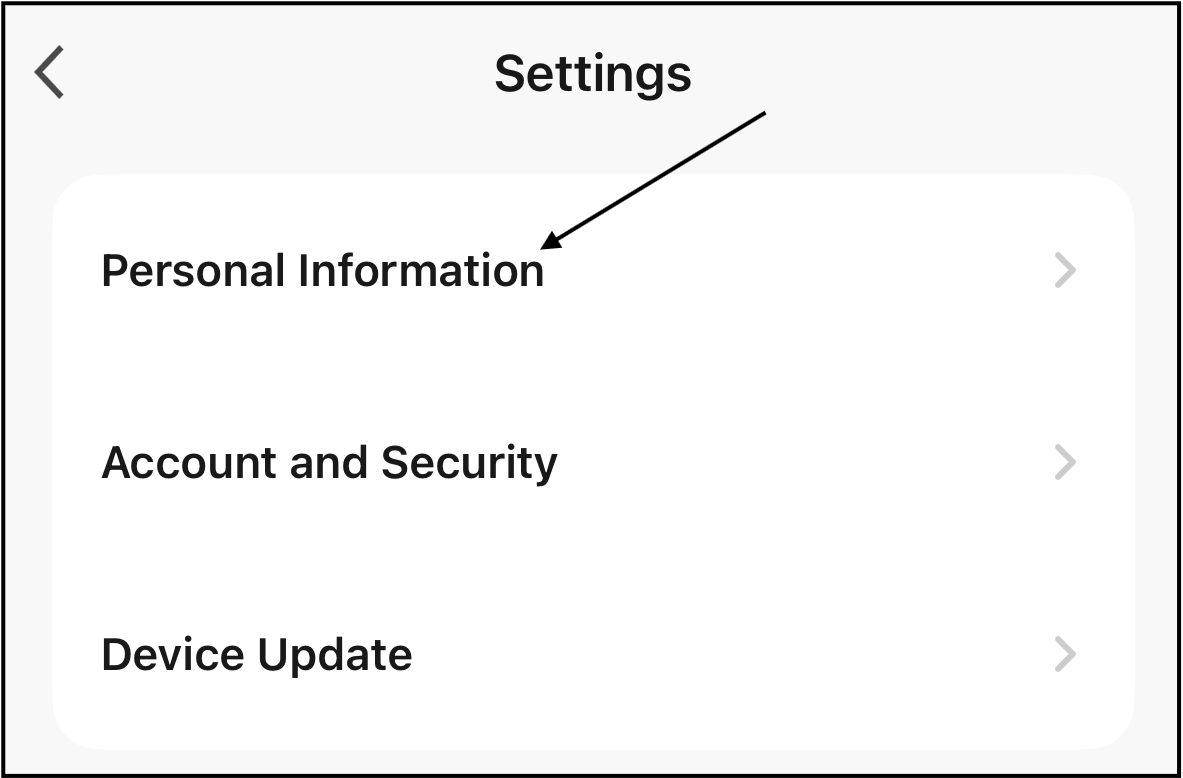
5. Tap "Profile Photo" to set a profile photo for the account. 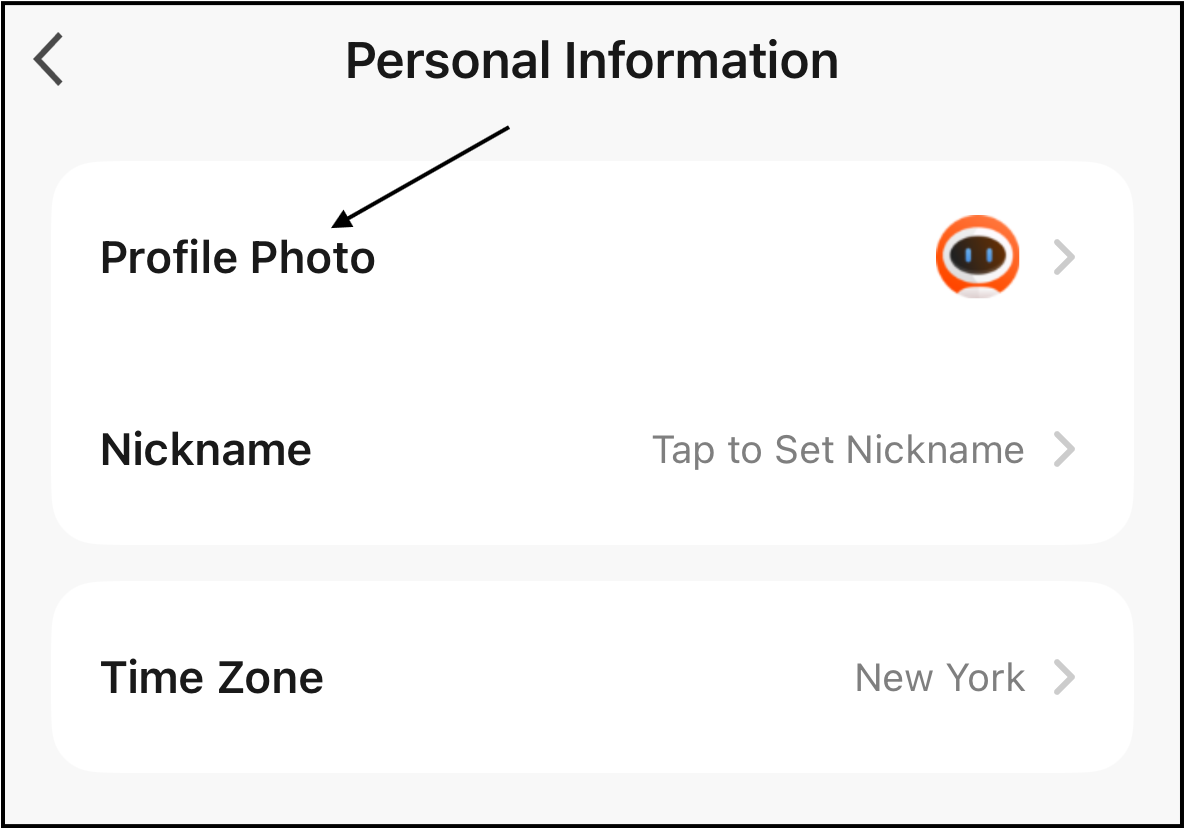
6. Tap "Select from Album" to select a photo. 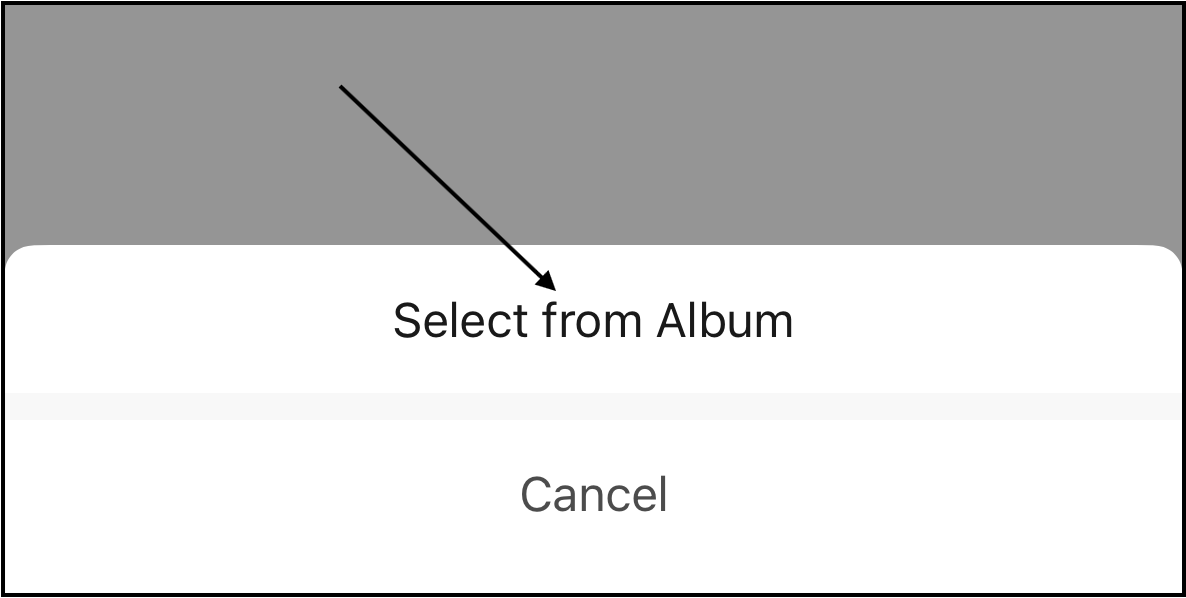
7. For first-time users, the app will request access to the phone's photo library. Tap either "Limit Access" or "Allow Full Access" to allow the app to access photos stored on the phone. 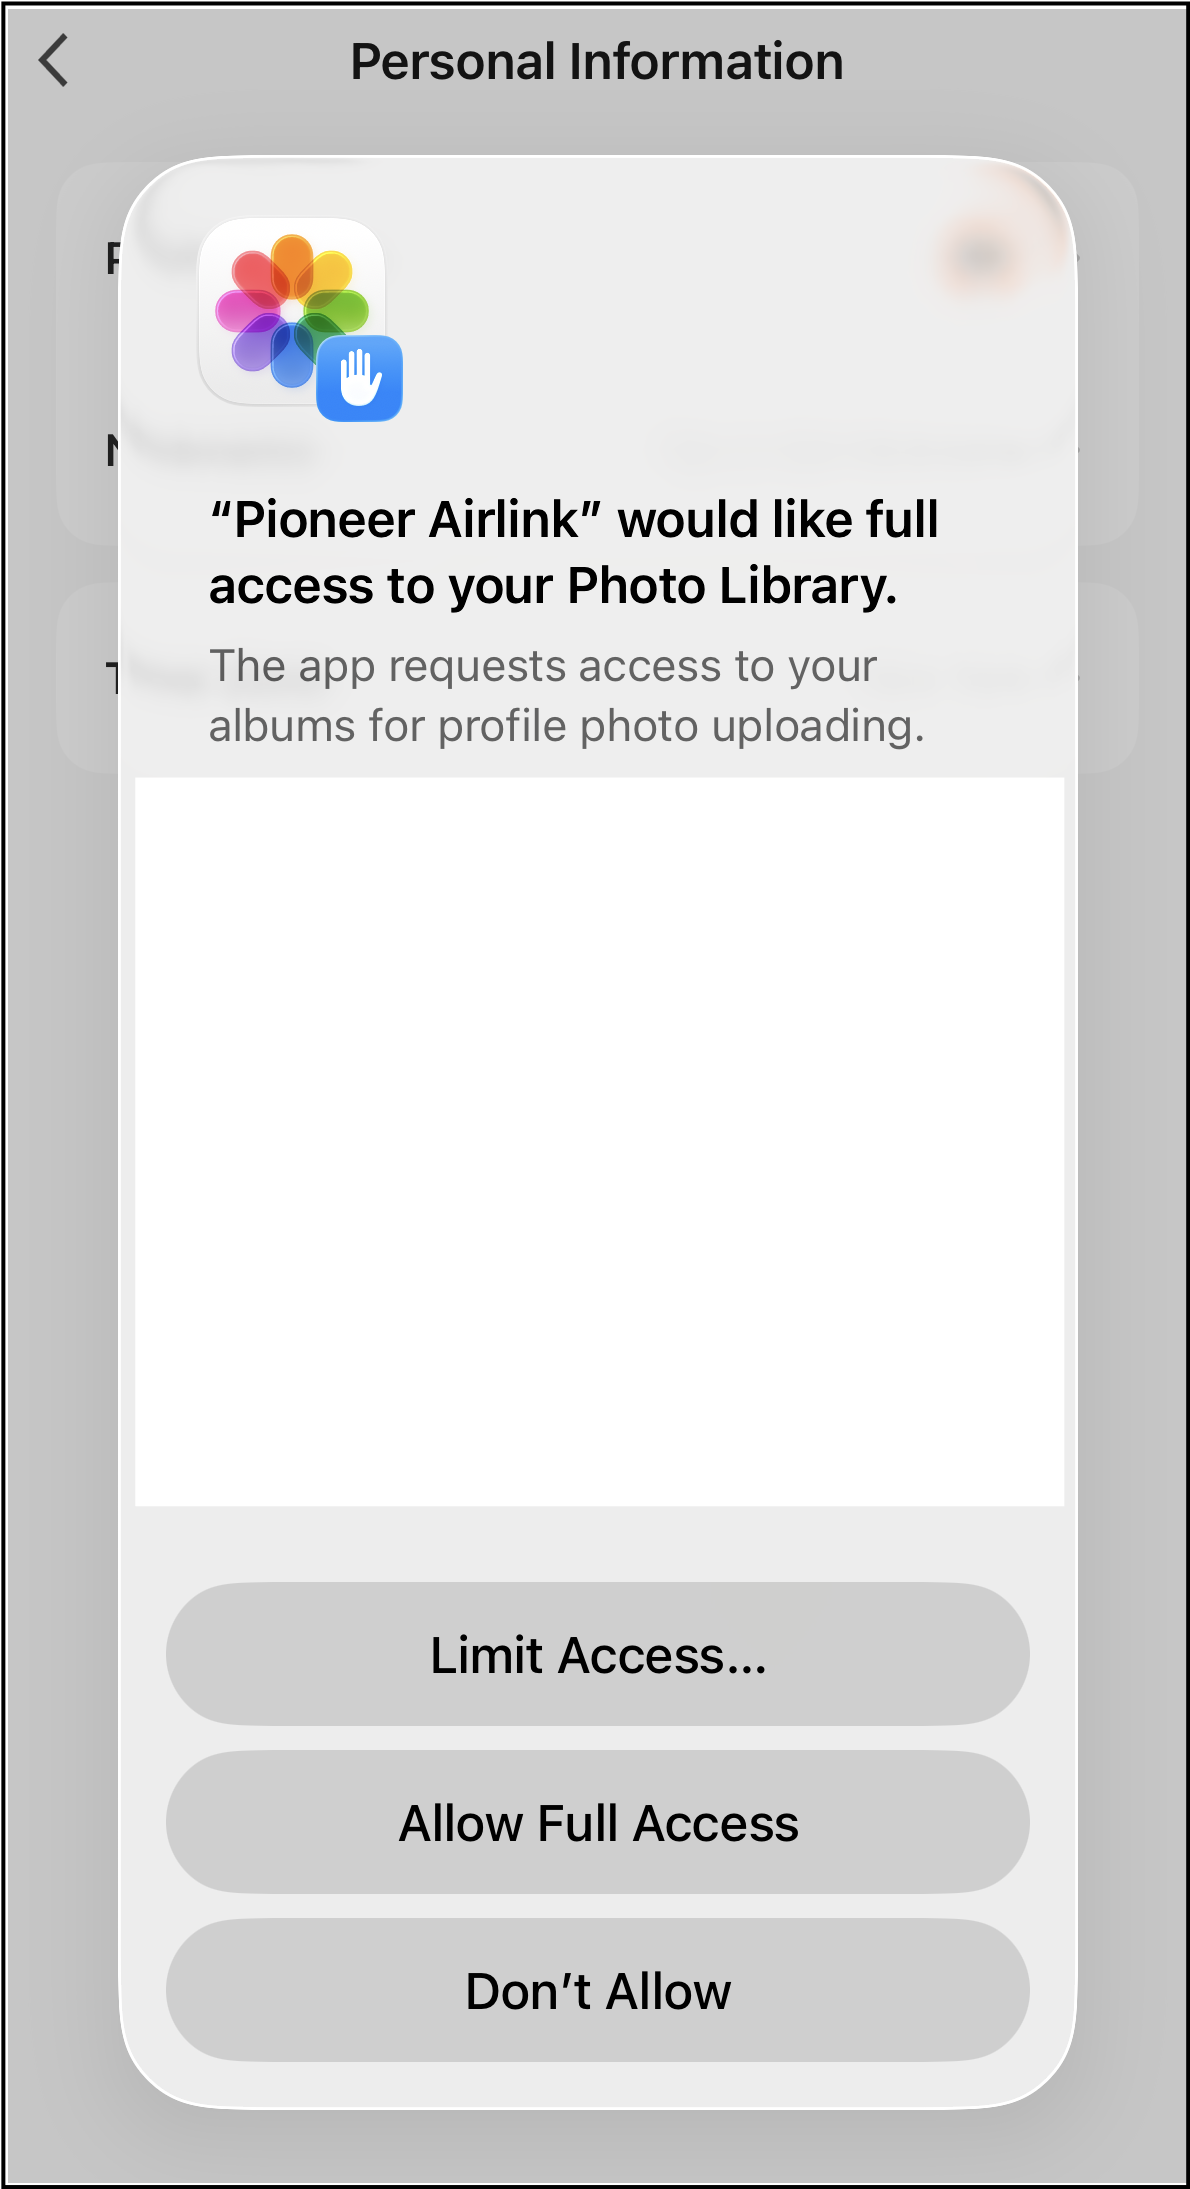
8. Select the desired profile photo for the account. 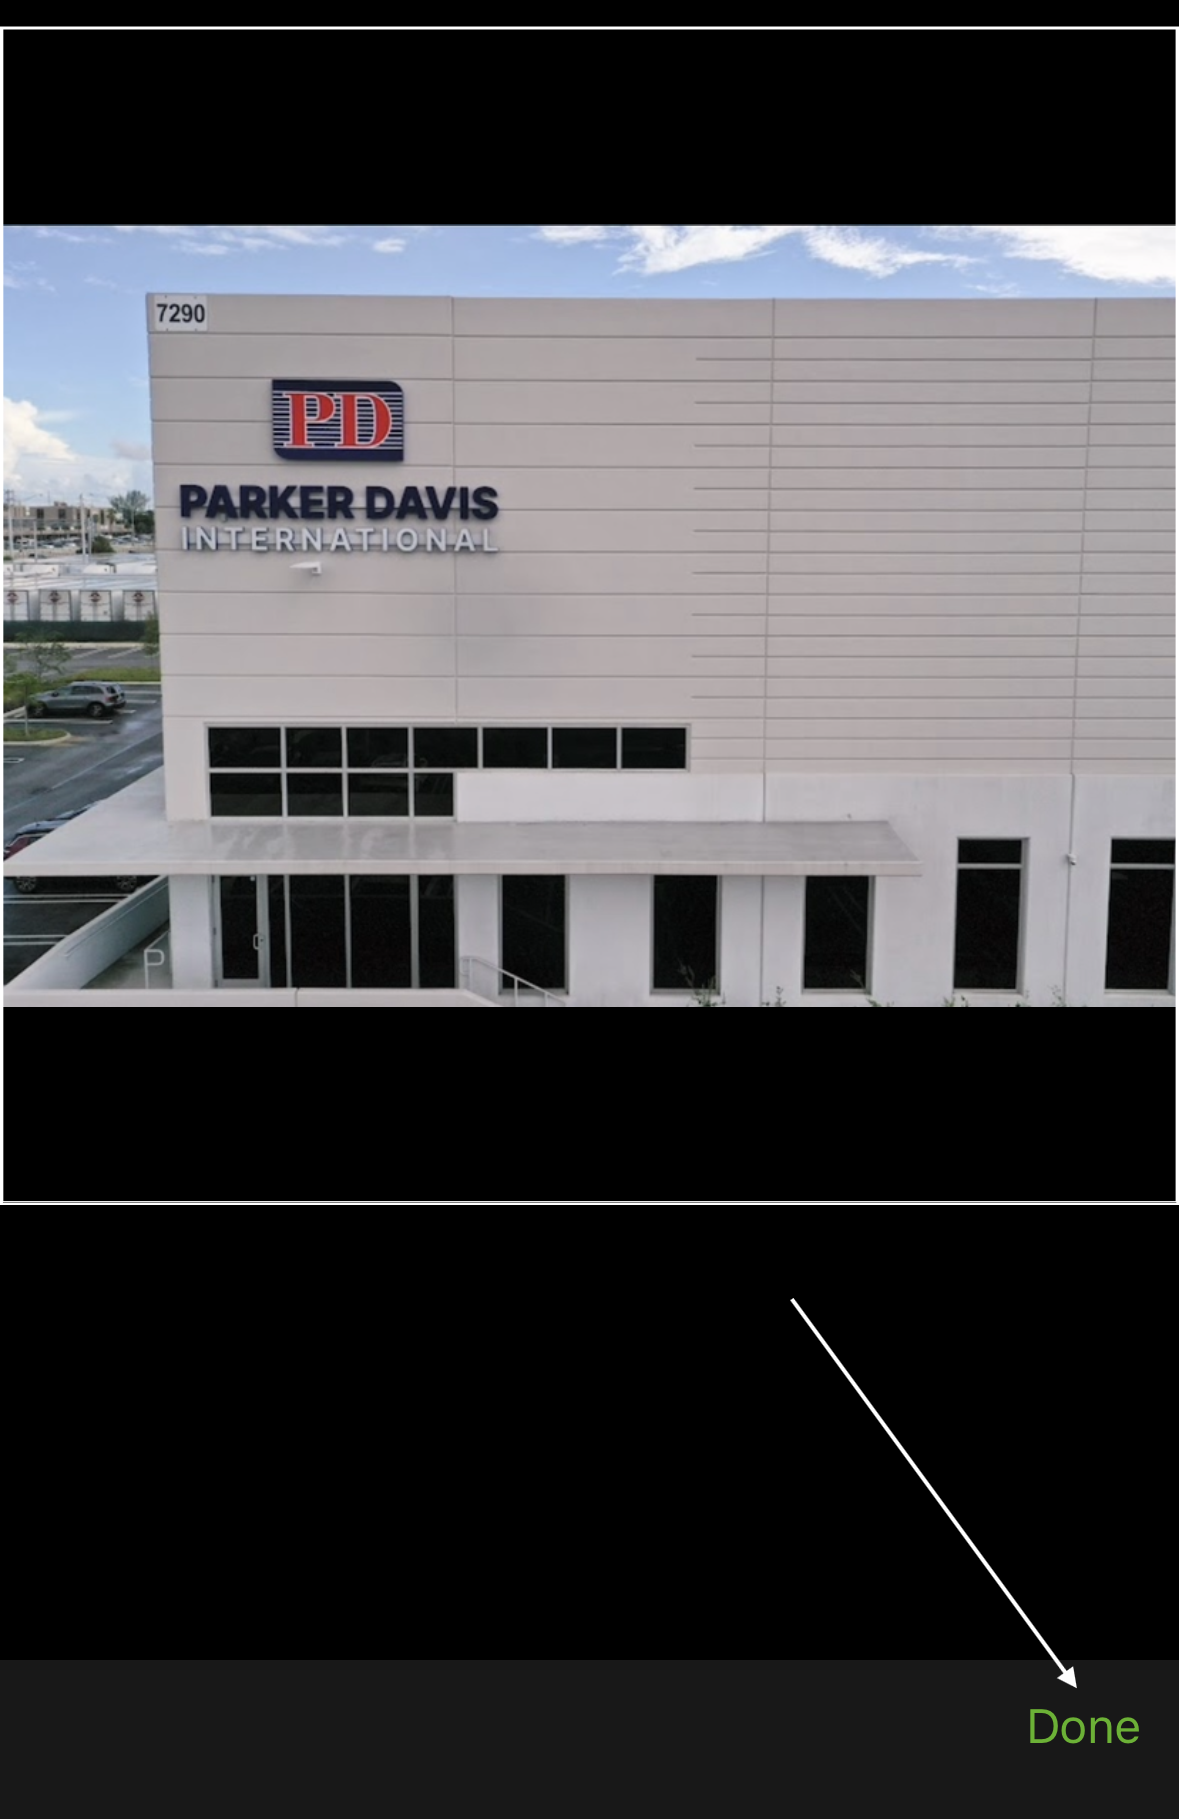
9. After selecting the photo and its position, tap "Done".
The selected photo will be saved on the app.
Nickname
Follow these steps to set a nickname for the account:
1. Open the Pioneer Airlink app.
2. Open the "Me" tab.
3. Tap the settings icon in the top-right corner of the screen.
4. Tap "Personal Information".
5. Tap "Nickname" to set a nickname for the account. 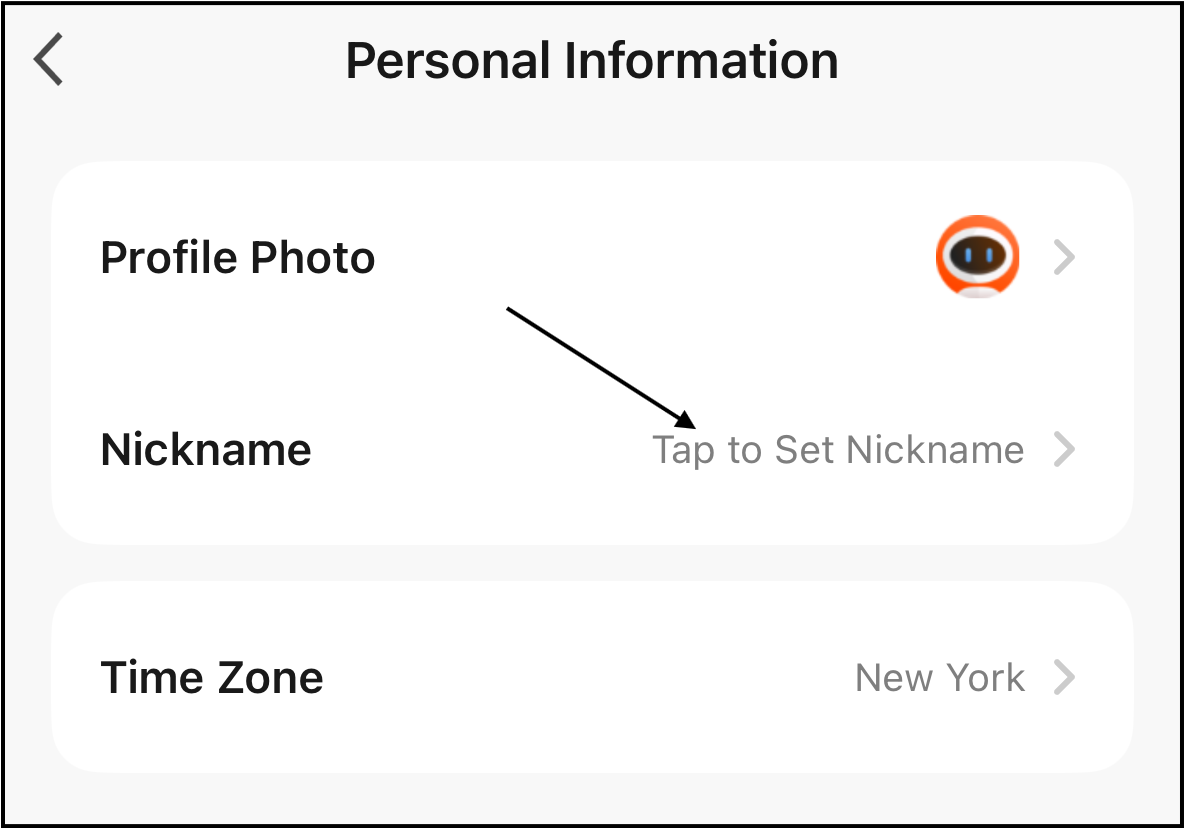
6. Enter the nickname for the account. 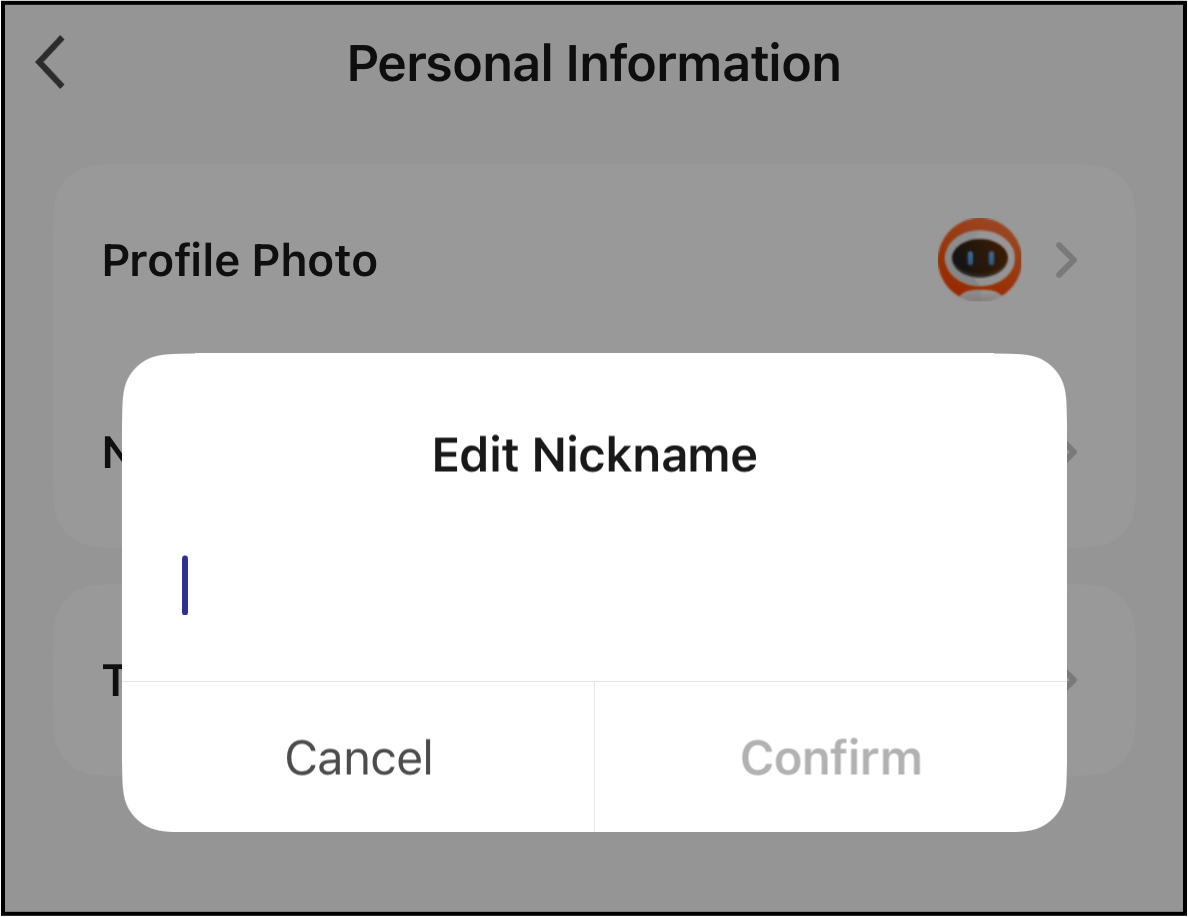
7. After entering the nickname, tap "Confirm".
The nickname is now set.
Time Zone
Follow these steps to set a time zone for the account:
1. Open the Pioneer Airlink app.
2. Open the "Me" tab.
3. Tap the settings icon in the top-right corner of the screen.
4. Tap "Personal Information".
5. Tap "Time Zone" to set a time zone for the account. 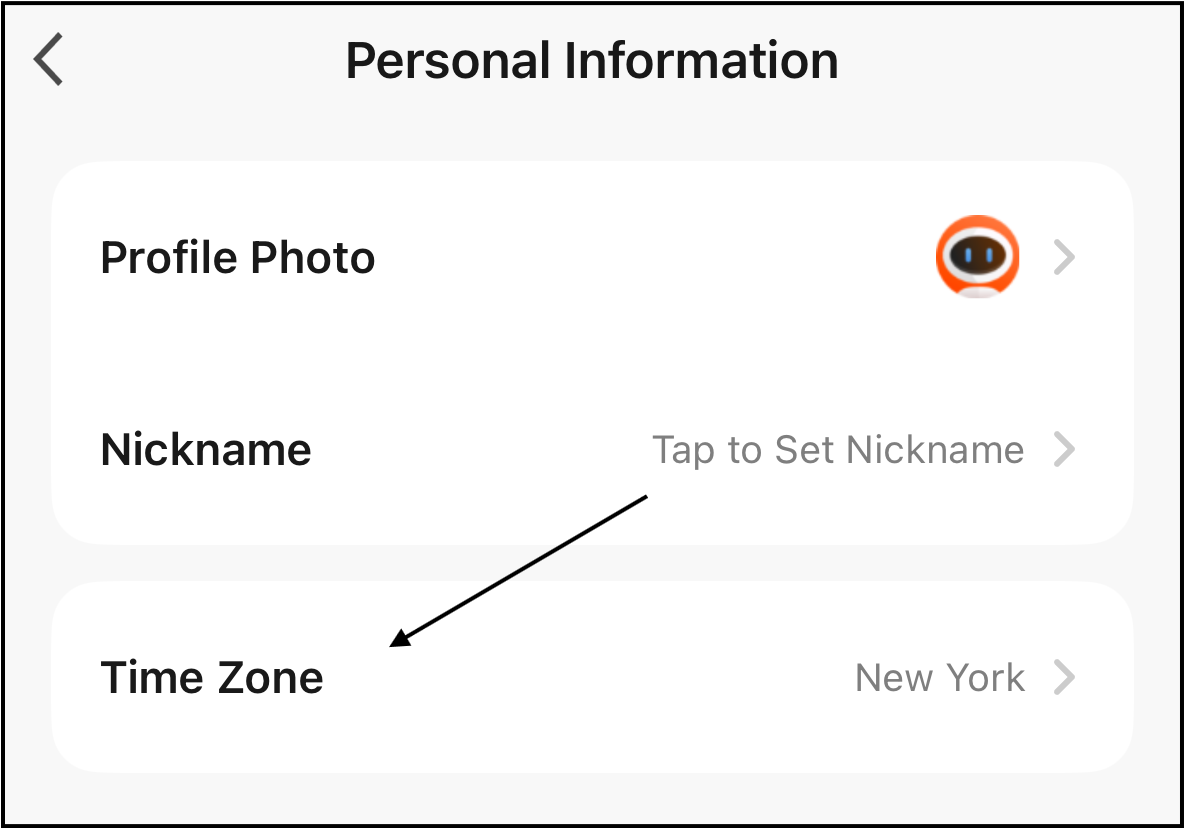
6. Select the desired time zone for the account. 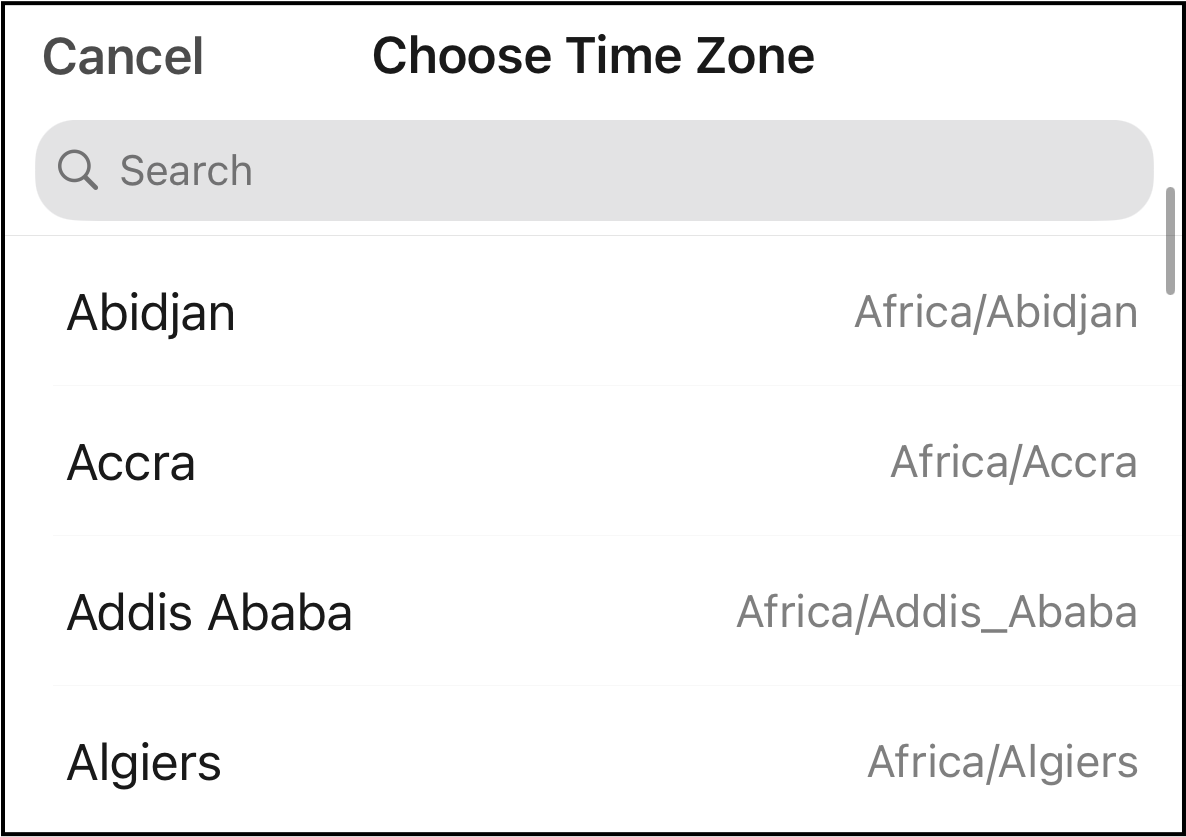
The time zone is now set.