Add & Pair Devices to the Pioneer Airlink AppUpdated 13 minutes ago
Introduction
This article explains how to add and pair devices to the Pioneer Airlink app.
Users can add and pair devices to conveniently control their systems. More than one device can be paired to the app.
Devices can only be added and paired after the internet access module or USB drive has been installed. Users must also create a Pioneer Airlink app account. For more information, click this link.
Video Tutorial
Watch our video tutorial on how to add and pair devices to the app. The tutorial explains the process from 1:45-2:52 in the video.
Steps
1. Log into the Pioneer Airlink app.
2. Tap "Add Device" or the plus icon to add a device to the app. 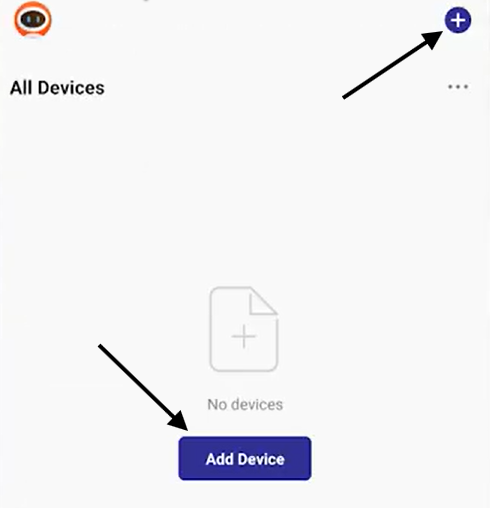
3. Tap either "Air Conditioner (BLE+Wi-Fi)" or "Air Conditioner (Wi-Fi)". Typically, new units should use the "Air Conditioner (BLE+Wi-Fi)" option, while older units should use the "Air Conditioner (Wi-Fi)" option. 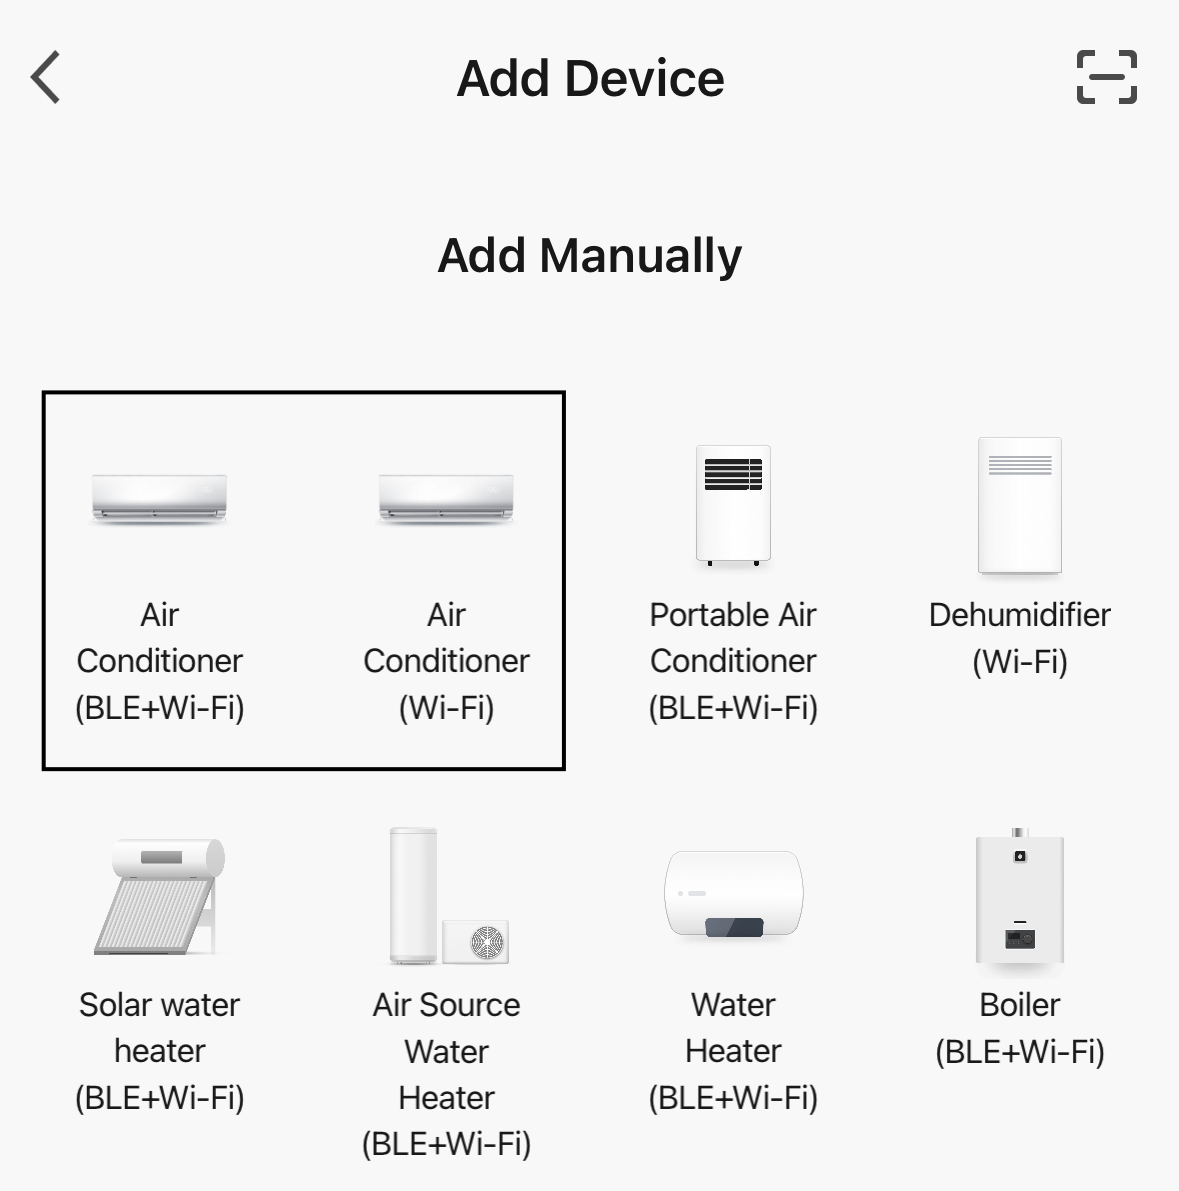
4. Select the Wi-Fi network and enter the password for the network. Then tap "Next". 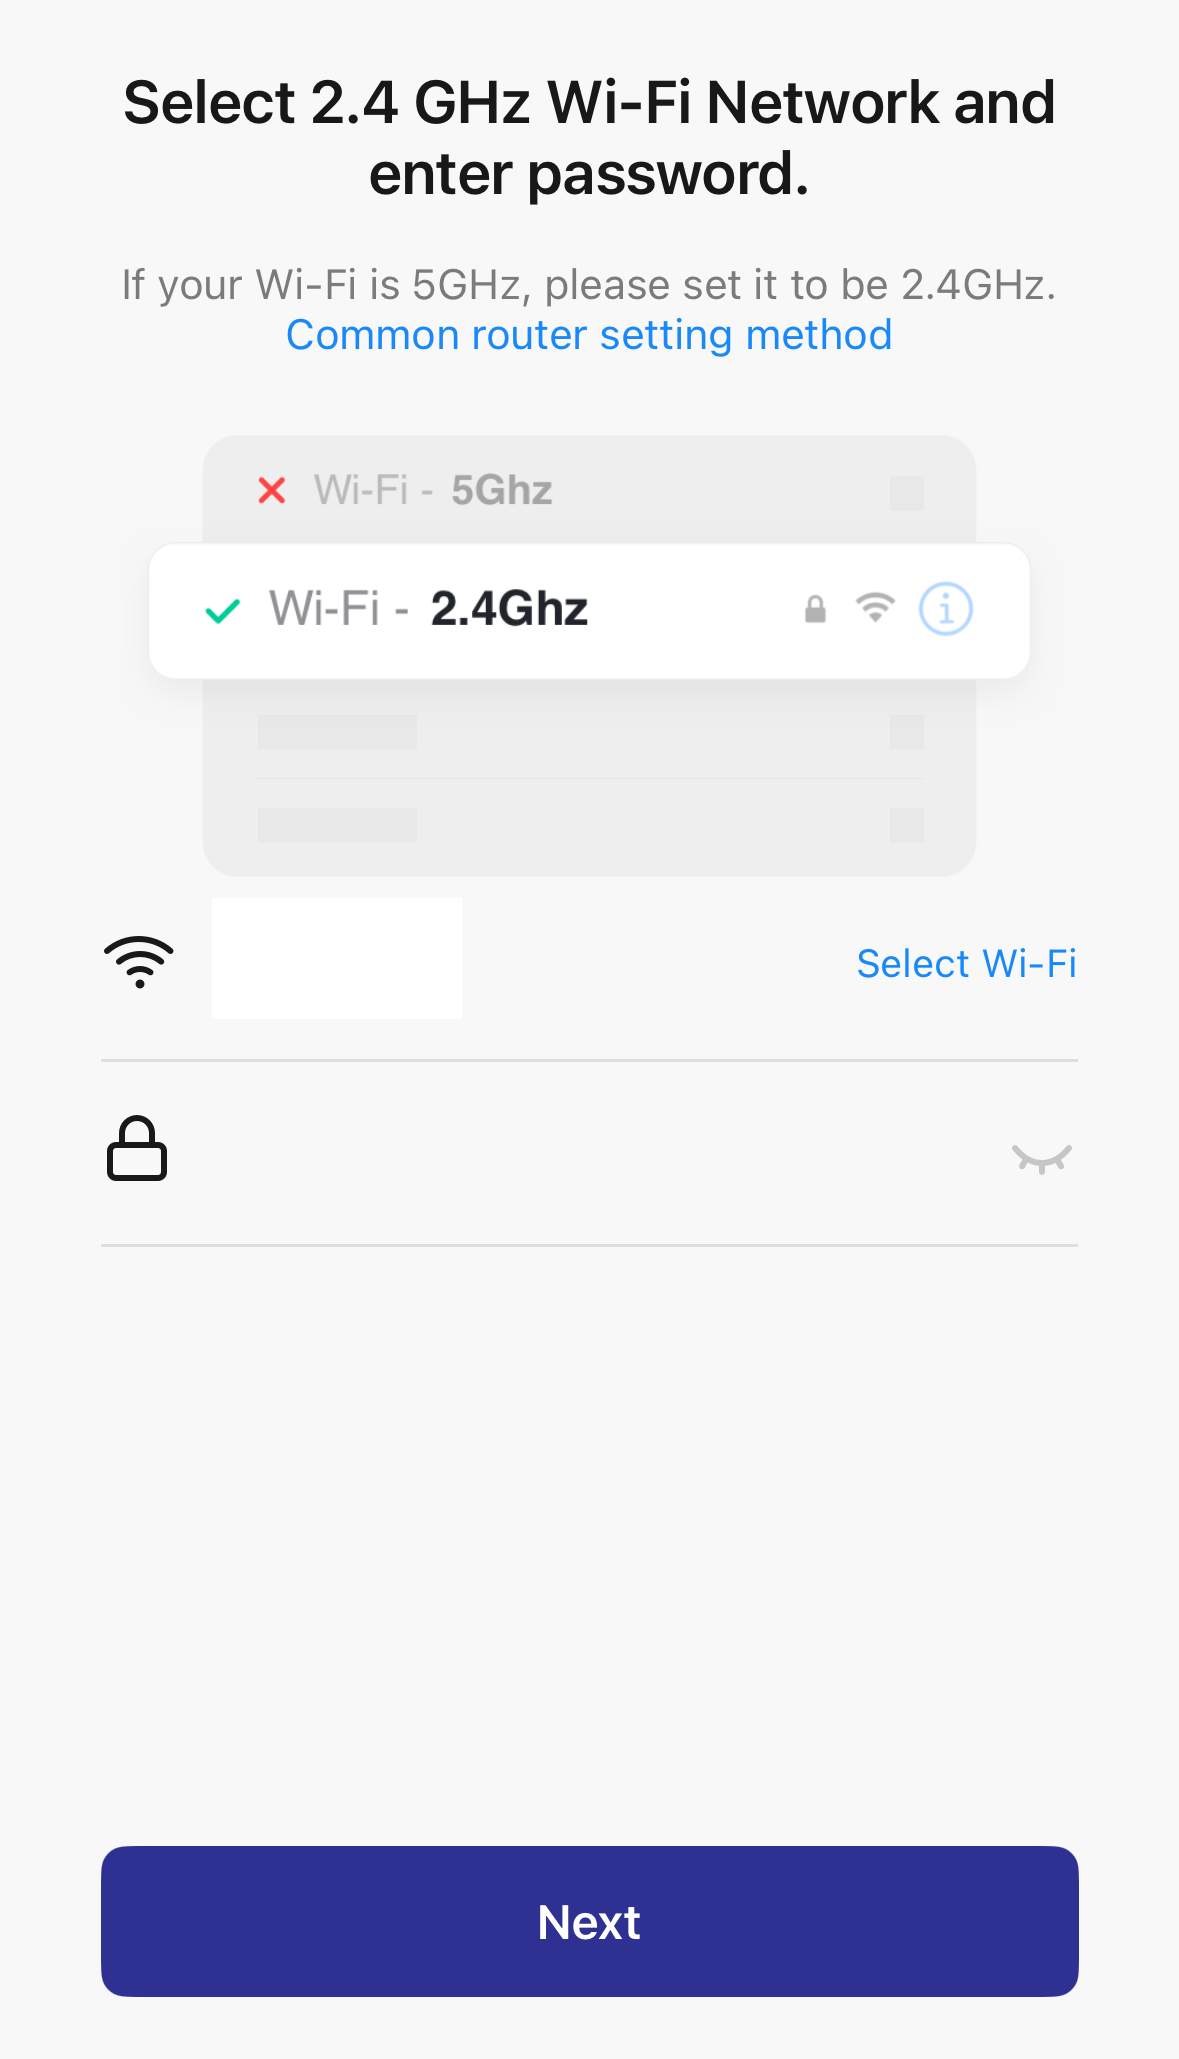
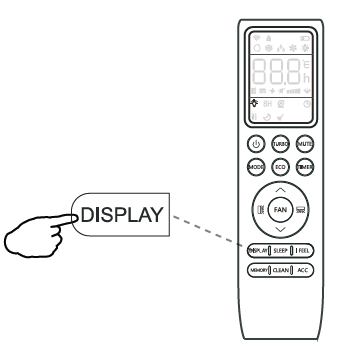
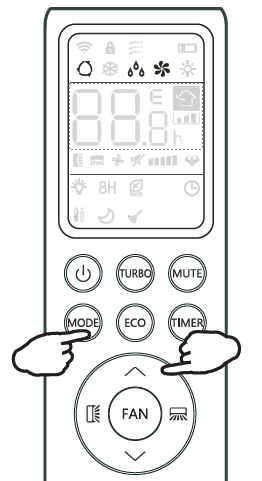
5. Reset the Wi-Fi module. There are two available methods for resetting the module.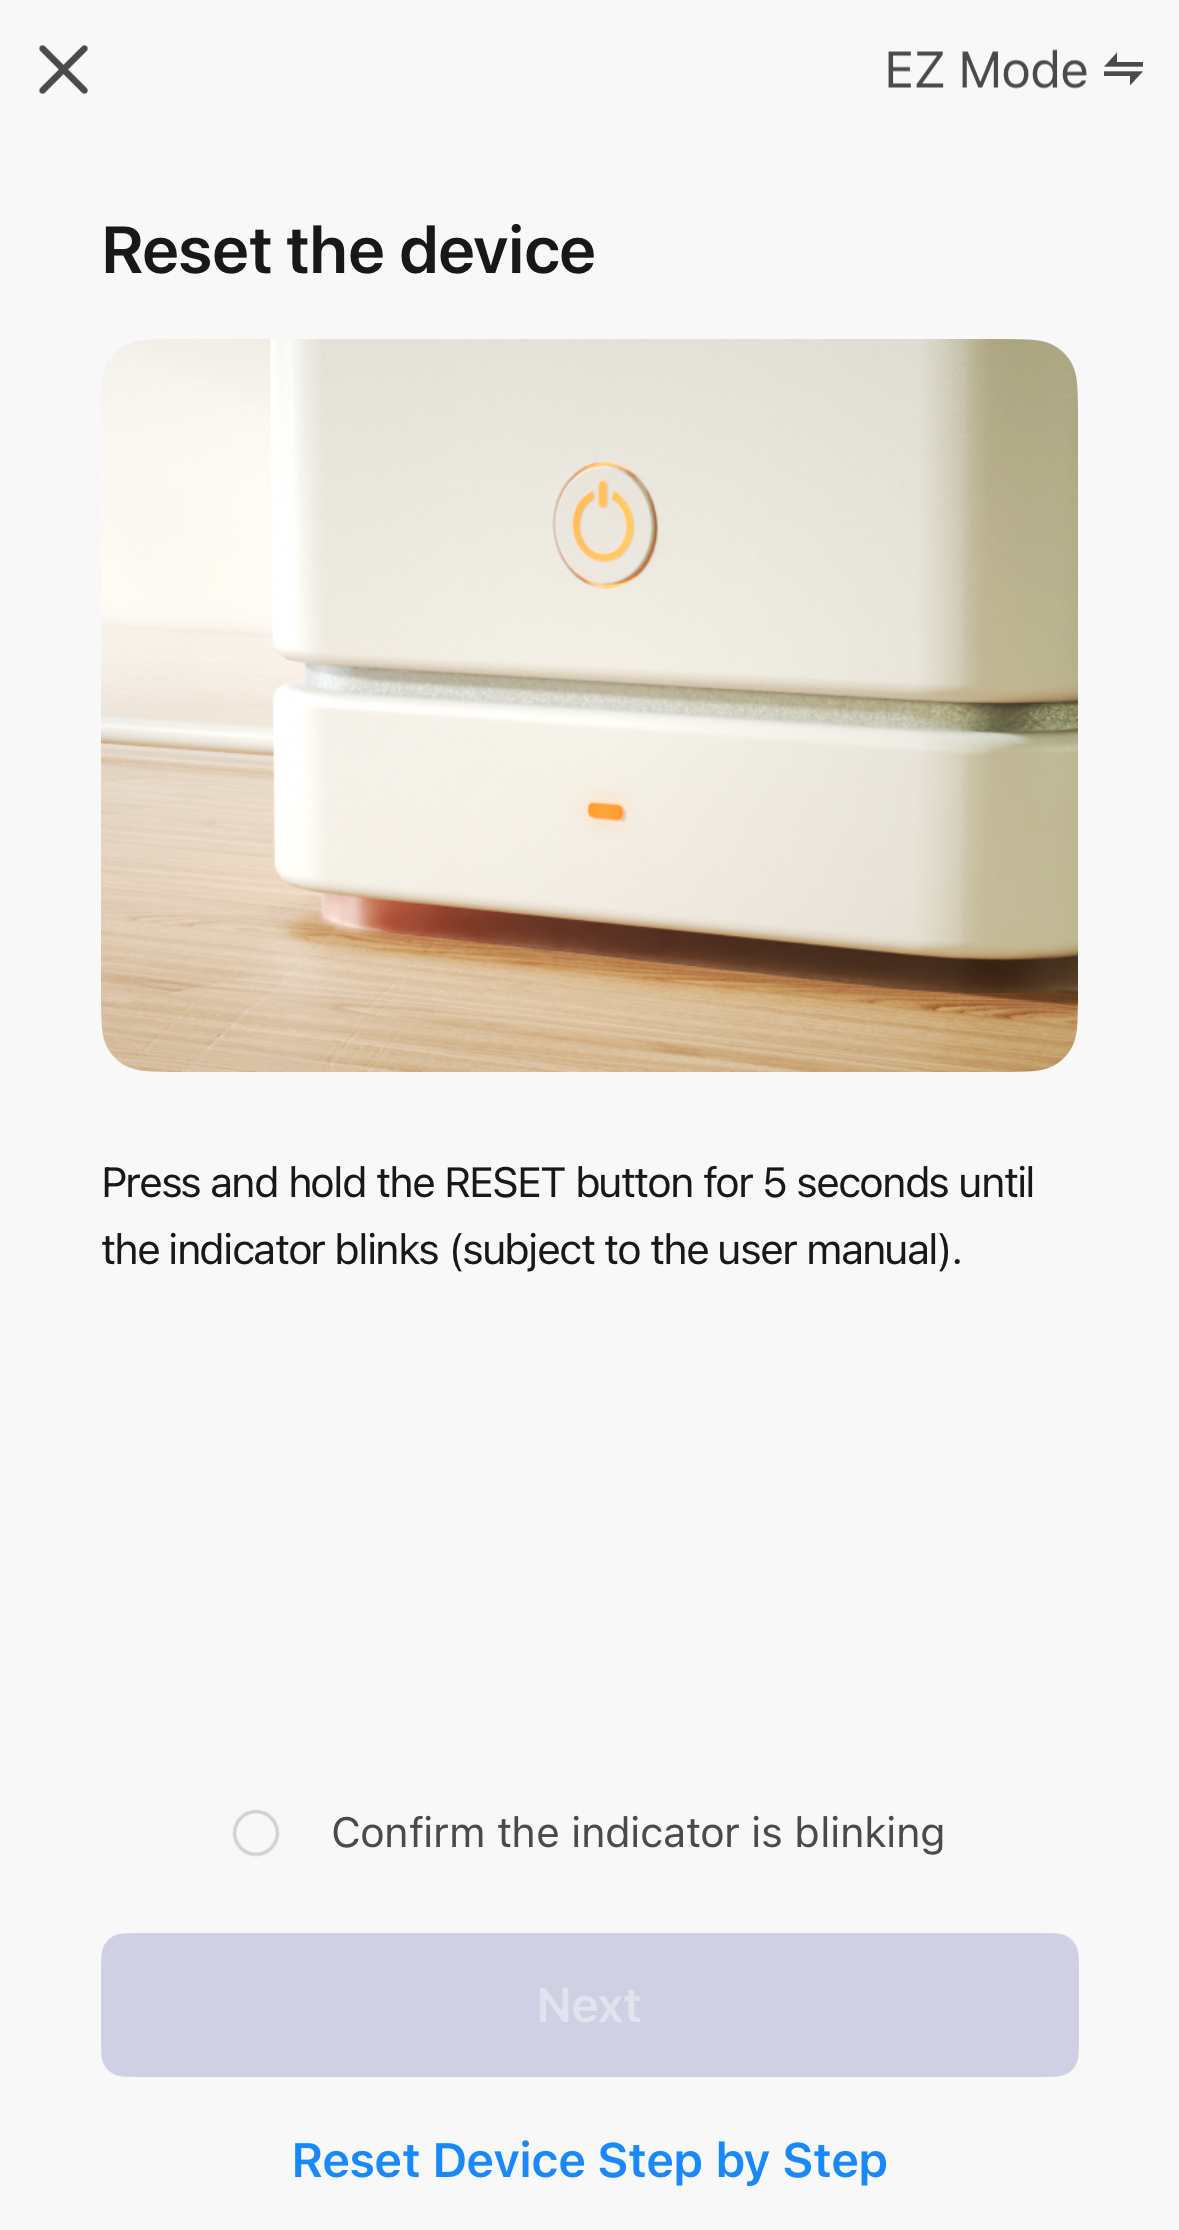
- Press the "Display" button on the remote controller six times consecutively to reset the unit.
- Press and hold the "Mode" and up buttons for four seconds.
6. After resetting the Wi-Fi module, the unit should flash a "CF" code.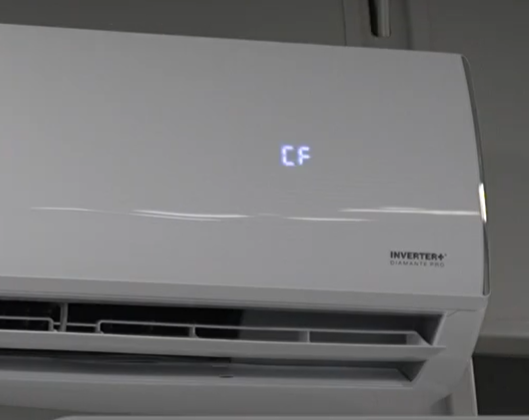 Toggle the "Confirm the indicator is blinking" checkmark, then tap "Next".
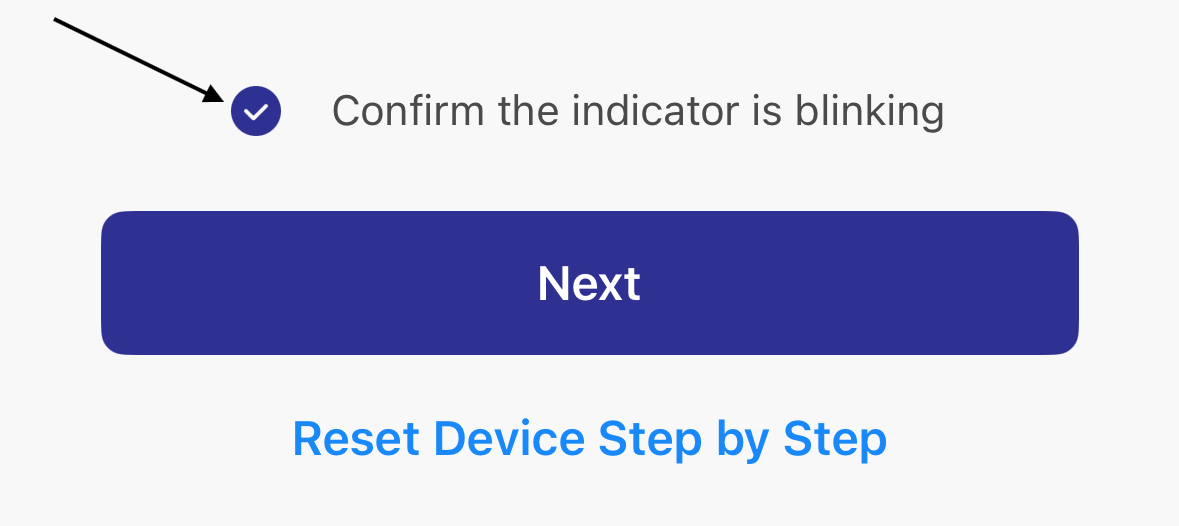
7. Allow the app to search for the internet module signal. 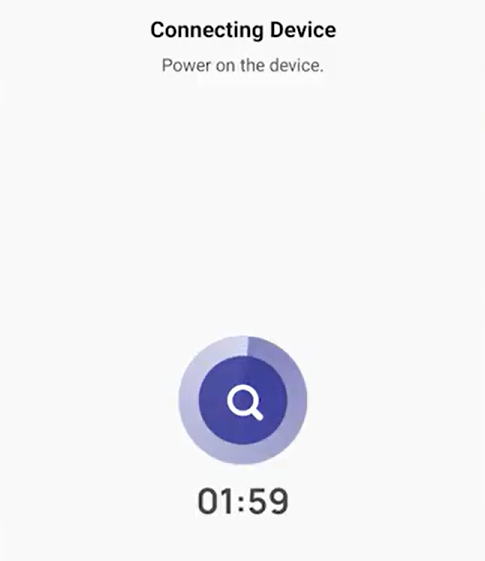 The indoor unit display will flash various LED codes like "PP" or "SA". These codes indicate that the unit has begun pairing with the phone.
8. The app will display an "Added successfully" message to confirm the connection with the system. 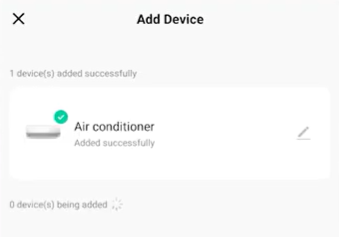
Optional: Tap the pencil icon to add a nickname for the device. Enter the nickname, then tap "Done".
9. Tap "Done" to complete the pairing.
The user will now have access to the unit via the Pioneer Airlink app.