Hanging the Indoor Unit for RYB-20 Ducted Ceiling Concealed SystemsUpdated 7 days ago
Introduction
Follow these steps to properly hang the indoor unit for the Quantum Ultra Ducted Ceiling Concealed (RYB-20) system.
Steps
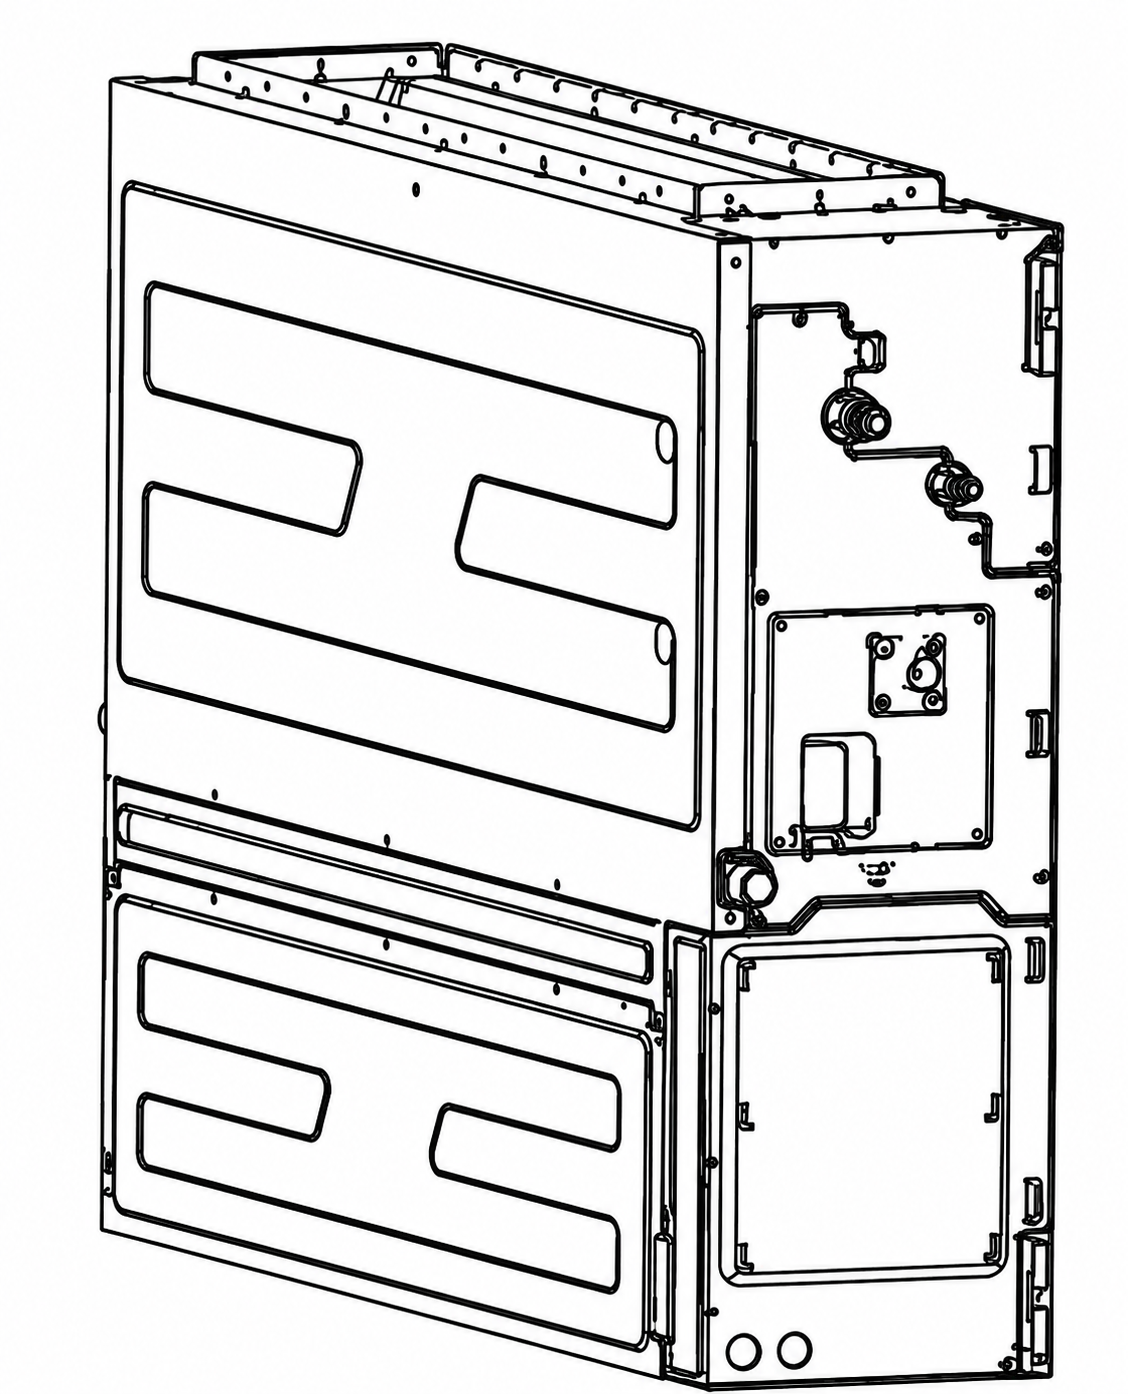
1. Install the indoor unit's main body. Refer to the following diagrams to locate the four positioning screw holes on the ceiling and follow the guidelines for installing the ceiling bolt. Be sure to mark the locations for drilling the ceiling hook holes. 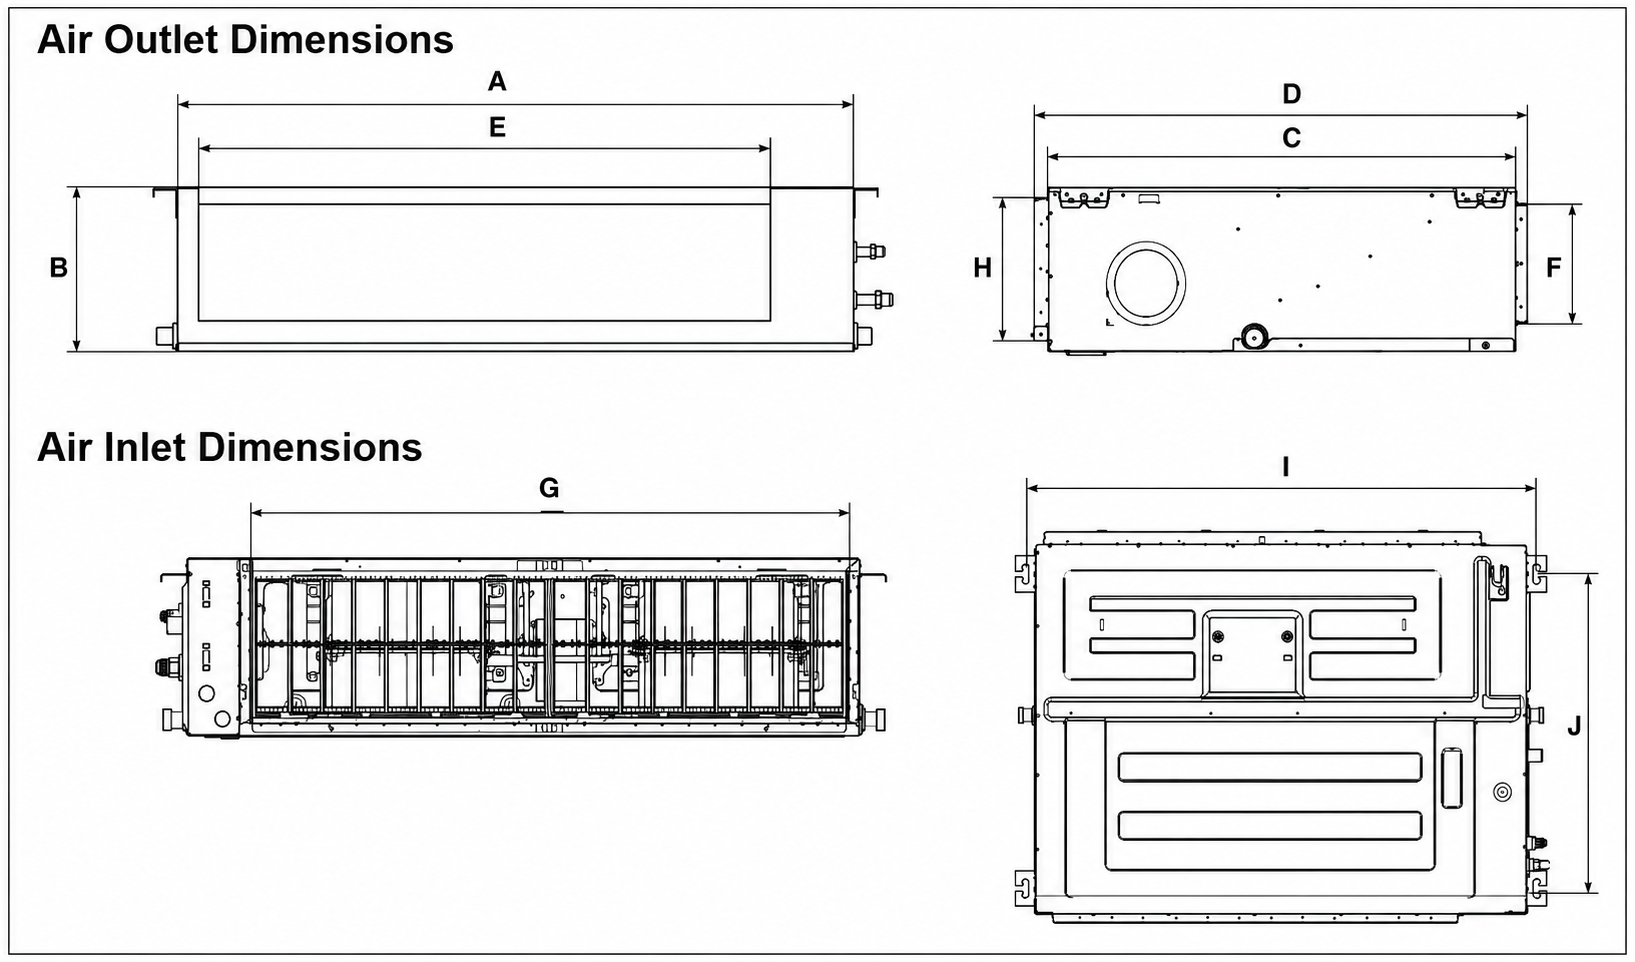
| Outline Dimensions | |||
| A | B | C | D |
| 3-ft, 11-1/4-in | 11-3/4 in | 2-ft, 5-1/2-in | 2-ft, 7-1/4-in |
| 1,200 mm | 300 mm | 750 mm | 795 mm |
| Air Outlet Opening Size | Air Return Opening Size | Mounted Lug Size | |||
| E | F | G | H | I | J |
| 3-ft, 4-3/8-in | 9-1/4 in | 3-ft, 7-in | 10-1/2 in | 4-ft, 3/4-in | 2-ft, 1-1/4-in |
| 1,027 mm | 233 mm | 1,092 mm | 267 mm | 1,240 mm | 640 mm |
Ceiling Bolt Installation Guidelines
Follow these guidelines for installing the ceiling bolt. Ensure the unit and hole are the same size before moving on.
New Concrete Bricks
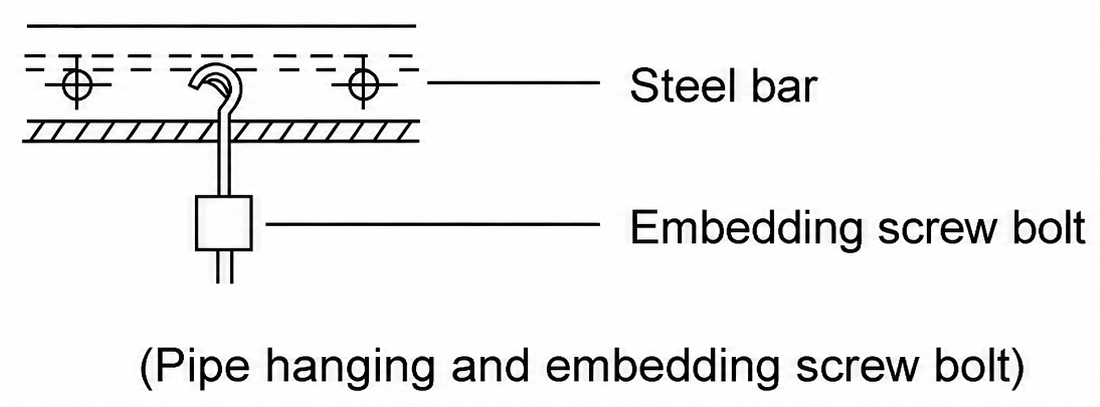
Inlay or embed the screw bolts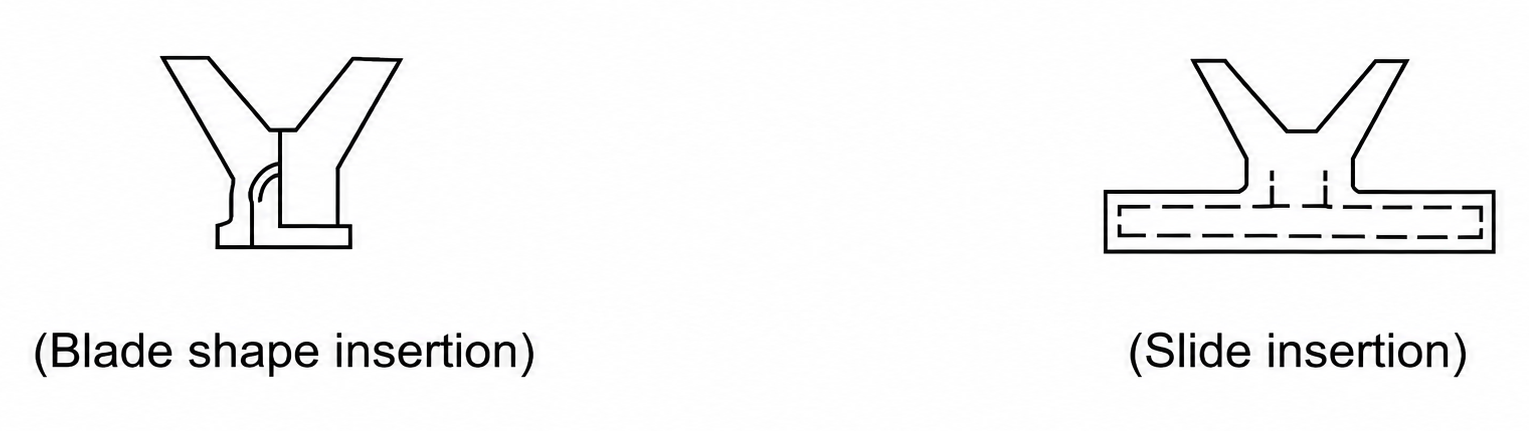
Original Concrete Bricks
Use an embedding screw bolt, crock, and stick harness.
Steel Roof Beam Structure
Install and use the supporting steel angle. 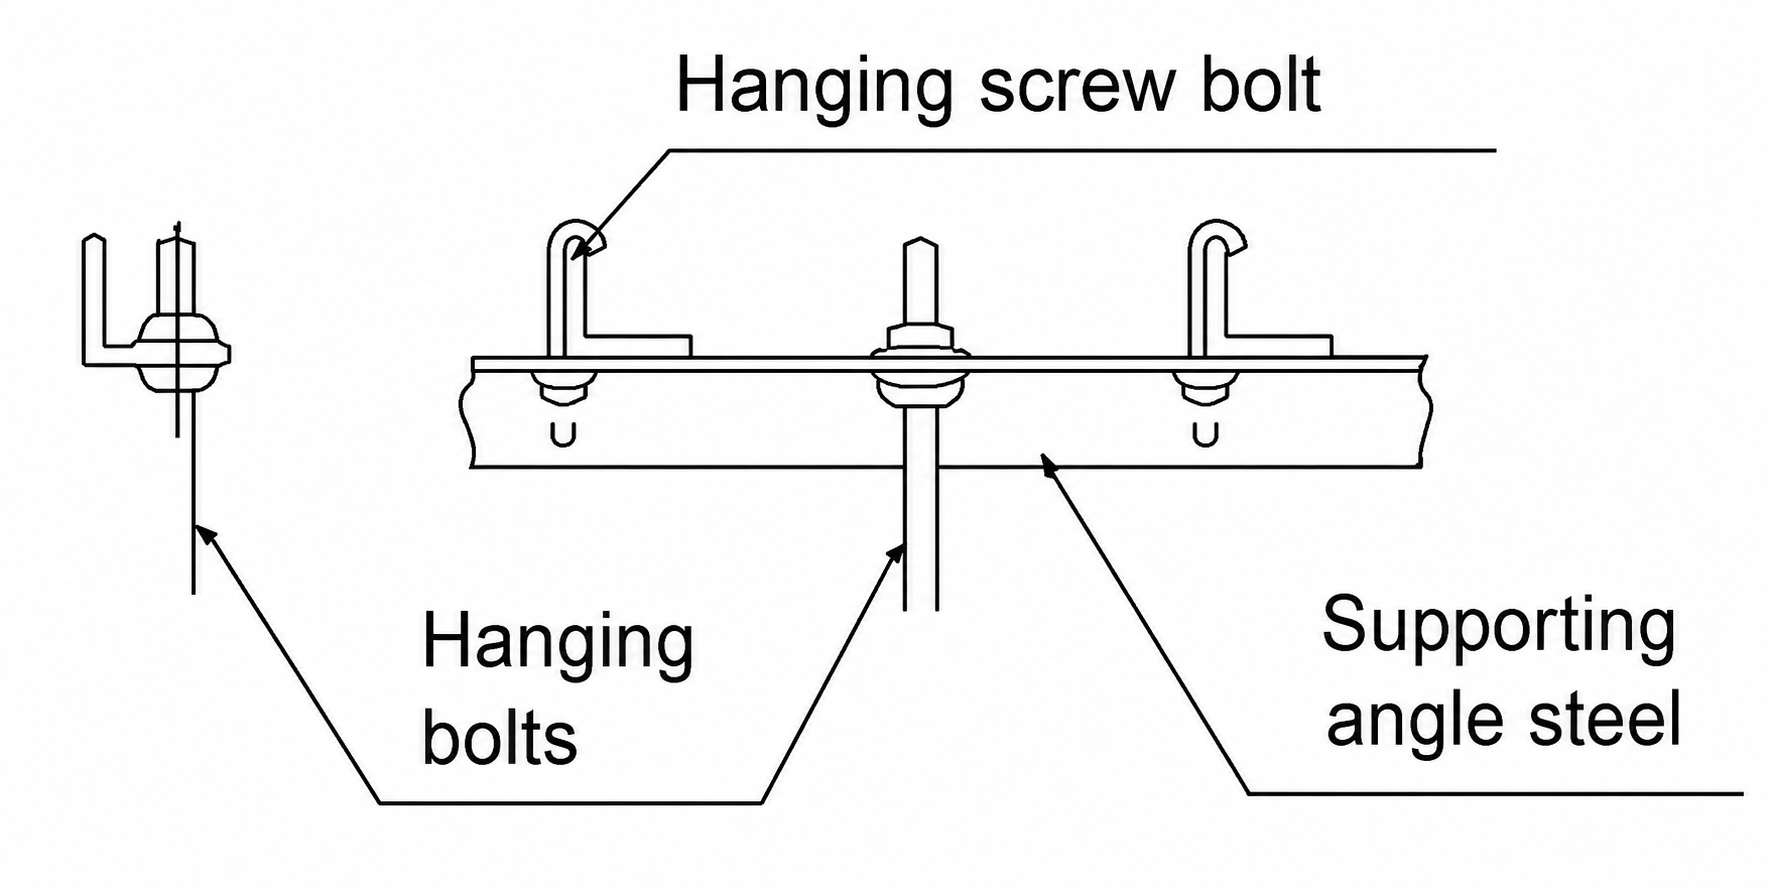
Wood
The upper foam's mounting holes are used for auxiliary positioning bolts. If the foam is damaged, the spacing between the actual lifting lugs should the standard. 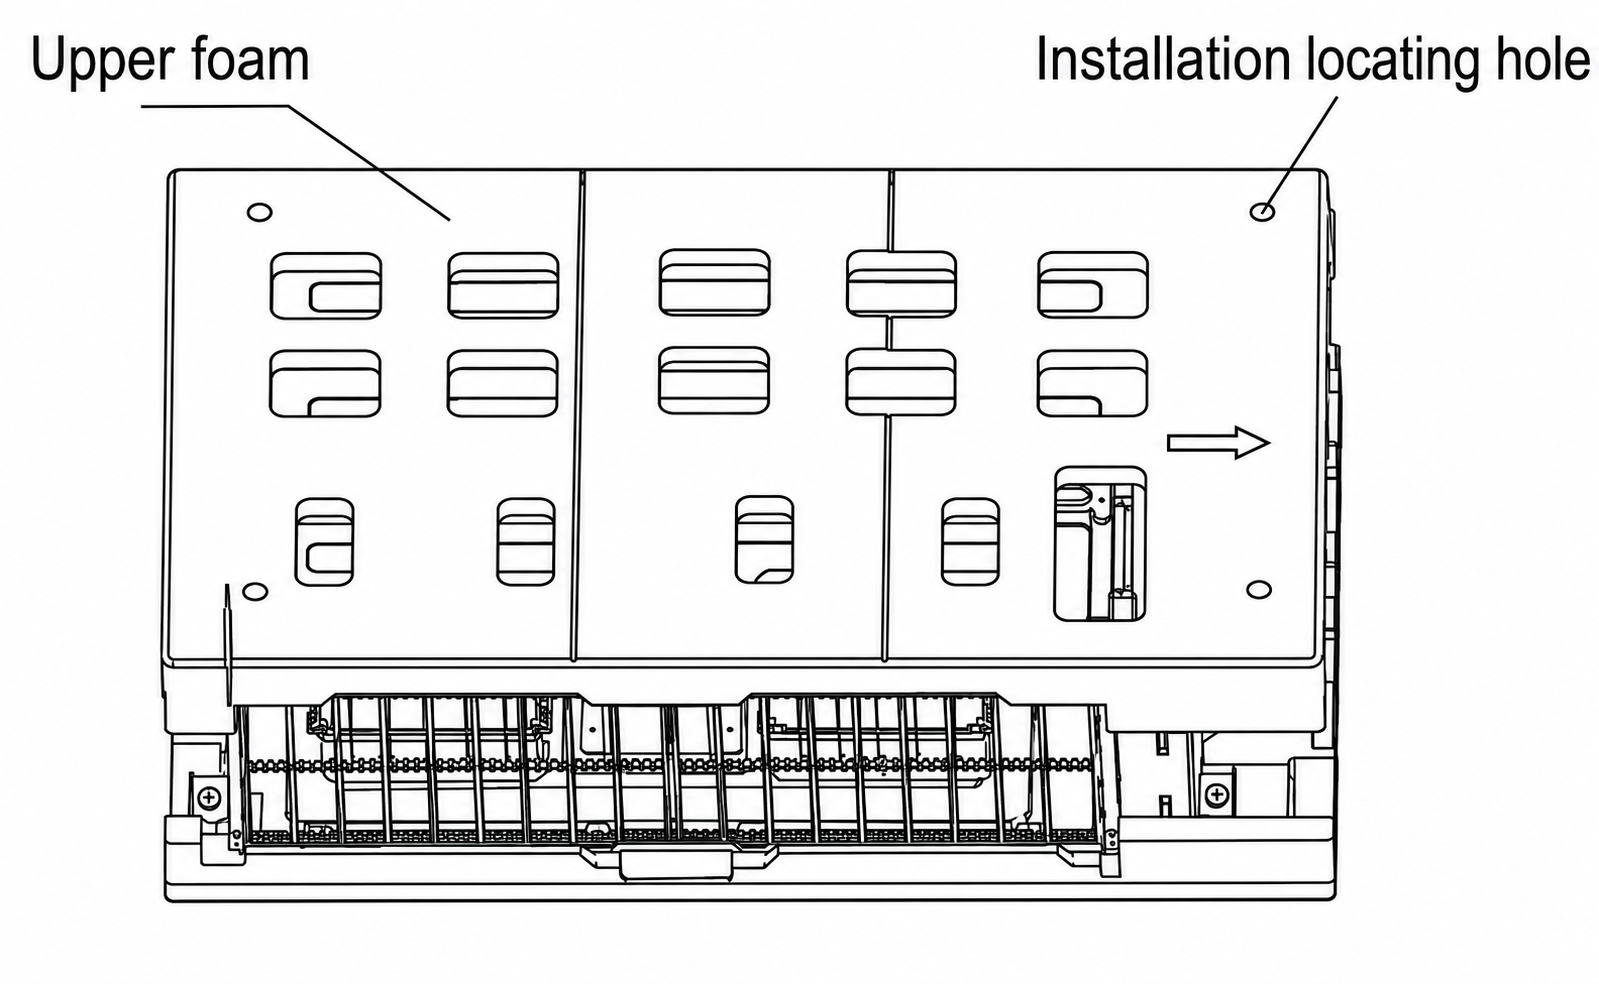
Place the wood mounting across the roof beam, then install the hanging screw bolts. 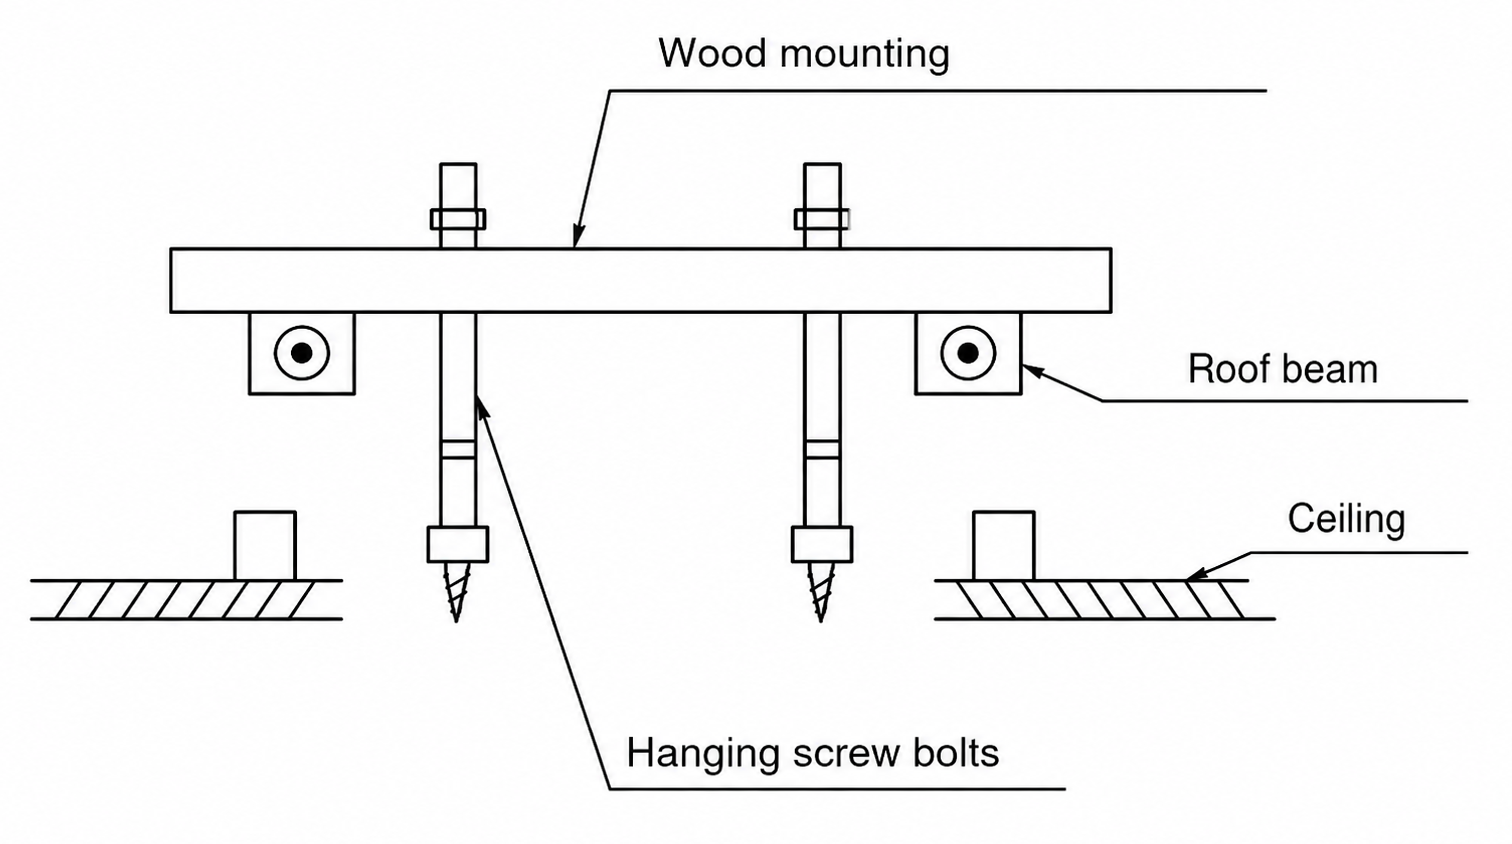
2. Install and fit pipes and wires after finishing the main body installation. When choosing a starting point, first determine the direction of the pipes.
3. Install the hanging screw bolts:
a. Cut off the room beam.
b. Strengthen the point at which the cut was made. Consolidate the roof beam.
4. Prior to mounting the unit, ensure the refrigerant pipes, drainpipes, and indoor/outdoor lines are aligned with their respective connection points, particularly for ceiling-mounted applications.
5. Drill four holes, 3-7/8 inches deep (100 mm), into the ceiling at the hook positions. Be sure to hold the drill at a 90-degree angle to the ceiling.
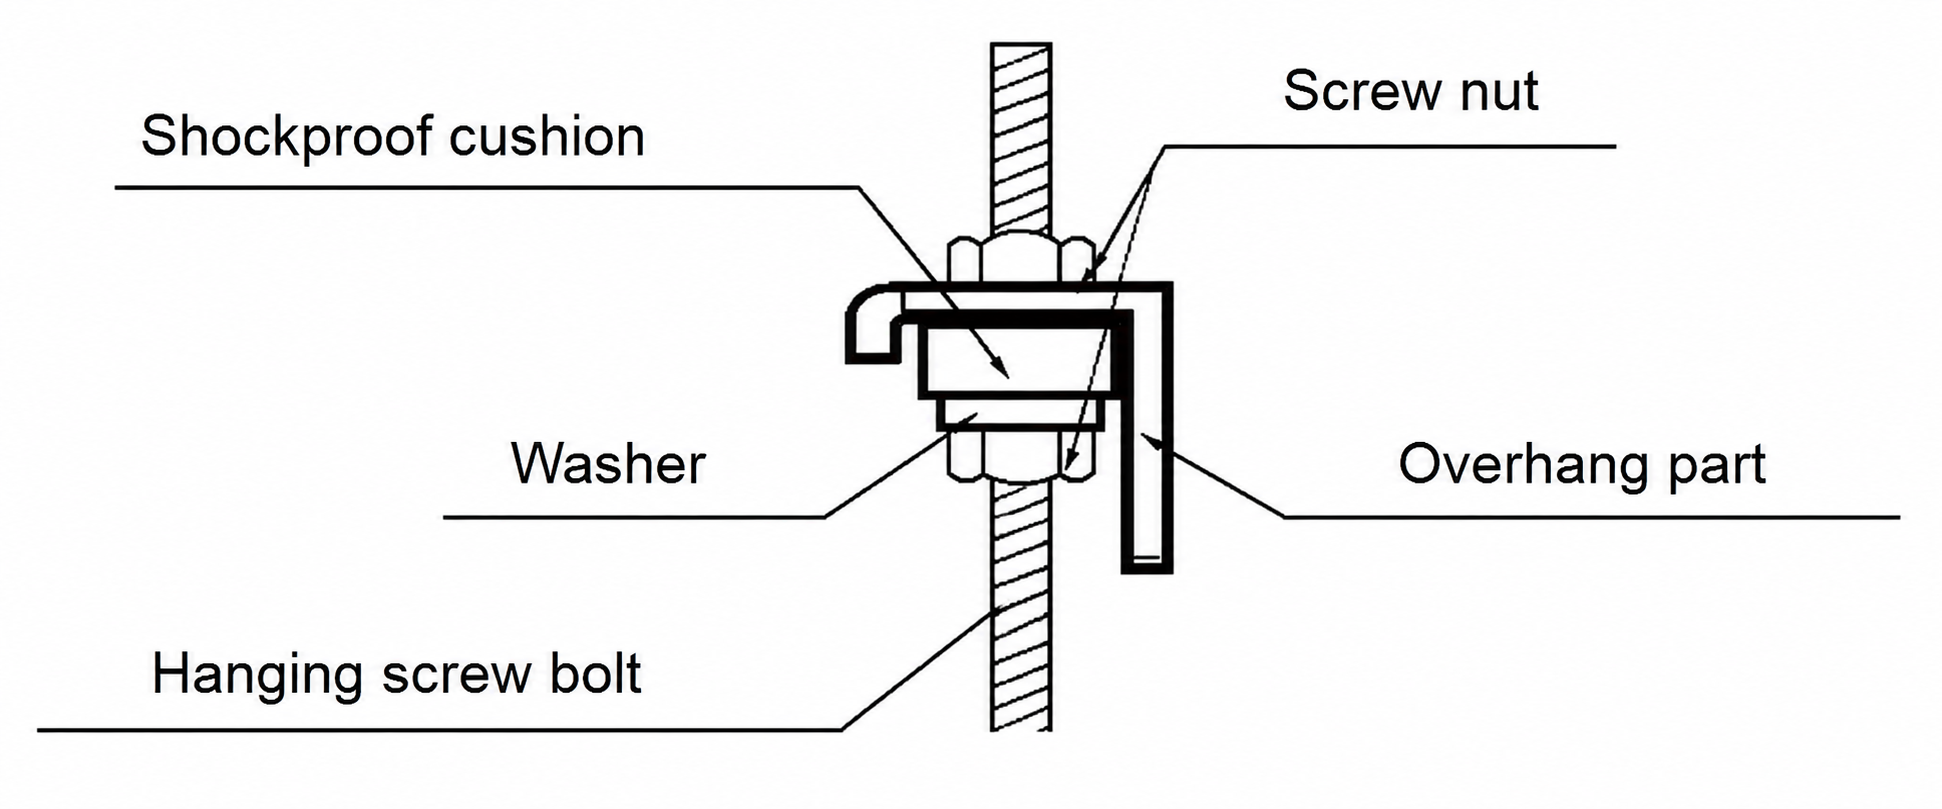
6. Secure the bolt using the provided washers and nuts.
7. Install the four suspension bolts.
8. Mount the indoor unit. At least two people are required to lift and secure it safely. Insert the suspension bolts into the unit's hanging holes. Fasten them using the provided washers and nuts. 
9. Use a level indicator to ensure the indoor unit flat, preventing potential leaks. Confirm the minimum drain title is 1/100 or more.
Wall-Mounted Installations
This unit supports wall-mounted installations. If the unit requires vertical mounting, follow these steps:
1. Remove the electrical control box, then unplug the drain pump and water level switch terminals from the main control board.
2. Disassemble the pump components.
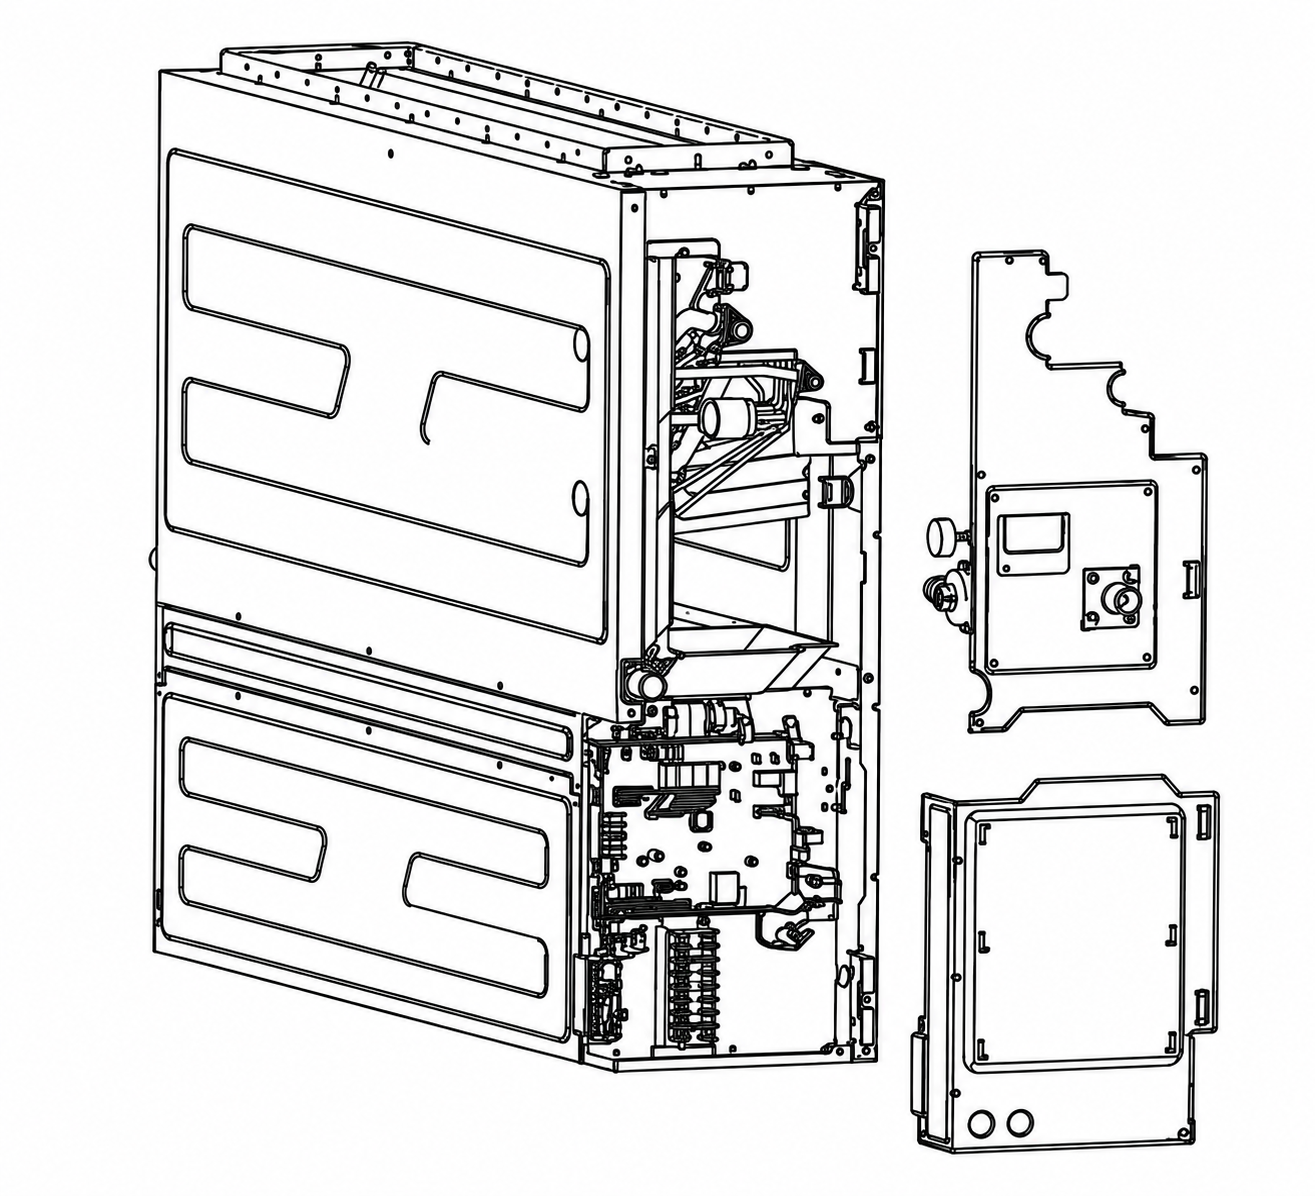
3. Remove the four screws, then remove the water components by 90-degrees. Attach the screws to the water pump mounting plate again.
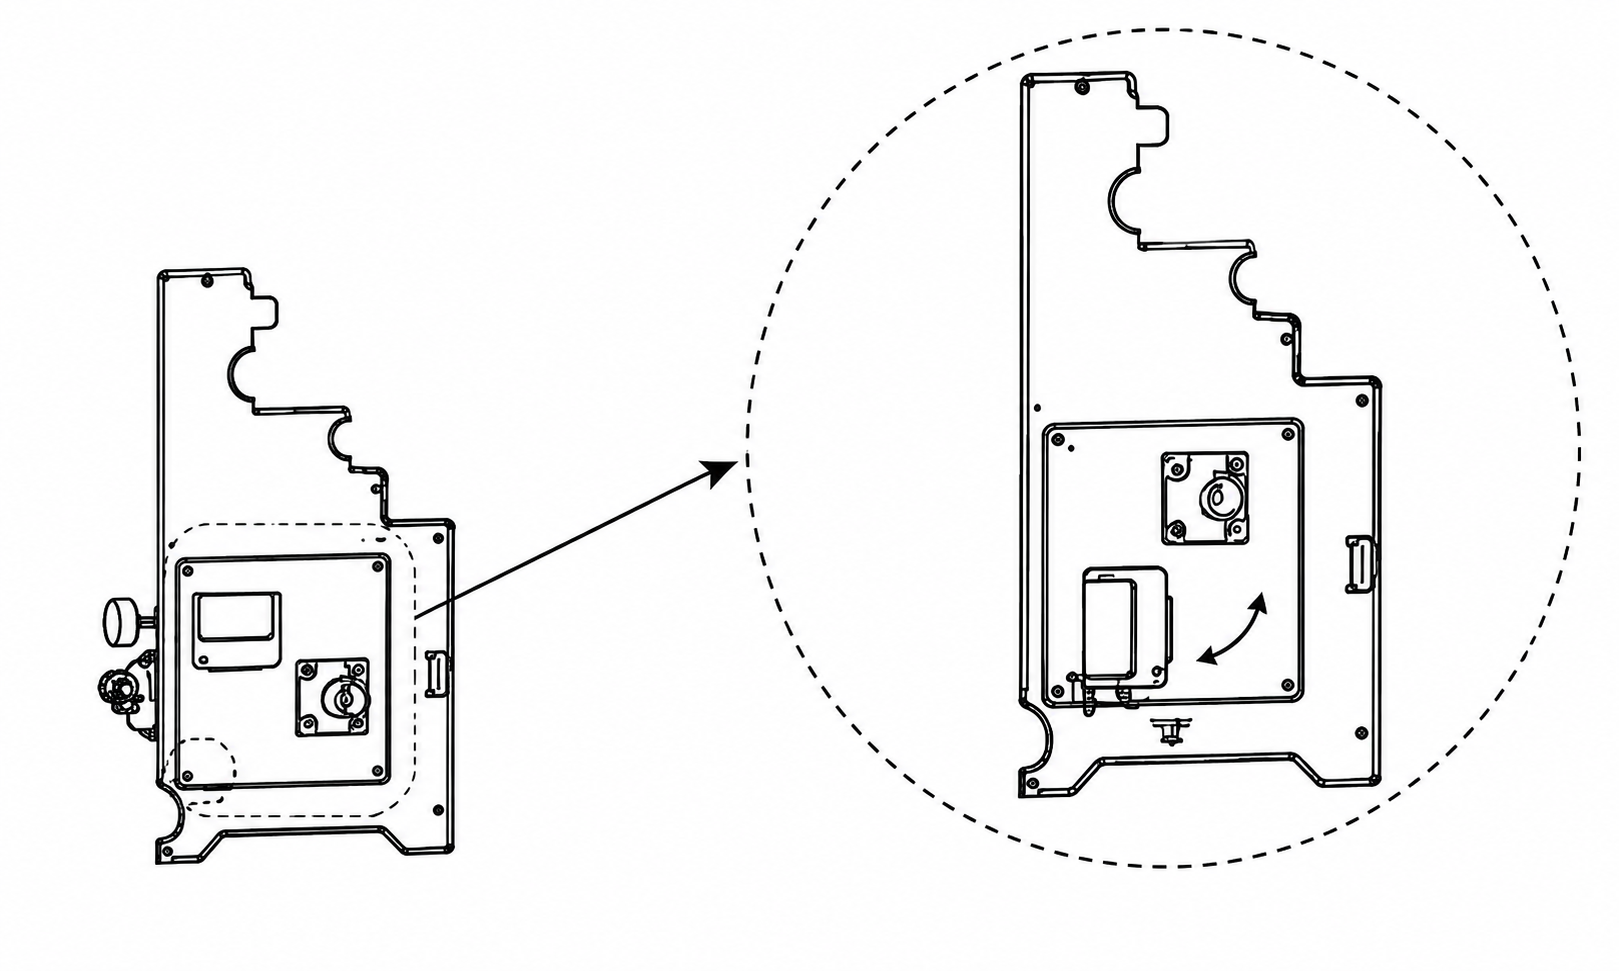
4. Install the pump parts to the machine and connect the wiring set.