IDU Disassembly for Quantum Ultra Ducted Ceiling Concealed SystemsUpdated 17 days ago
Introduction
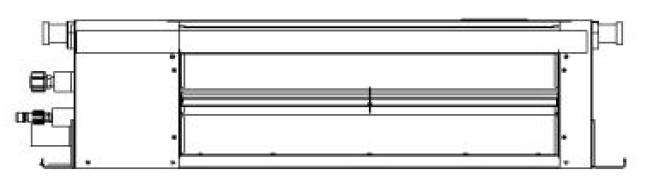
This article provides steps for disassembling the indoor unit of Quantum Ducted Ceiling Concealed (RYT-24) systems.
Indoor Unit Disassembly
Before disassembly:
1. Disassemble the filter assembly.
A. Disassemble the filter assembly.
B. Remove the filter.
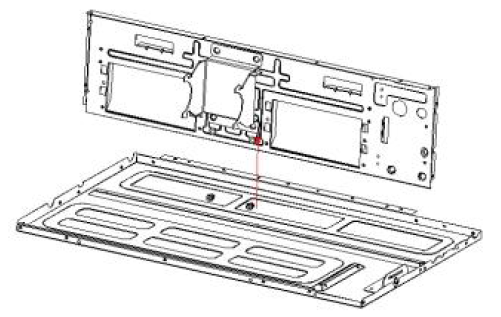
2. Disassemble the base part and air return plate.
A. Remove the base part by unfixing the screws on the left and right side panels, as well as the center partition.
B. Remove the screws between the air return plate, left side plate, and electric control box.
C. Remove the air return plate.
D. Remove the Wi-Fi fixing cover and take out the USB connection cable.
3. Disassemble the front panel assembly.
A. Unfix the screws on the front panel and remove the assembly.
4. Remove the electrical box cover and hooks.
A. Unfix the screws on the electrical box cover and remove the cover.
B. Unfix the screws on the hooks, then remove them.
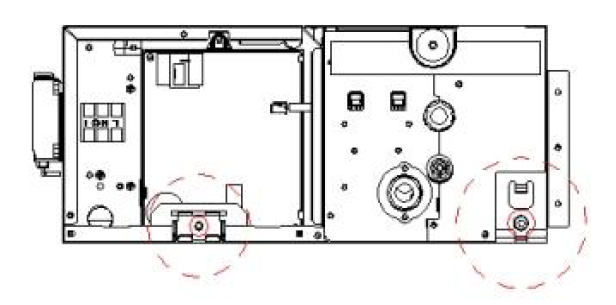
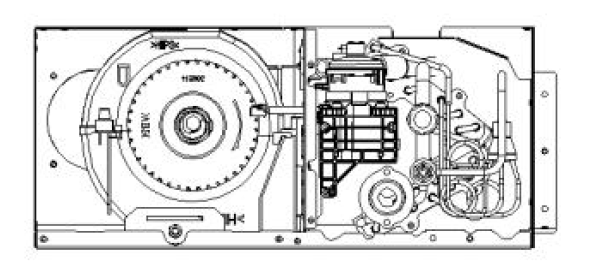
5. Remove the electric control box assembly.
A. Unfix the screws on the electric control box, then remove the electric control box.
6. Remove the water tray assembly.
A. Remove the base plate.
B. Lift the drain nozzles up on both sides to take out the water tray.
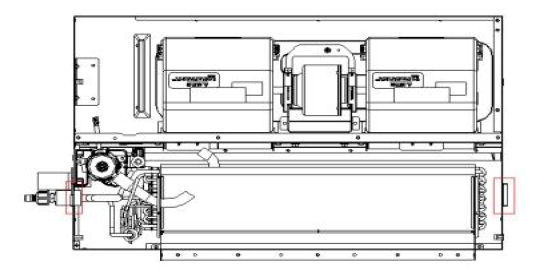
7. Disassemble the right side plate and drainage mounting assembly.
A. Unfix the screws between the right side plate, evaporator end plate, top plate, and drain mounting assembly.
B. Remove the right side plate.
C. Remove the drain nozzle on the drain mounting assembly.
D. Take out the assembly.
8. Remove the water pump assembly, evaporator module, and left side panel parts.
A. Unfix the screws on the water pump assembly and center divider.
B. Remove the water pump assembly.
C. Unfix the screws on the evaporator module and left side panel assembly.
D. Take out the left side panel.
E. Unfix the screws on the left side panel part, top panel, and center partition.
F. Remove the left side panel part.

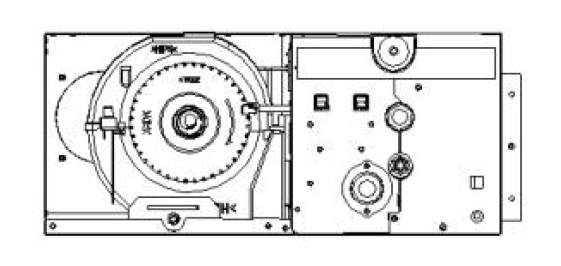
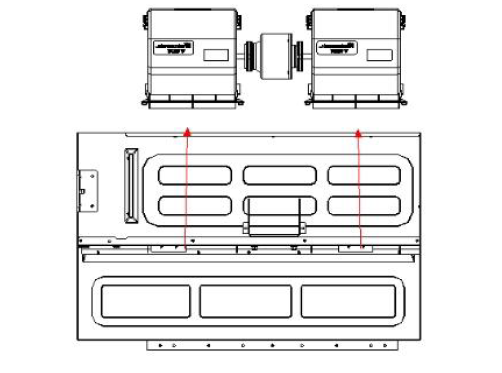
9. Remove the centrifugal fan volute assembly and DC motor.
A. Remove the motor limit clasp, then take out the volute assembly and DC motor in the direction shown in the photo.
10. Remove the center divider assembly.
A. Unfix the screws on the center divider assembly and top cover.
B. Remove the center divider.