ODU Disassembly for Diamante Essenza / Diamante Pro / Quantum Ultra - High Wall Mount / Quantum HyperformanceUpdated 37 minutes ago
Introduction
This article provides steps for disassembling the outdoor unit of Diamante Essenza (WYT-17), Diamante Pro (WYT-20), Quantum Ultra - High Wall Mount (WYT-24), and Quantum Hyperformance (WYT-25) series systems.
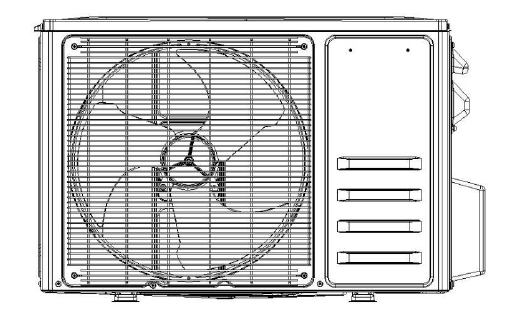
Outdoor Unit Disassembly
Before disassembly:
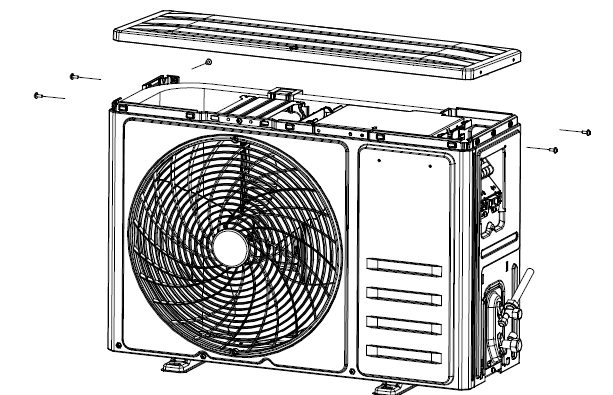
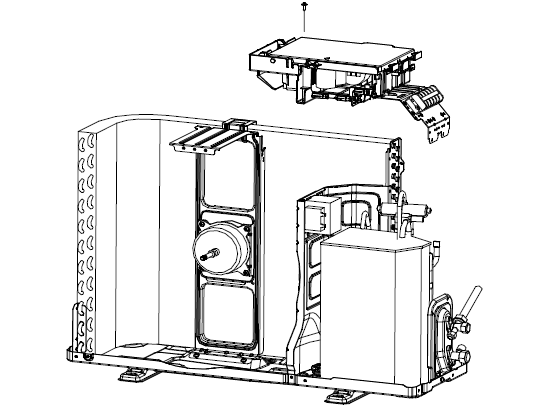
1. Remove the PCB cover, valve cover, and top cover.
A. Unfix one screw on the PCB cover, then remove the cover from the unit.
B. Unfix one screw on the valve cover, then take it out.
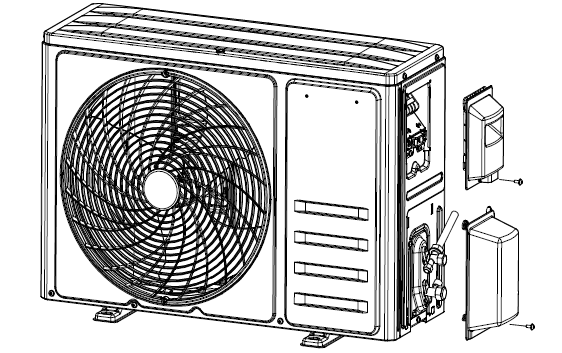
C. Unfix the screws on the top/left/right plates, then remove the top cover.
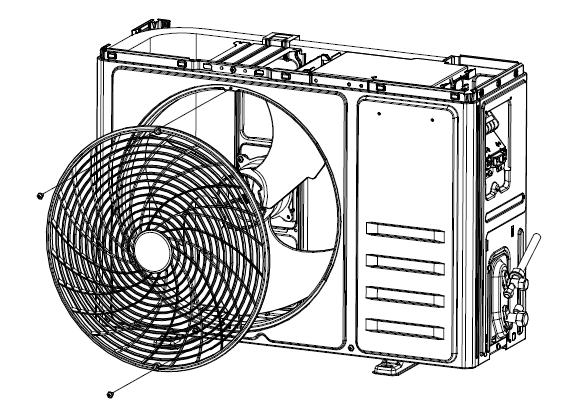
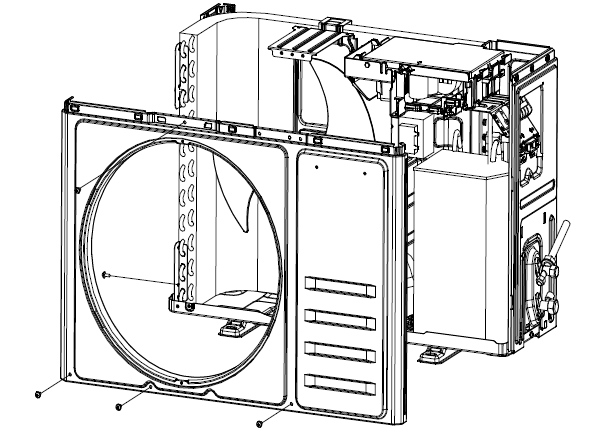
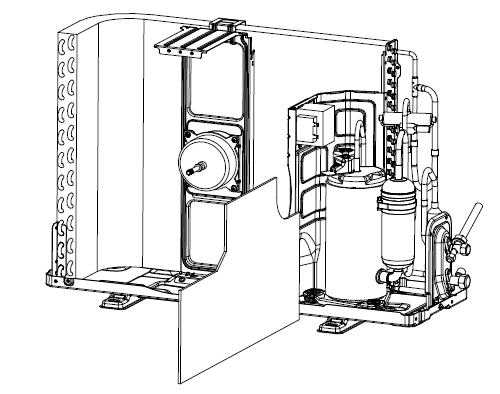
2. Disassemble the fan guard and front panel.
A. Remove the grille screws from the front panel, then take out the grille.
B. Separate the outdoor unit middle plate and base plate.
C. Lift the front panel so it can be taken out from the unit.
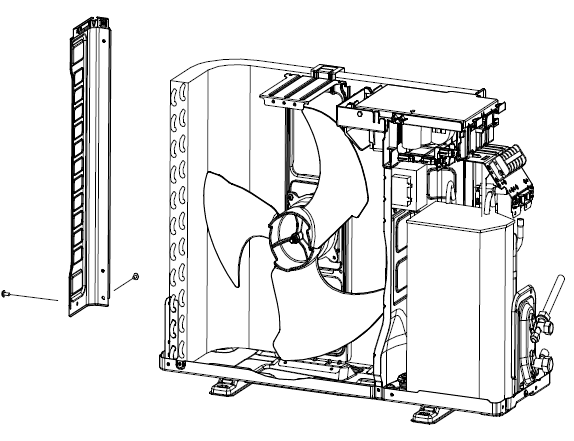
3. Disassemble the left and right plate.
A. Unfix screws on the right plate, electric box assembly, valve plate, and base plate.
B. Remove the right plate.

C. Unfix the screws on the left plate, base plate, and condenser plate.
D. Take out the left plate.
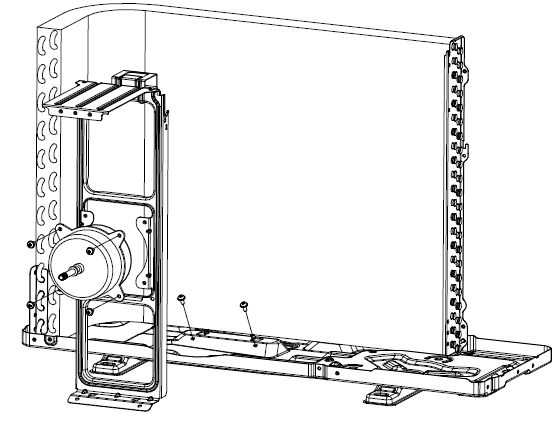
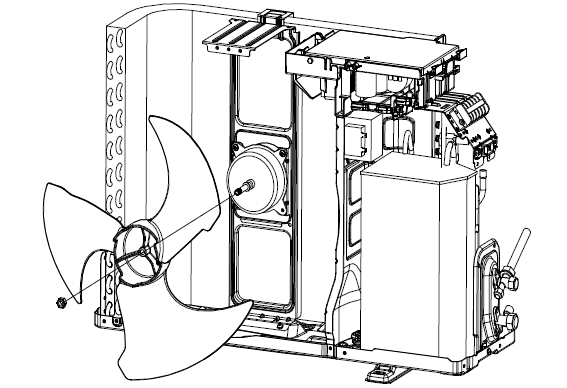
4. Disassemble the axis fan blade.
A. Unscrew the fan blade nut.
B. Remove the blade.
5. Disassemble the electric box.
A. Unfix the screws on he electric box, motor supporter, etc.
B. Loosen the wiring clamp.
C. Take out the control box.
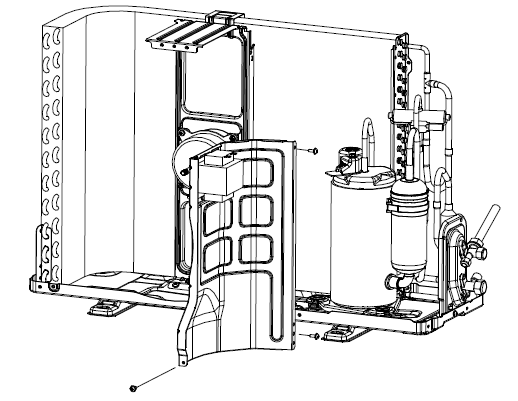
6. Remove the noise cotton.
7. Disassemble the separate plate.
A. Unfix the screw on the separate plate and unit.
B. Remove the separate plate.
8. Disassemble the 2-way and 3-way valve.
A. Unfix the screws on the valve plate and base.
B. Remove the 2-way and 3-way valves by welding.
Notes: Welding can only occur when there is no gas in the unit. Pay attention to the fire to prevent an injury.
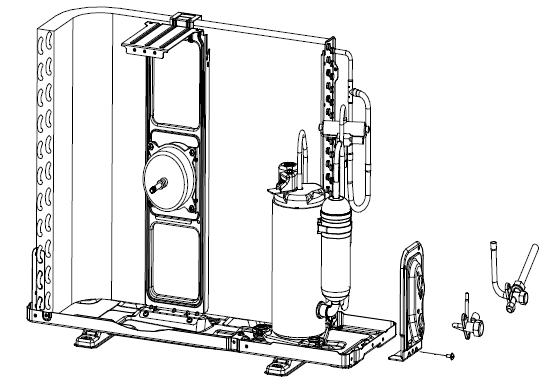
9. Disassemble the 4-way valve assembly.
A. Remove the 4-way valve from the system by welding.
B. Ensure there is no damage to the compressor, nameplate, etc.

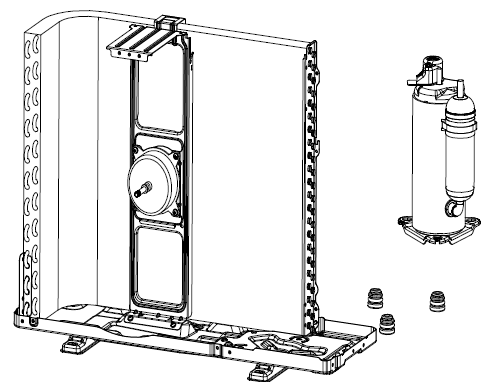
10. Disassemble the compressor.
A. Unscrew the nuts and remove the compressor.
11. Remove the fan motor and fan supporter.
A. Unfix the screws on the fan motor and fan supporter.
B. Remove the supporter of the base plate.
Note: Pay attention to the motor wiring. It cannot be taken out by force.