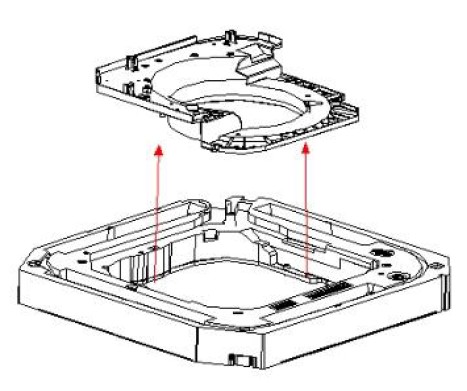
Indoor Unit Disassembly Guide: Quantum Ultra 8-Way Ceiling Cassette SystemsUpdated a day ago
This article provides steps for disassembling the indoor unit of Quantum Ultra 8-Way Ceiling Cassette (CYT-24) systems.
Steps
Before Disassembly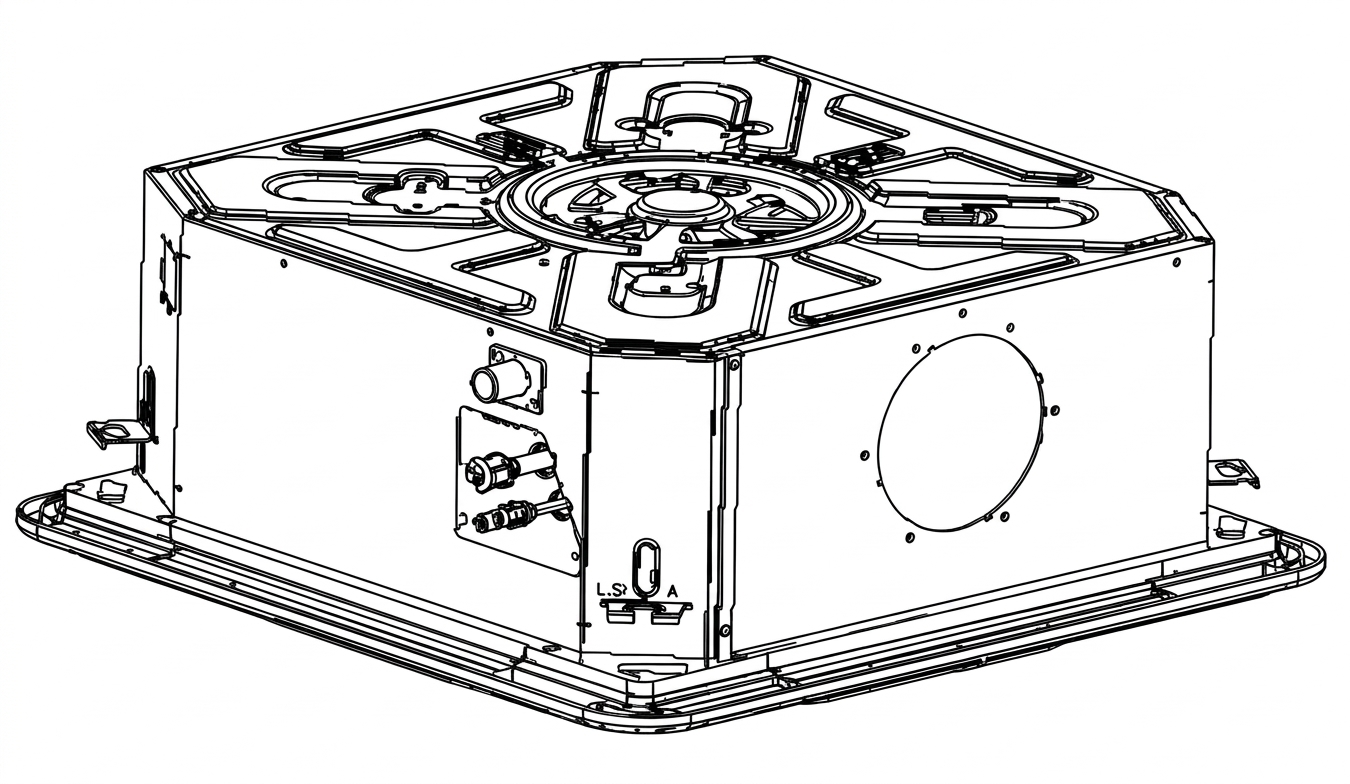 1. Remove the Seal Plate and Drain Spout
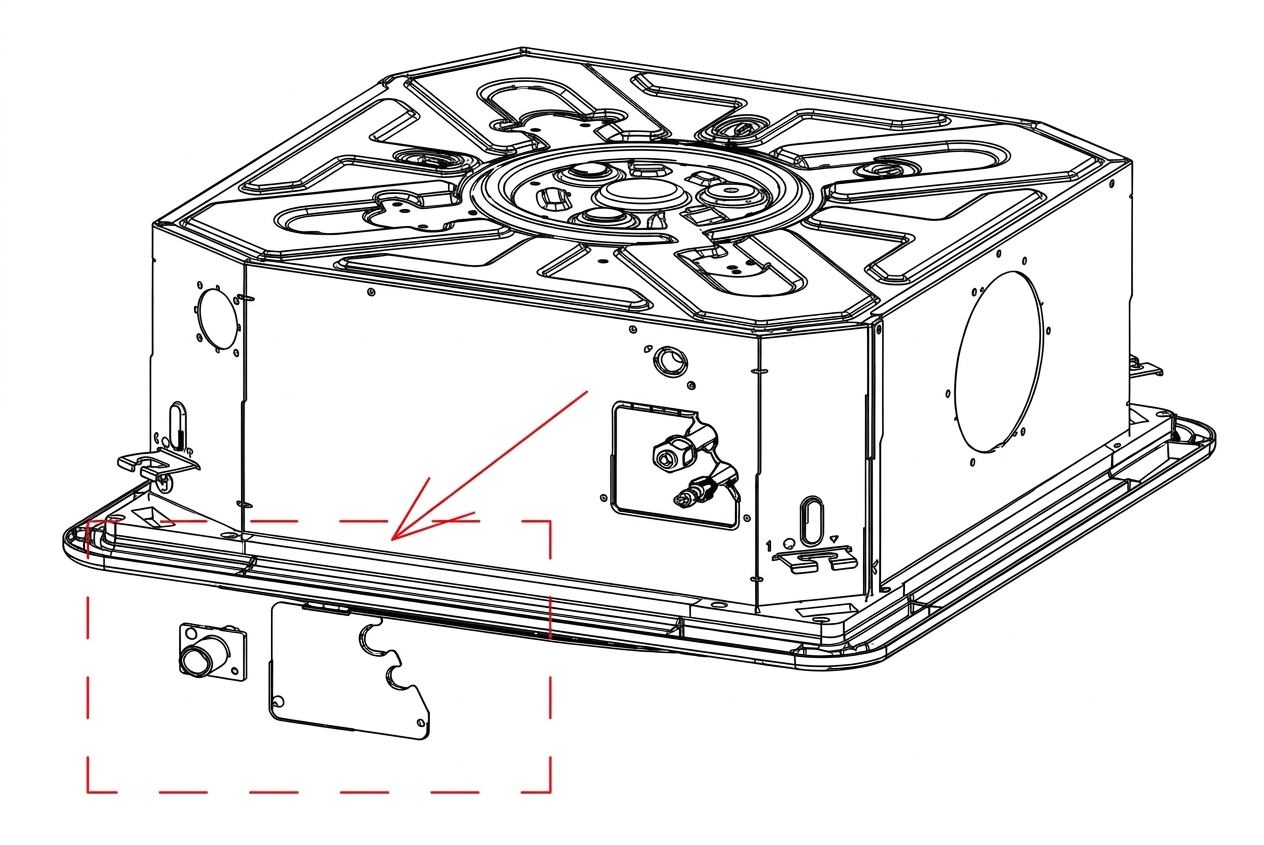
A. Remove the screws that secure the seal plate and drain spout, then remove the seal plate and drain spout.
2. Remove the Front and Rear Panel Assembly
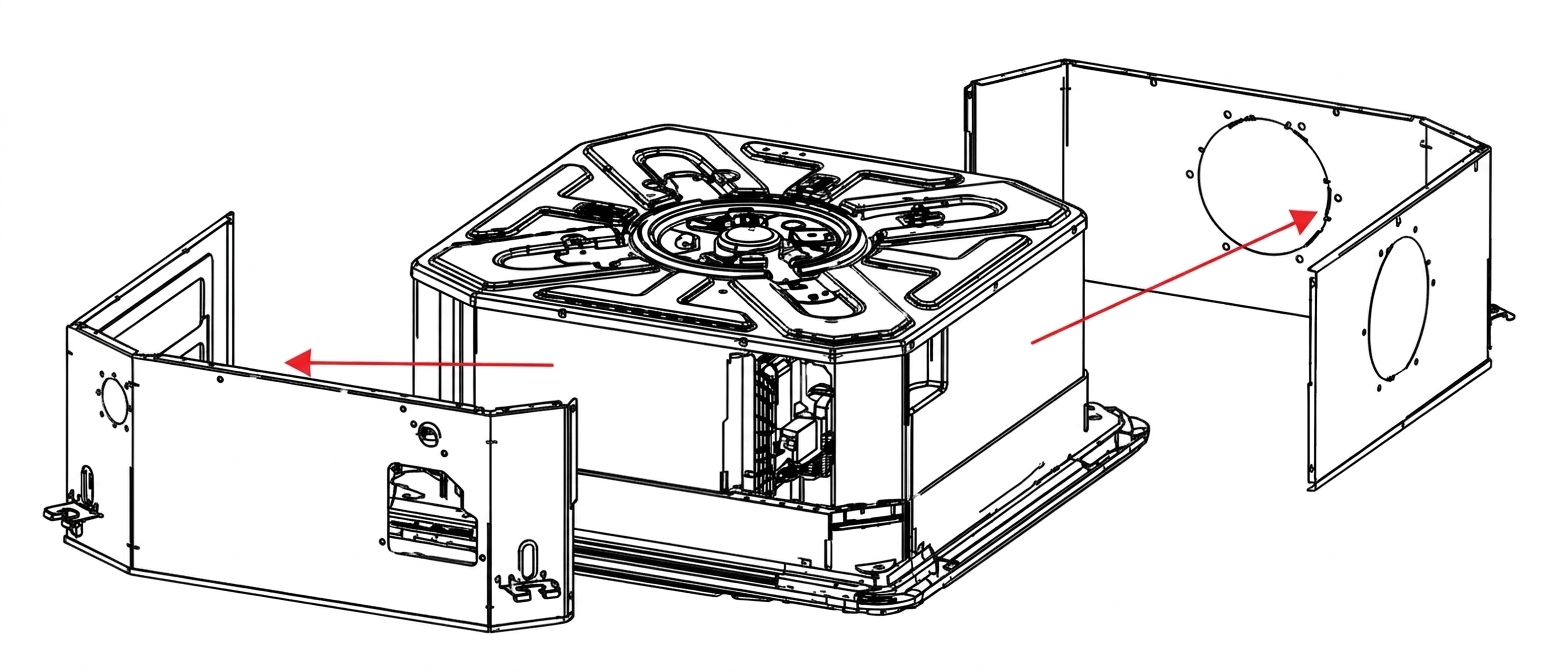
A. Remove the screws and release the hooks on the base plate and the front and rear panel assembly.
B. Remove the front and rear panel assembly from the unit.
3. Remove the Chassis Components
A. Remove the screws that secure the base foam, evaporator mounting plate, and base assembly, then remove the chassis components.
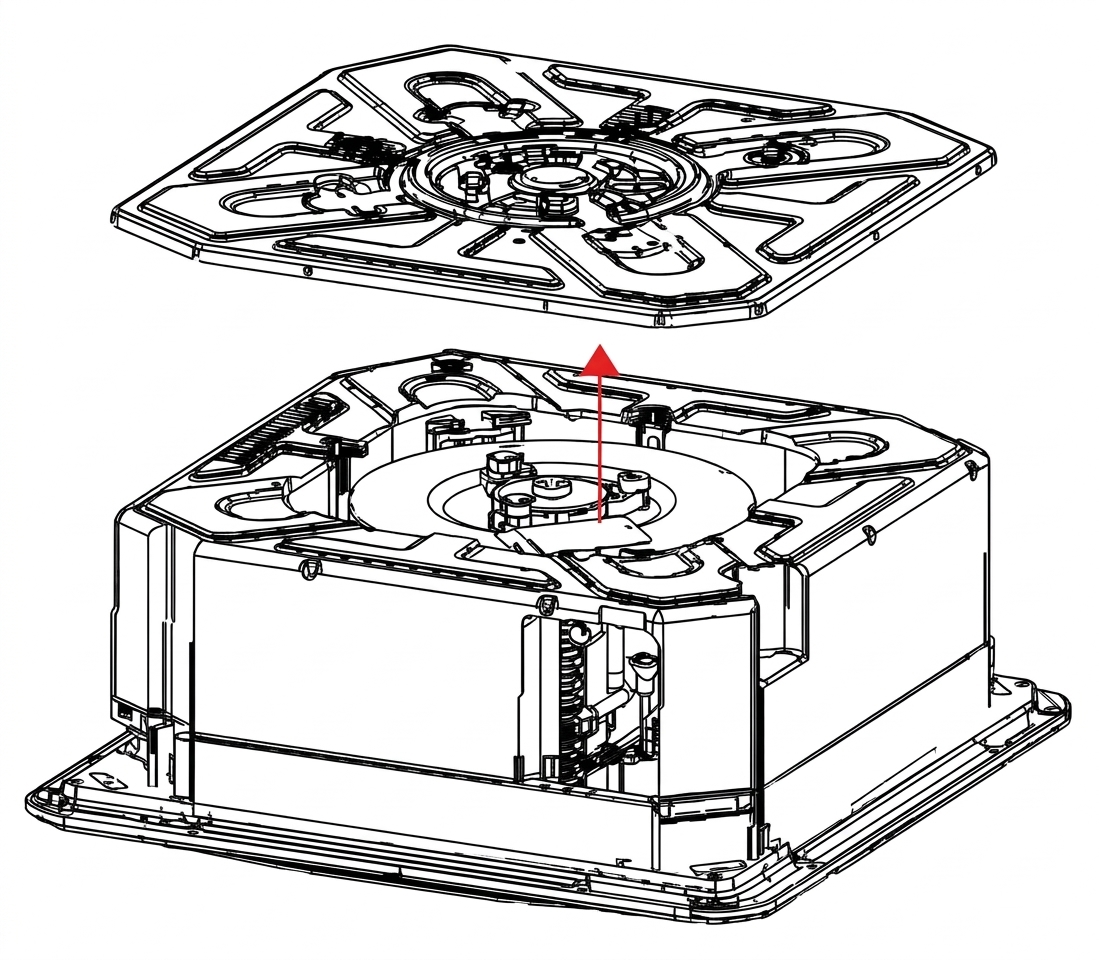
4. Remove the Base Foam Assembly
A. Remove the base foam assembly.
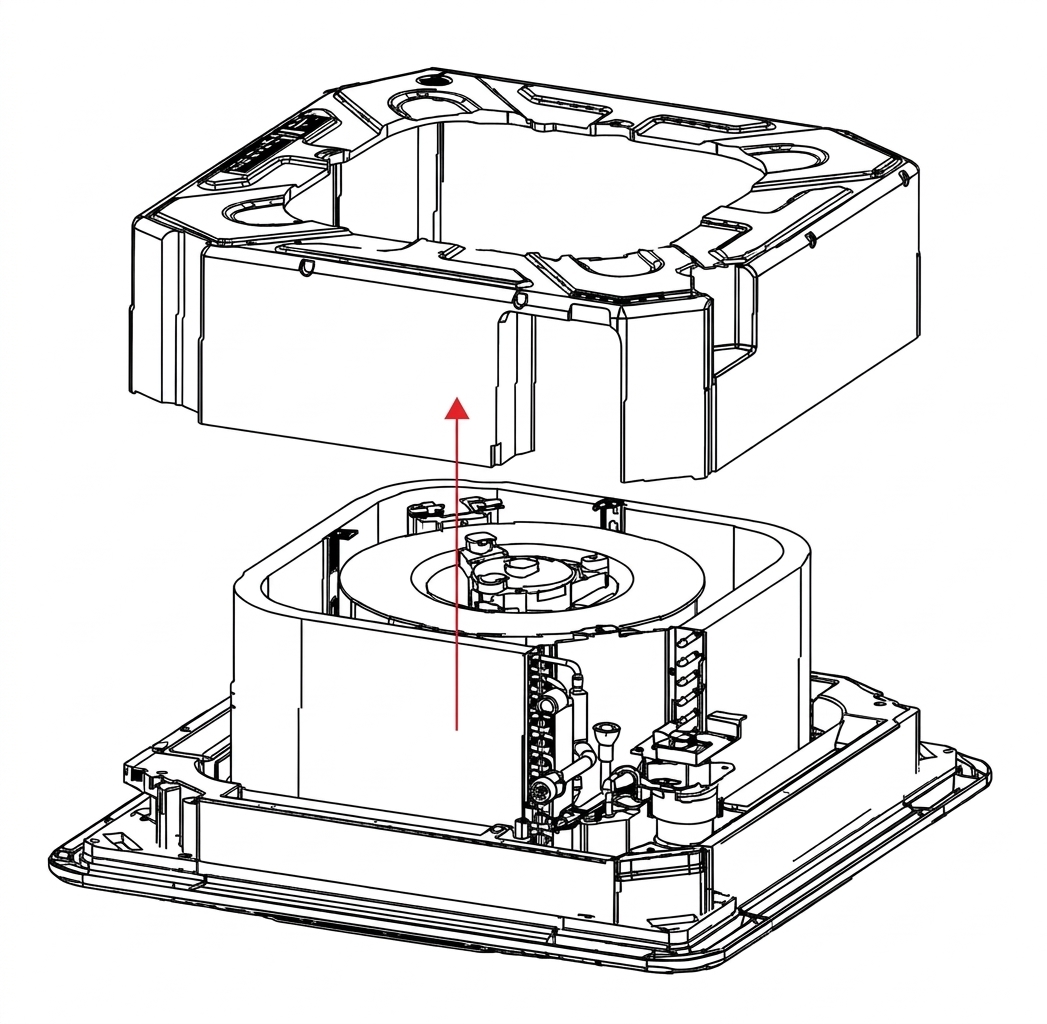
5. Remove the Water Pump Assembly
A. Remove the water pump assembly as shown in the photo, then pull the water pump out in the direction indicated.
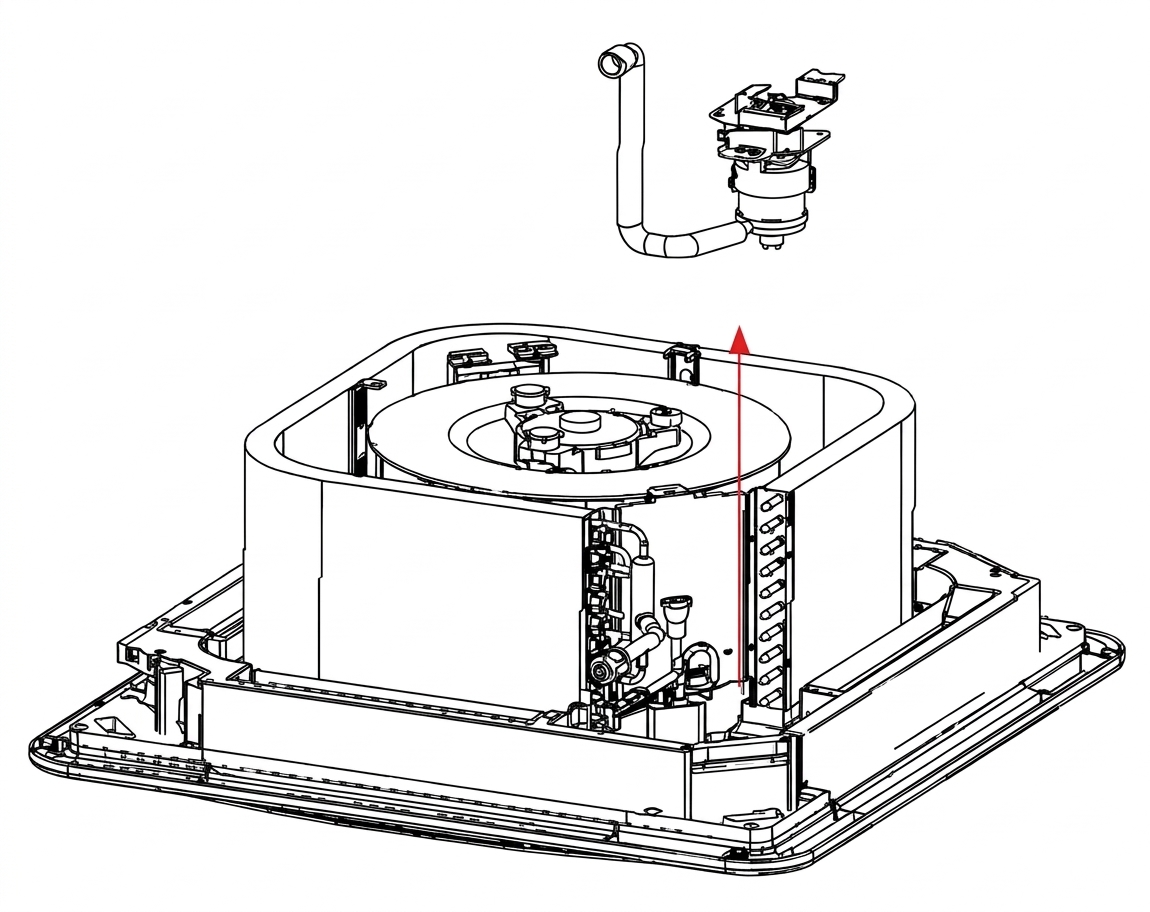
6. Remove the Evaporator Assembly
A. Remove the evaporator assembly as shown in the photo, then pull the evaporator out in the direction indicated. 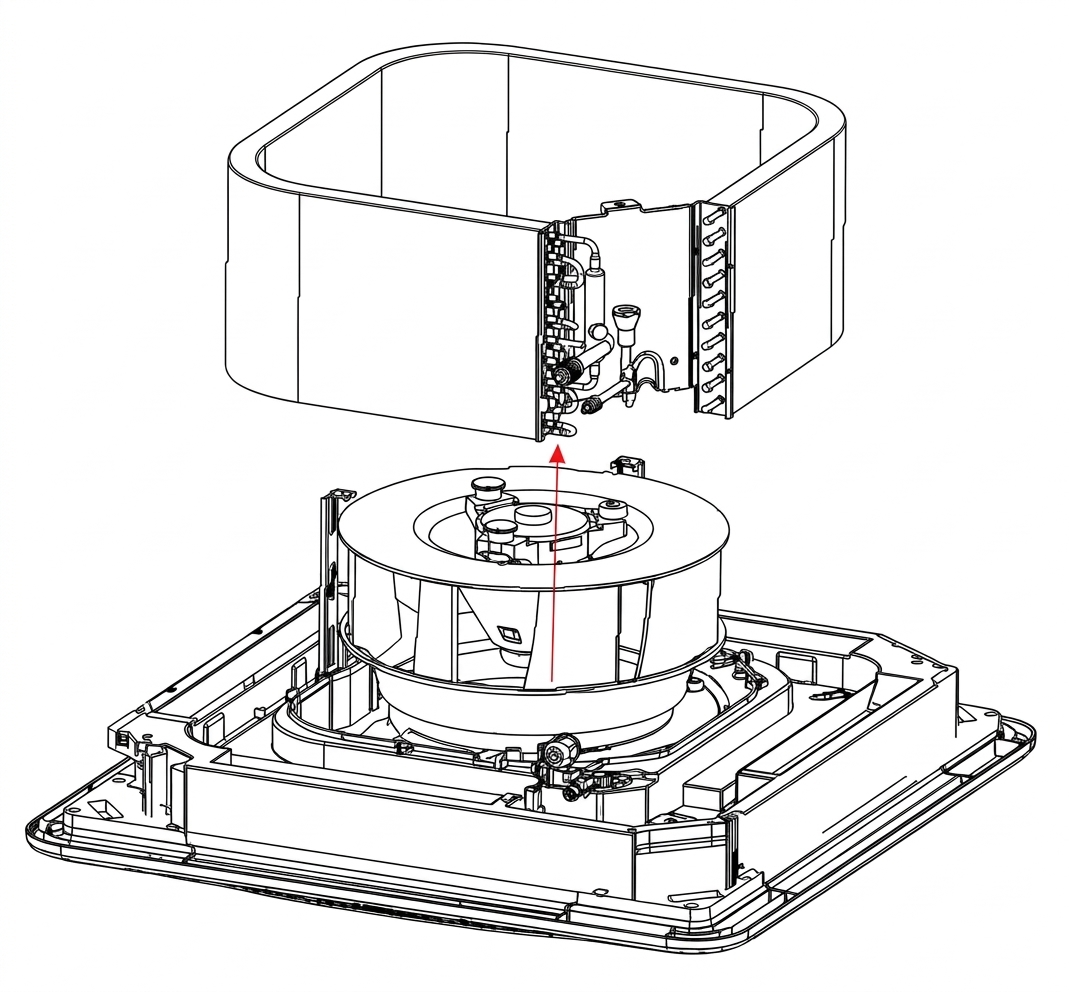
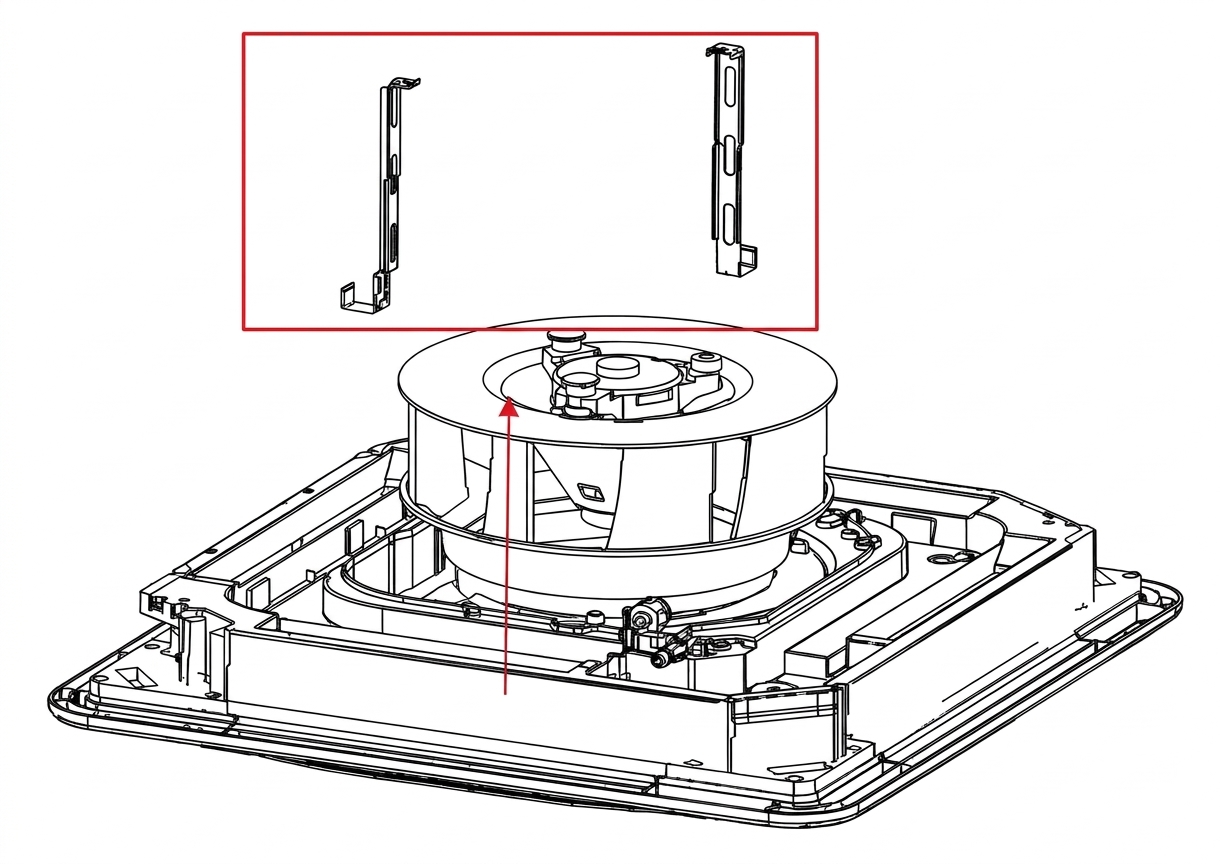
7. Remove the Evaporator Mounting Plates
A. Remove the evaporator mounting plates in the direction shown in the image.
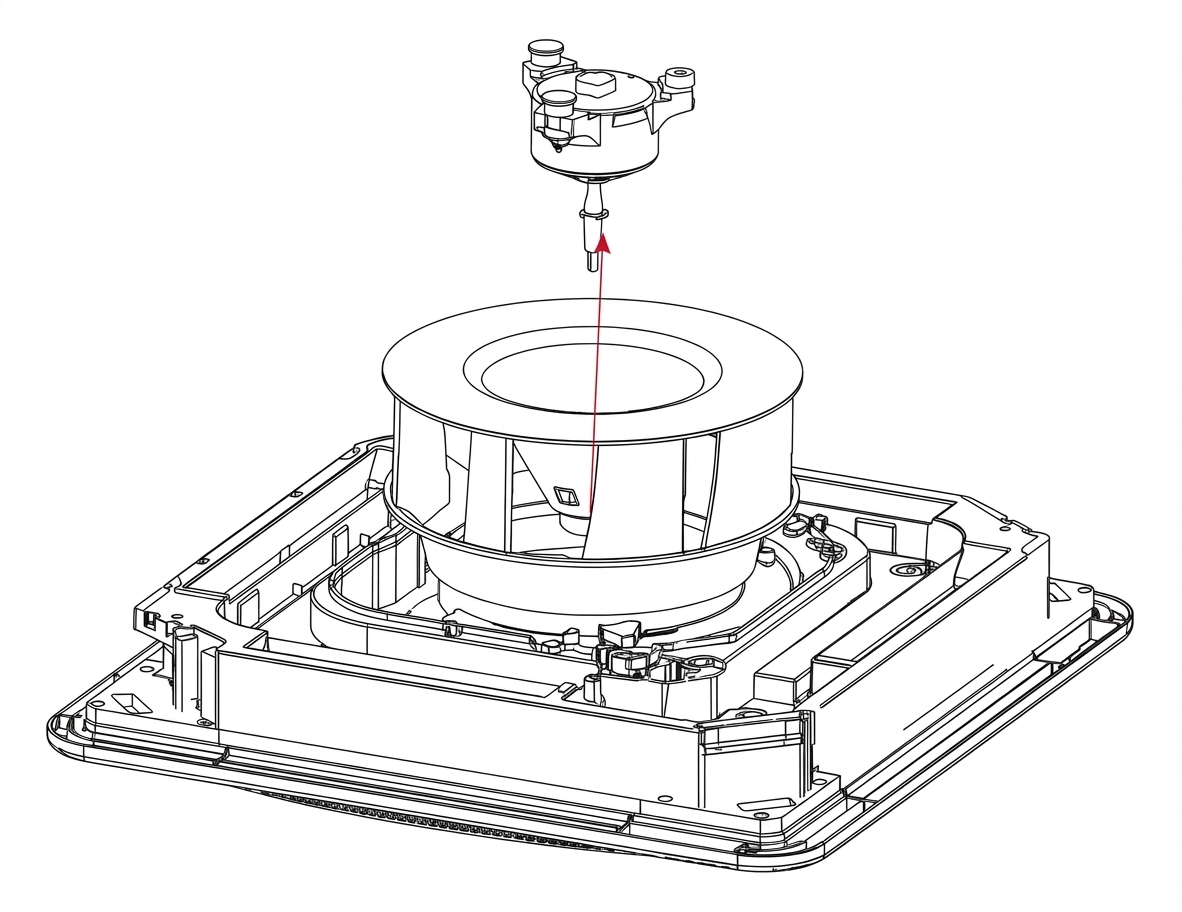
8. Remove the DC Fan Motor
A. Remove the DC fan motor in the direction shown in the image.
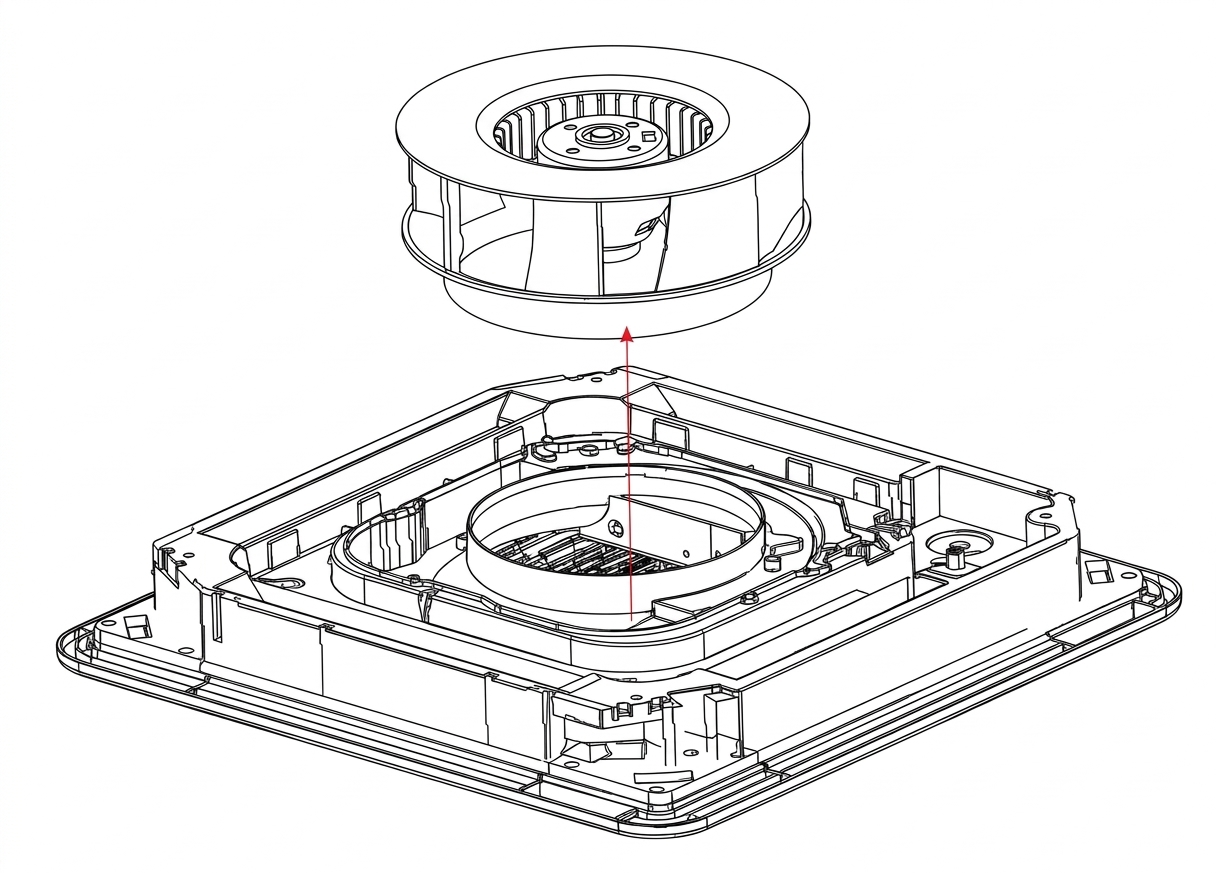
9. Remove the Centrifugal Fan
A. Remove the centrifugal fan in the direction shown in the image.
10. Remove the Panel Assembly
A. Remove the screws securing the panel and drainage assembly. Then remove the panel assembly. 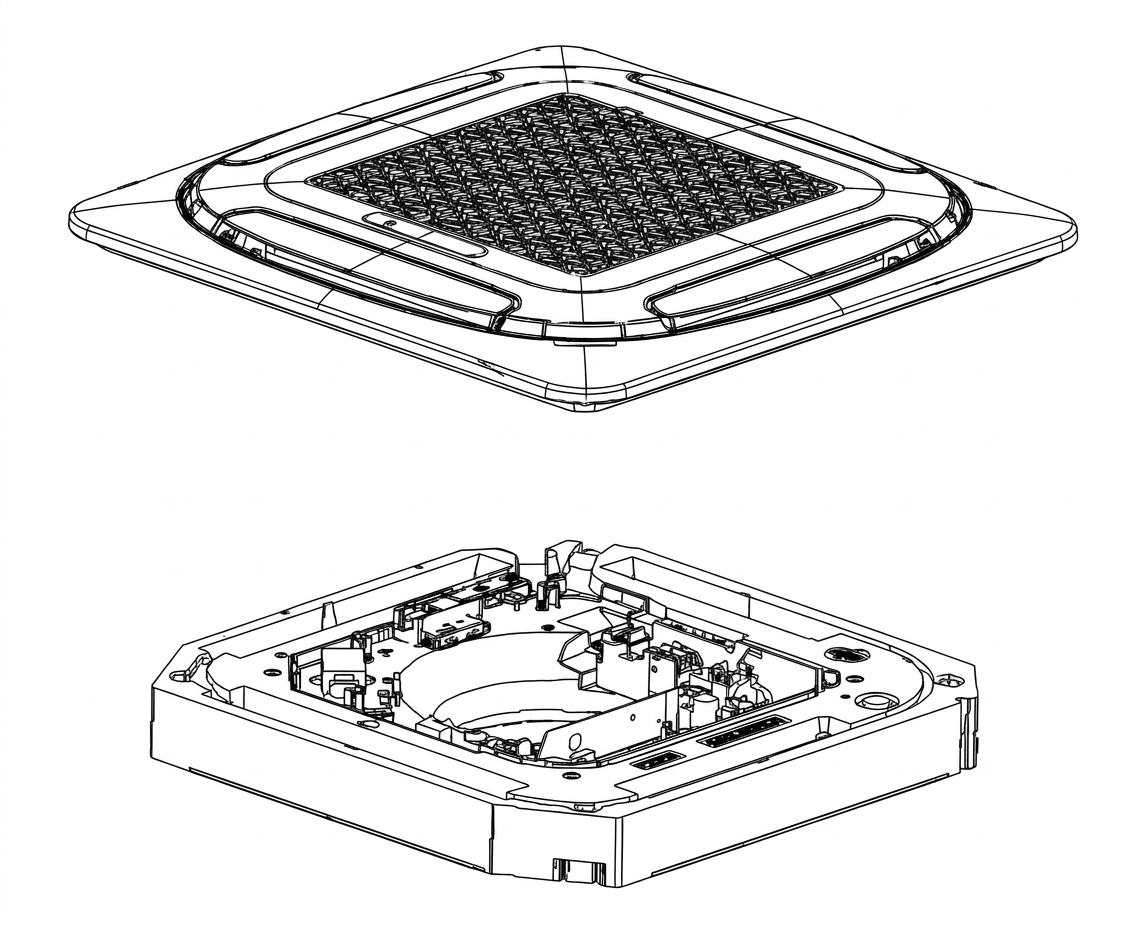
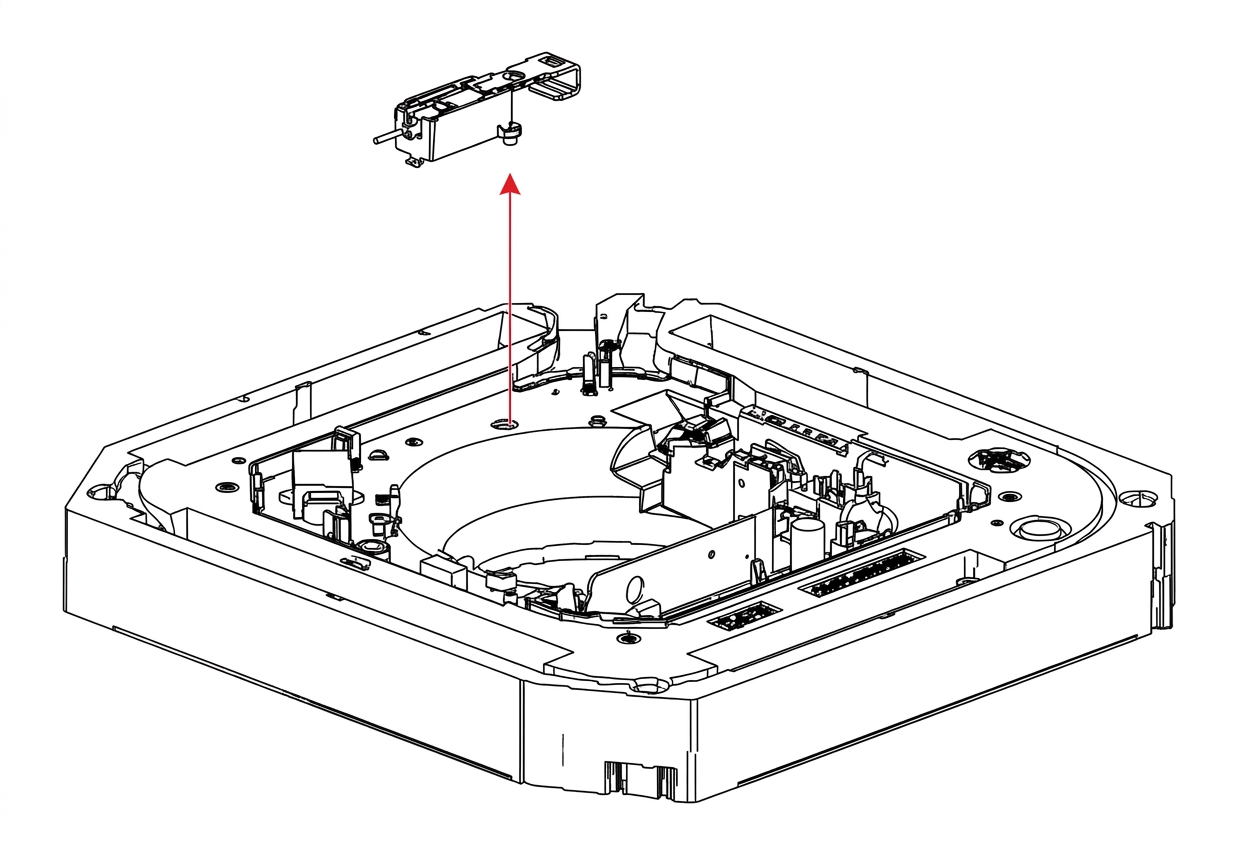
11. Remove the USB / Wi-Fi Module
A. Remove the screws securing the USB/Wi-Fi module and air guide.
B. Remove the module.
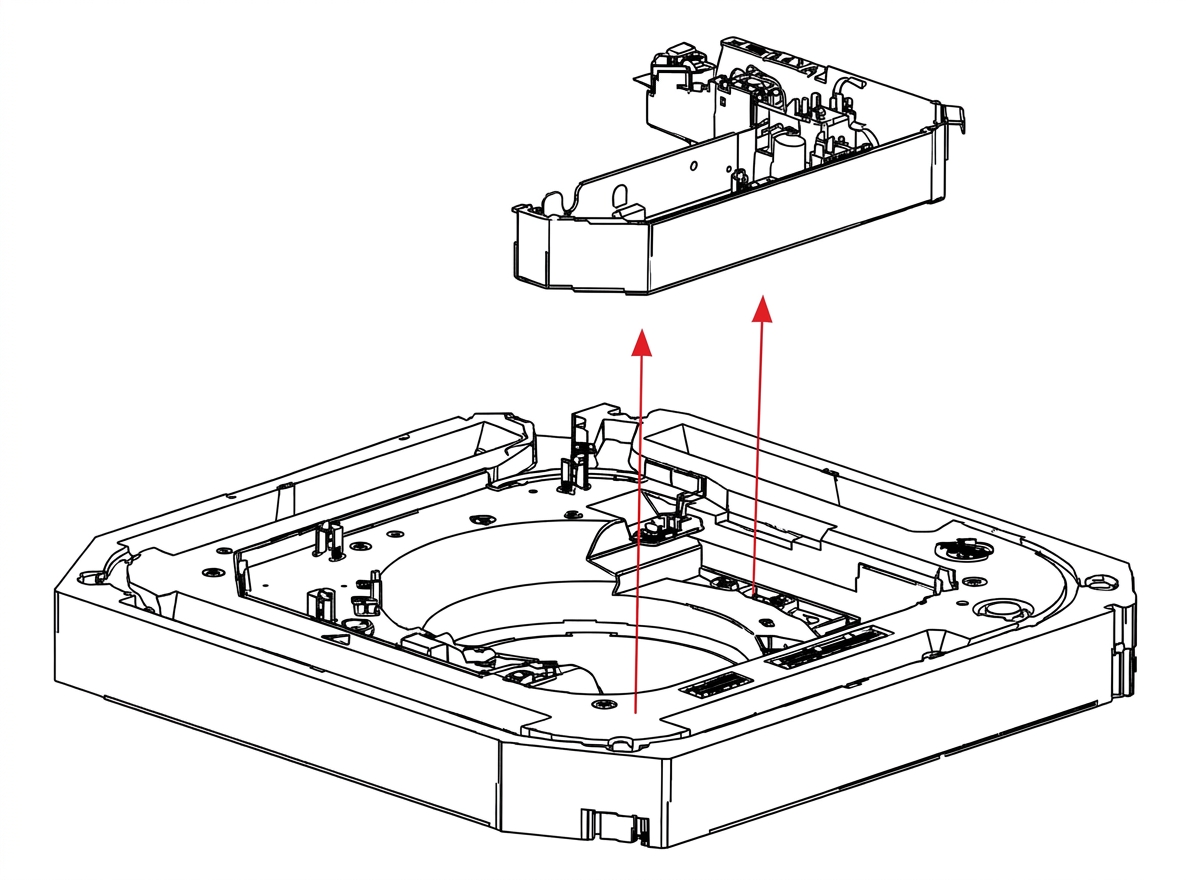
12. Remove the Electric Control Box
A. Remove the screws securing the electric control box, water tray assembly, and air guide, as shown in the image.
B. Remove the electric control box in the direction shown.
13. Remove the Air Guide
A. Remove the screws securing the air guide and water tray. Then remove the air guide.